5-198 Cisco 7000 Hardware Installation and Maintenance
Installing and Configuring Processor Modules
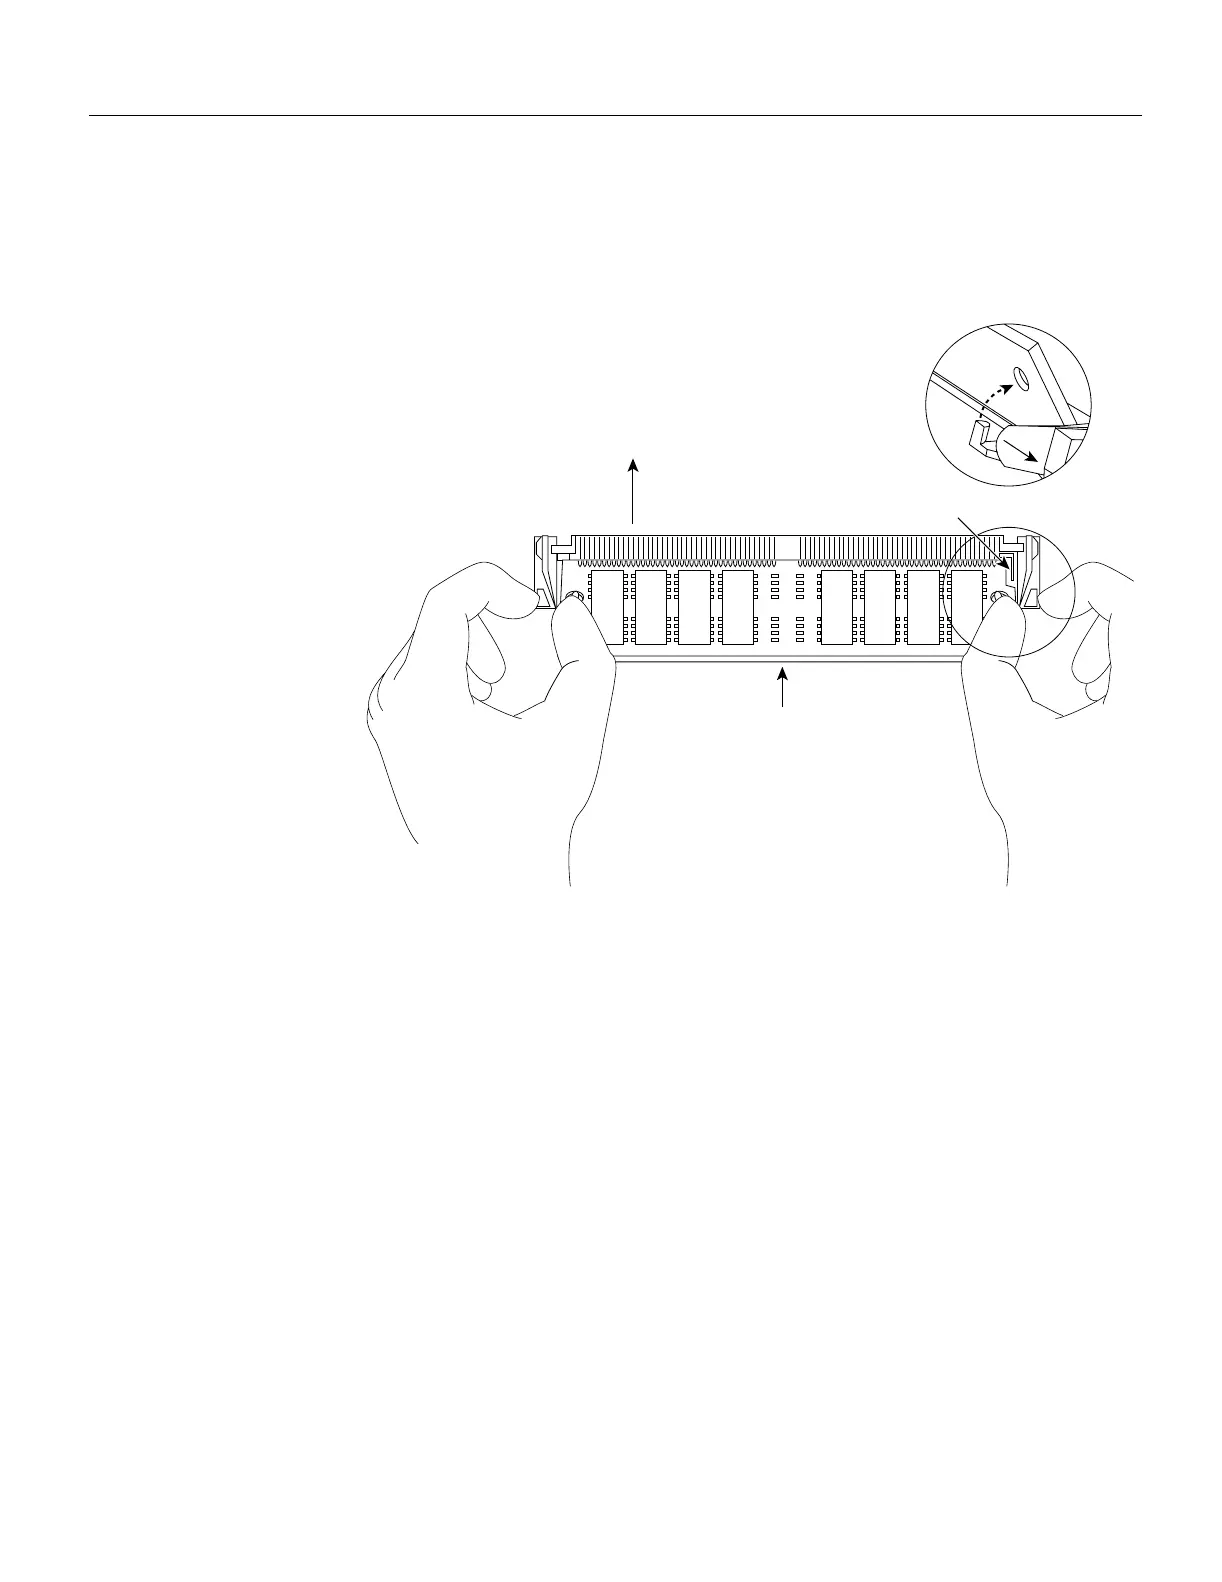
Step 4 Release the spring clips from the SIMM that you wish to remove and release the SIMM
from the socket. (See Figure 5-13.)
Figure 5-13 Releasing the SIMM Spring Clips
Step 5 When both ends of the SIMM are released from the socket, grasp the ends of the SIMM
with your thumb and forefinger and pull the SIMM completely out of the socket. Handle
the edges of the SIMM only; avoid touching the memory module or pins, and the metal
traces, or fingers, along the socket edge.
Step 6 Place the SIMM in an antistatic bag to protect it from ESD damage.
Step 7 Repeat Steps 4 through 6 for the remaining SIMMs, as required for your upgrade.
This completes the SIMM removal procedure. Proceed to the next section to install the new SIMMs.
Polarization notch
DRAM SIMM
Pull the tabs away with
your thumbs, bracing your
forefingers against the
posts. Raise the SIMM
to a vertical position.
Faceplate edge of
the system card

 Loading...