User Manual: WaveLinx Lite (4.0)
58
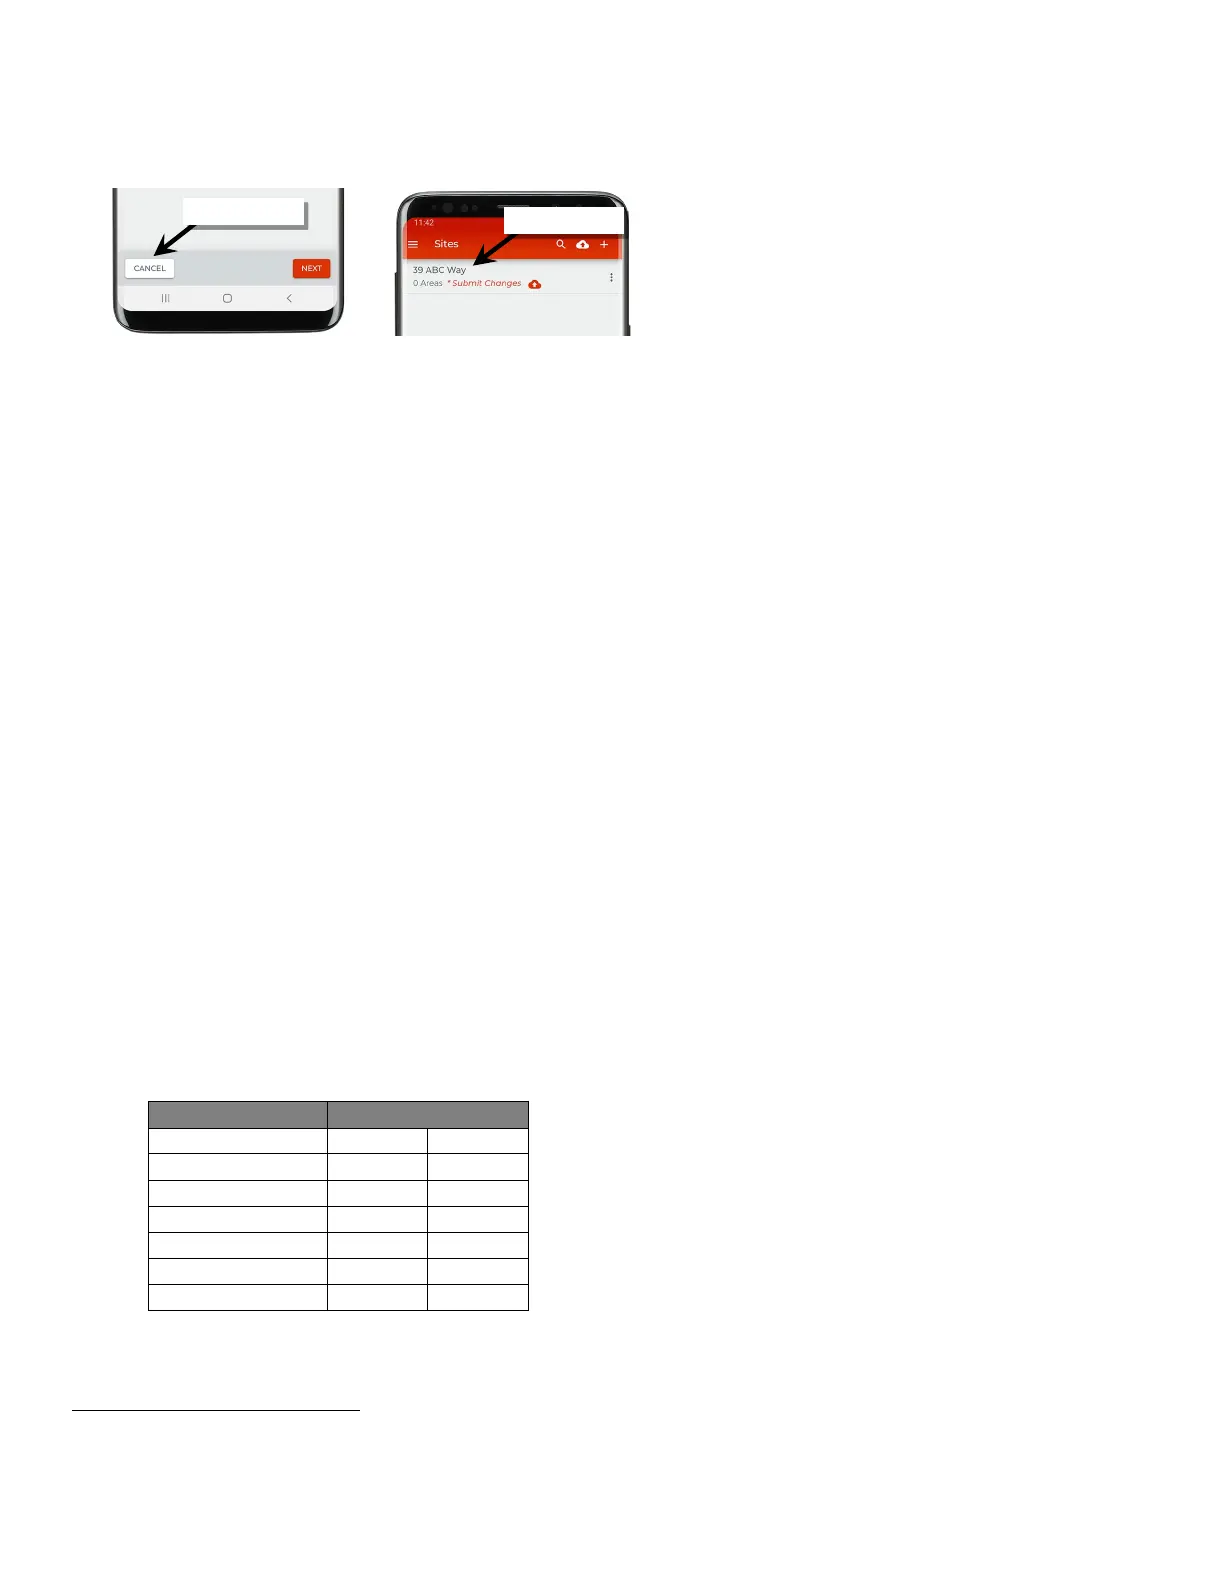
5: At the bottom of the screen tap ‘Cancel’ to exit out of the setup wizard. The site list will show the created site.
6: For large projects containing more than 28 areas, repeat these steps to create the additional sites needed for the project. For easy
identification, use naming conventions for large multi-site projects, i.e., “ABC Parking 1st Floor”, ABC Parking 2nd Floor, etc.
Step 2: Create Areas
Next, create the networked and standalone areas that will be needed for the site. There can be up to 28 areas created in one site.
• A networked area is a collection of devices that form an independent Bluetooth mesh communication network. When defining areas, keep
in mind that devices in one area cannot communicate to devices in another area. Plan areas accordingly based on device proximity and
the need to share information. For example, if a wallstation needs to control multiple fixtures, the fixtures and wallstation need to be in the
same area. For most reliable operation, no more than 50 (40 best practice) provisioned devices should be assigned to any networked area.
• Standalone areas can be created for any devices that need to operate autonomously without interaction with other controls. Having the
device provisioned in a standalone area allows the device to continue to operate independently but allows for adjustment of the device
settings/behavior. There is no limit to the number of devices that can be assigned/provisioned in a standalone area.
Templates can be custom created matching common configurations for the site being programmed or the area can be created with the default
template. If using the default template, all areas will be created with the following settings:
Default Networked Area Template Settings:
• Zones created: 1 default dimming zone
• Default dim level is 10%
• Zone minimum level 0%
• Zone maximum level 100%
• Occupancy Sets Created: 1 occupancy set
• Default zone is assigned to default occupancy set
• Occupancy mode: Occupancy
• Occupancy hold time: 20 minutes
56
• Energy saver mode: Enabled
• Energy hold time: 10 minutes
• Occupied level/state: 100%/ON
57
• Energy saver level: 50%
• Unoccupied level/state: 0%/OFF
• Scene Levels for zones in the area:
Default Standalone Area Template
Device default settings include:
• Device low end trim settings: 0%
• Device high end trim settings: 100%
• Occupied hold time: 20 minutes
56, 58
• Energy saver mode: Enabled
• Energy hold time: 10 minutes
• Occupied level: 100%/ON
57
• Energy saver level: 50%
• Unoccupied level: 0%/OFF
For a step-by-step walkthrough of creating templates please see “Create Custom Templates” on page 34.
56
Energy saver state issues after the energy hold time expires. Then, dimmable lighting remains at energy saver level until the occupancy hold time expires, triggering the
unoccupied state. Non dimmable zones will remain at occupied level until the unoccupied state is triggered.
57
If occupancy is sensed in the 30 seconds after an unoccupied command is issued (grace period), the device will resume the previous light level. If outside of the grace
period, the light level issued when occupied will be as defined for the occupied command. Devices with older firmware may not observe the 30 second grace period.
58
Occupancy sensor is automatically set to Occupancy mode. Vacancy mode is not supported in a standalone area.