User Manual: WaveLinx Lite (4.0)
22
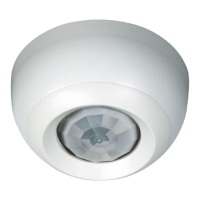
WaveLinx Pro IR Remote
ACC-P-RT WaveLinx Pro IR Remote
Typical Applications
• Use to simplify setup when provisioning and
identifying devices in the system.
Models:
ACC-P-RT: WaveLinx Pro IR Remote
WaveLinx Lite 4.0 supports the use of the WaveLinx Pro IR Remote to place integrated, fixture mounted and tilemount sensors
into identification mode. This can aid in streamlining system setup when provisioning devices.
Using Identification
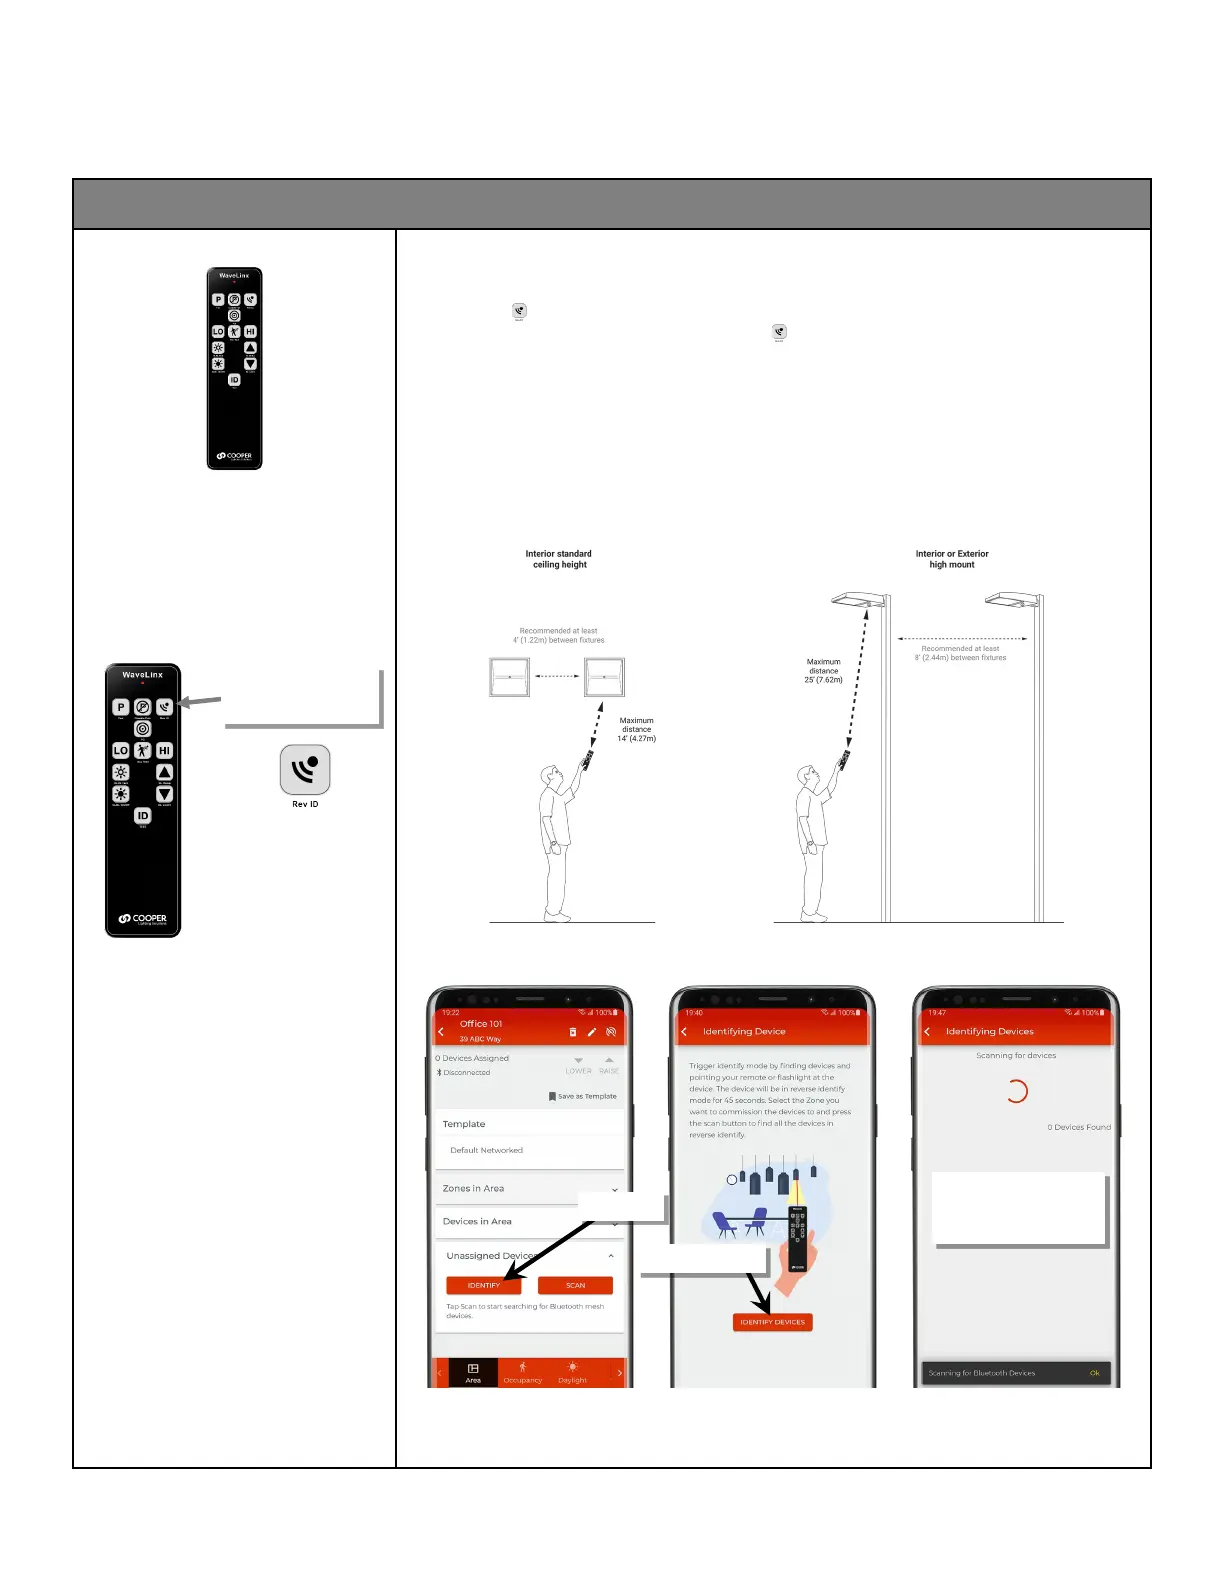
Only the ‘Rev ID’ button will be used in the WaveLinx Lite app’s ‘Identify’ scan feature.
• If a supported device is not provisioned already, press the button to place the device into identification mode for 45
seconds. If the Mobile App is running an ‘Identify’ scan and the mobile device is in range, the identified device should
appear in the scan window.
Additional IR Remote Considerations:
• Make certain that the fixture/sensor is powered.
• Stand directly below the fixture and point the IR remote at the sensor lens.
• For standard ceiling height mounted fixtures, use the IR remote within 14 feet (4.27m) of the fixture. With sensors
mounted less than 4 feet (1.22m) apart, there is a possibility that the remote signal will be received by both sensors.
• For high mount industrial or outdoor fixtures, use the IR remote within 25 feet (7.62m) of the fixture. With high mount
sensors mounted less than 8 feet (2.44m) apart, there is a possibility that the remote signal will be received by both
sensors.
WaveLinx Lite App ‘Identify’ Scan
Only the ‘Rev ID’ button will
be used in the WaveLinx Lite
architecture
The mobile device will begin
scanning for WaveLinx Lite
devices that have been placed
in identify mode.