Falcon™ 4-CLHS Series Installation 15
Installation
If you are familiar with CLHS cameras and Teledyne DALSA frame grabbers follow the Quick Start
section to quickly install and acquire images with the Falcon4-CLHS and the CamExpert tool
provided with Sapera LT.
If using CLHS cameras with frame grabbers is new to you, review the Requirements section for
what you need before you start. See Installation Details for additional information on Sapera LT
installation. Refer to your frame grabber's user manual for instructions related to the board
installation.
Note that you need administrator rights for installation and updates.
Requirements
Frame Grabber and Cables
A frame grabber board such as the Teledyne DALSA Xtium2-CLHS PX8 / PX8 LC is the
recommended computer interface.
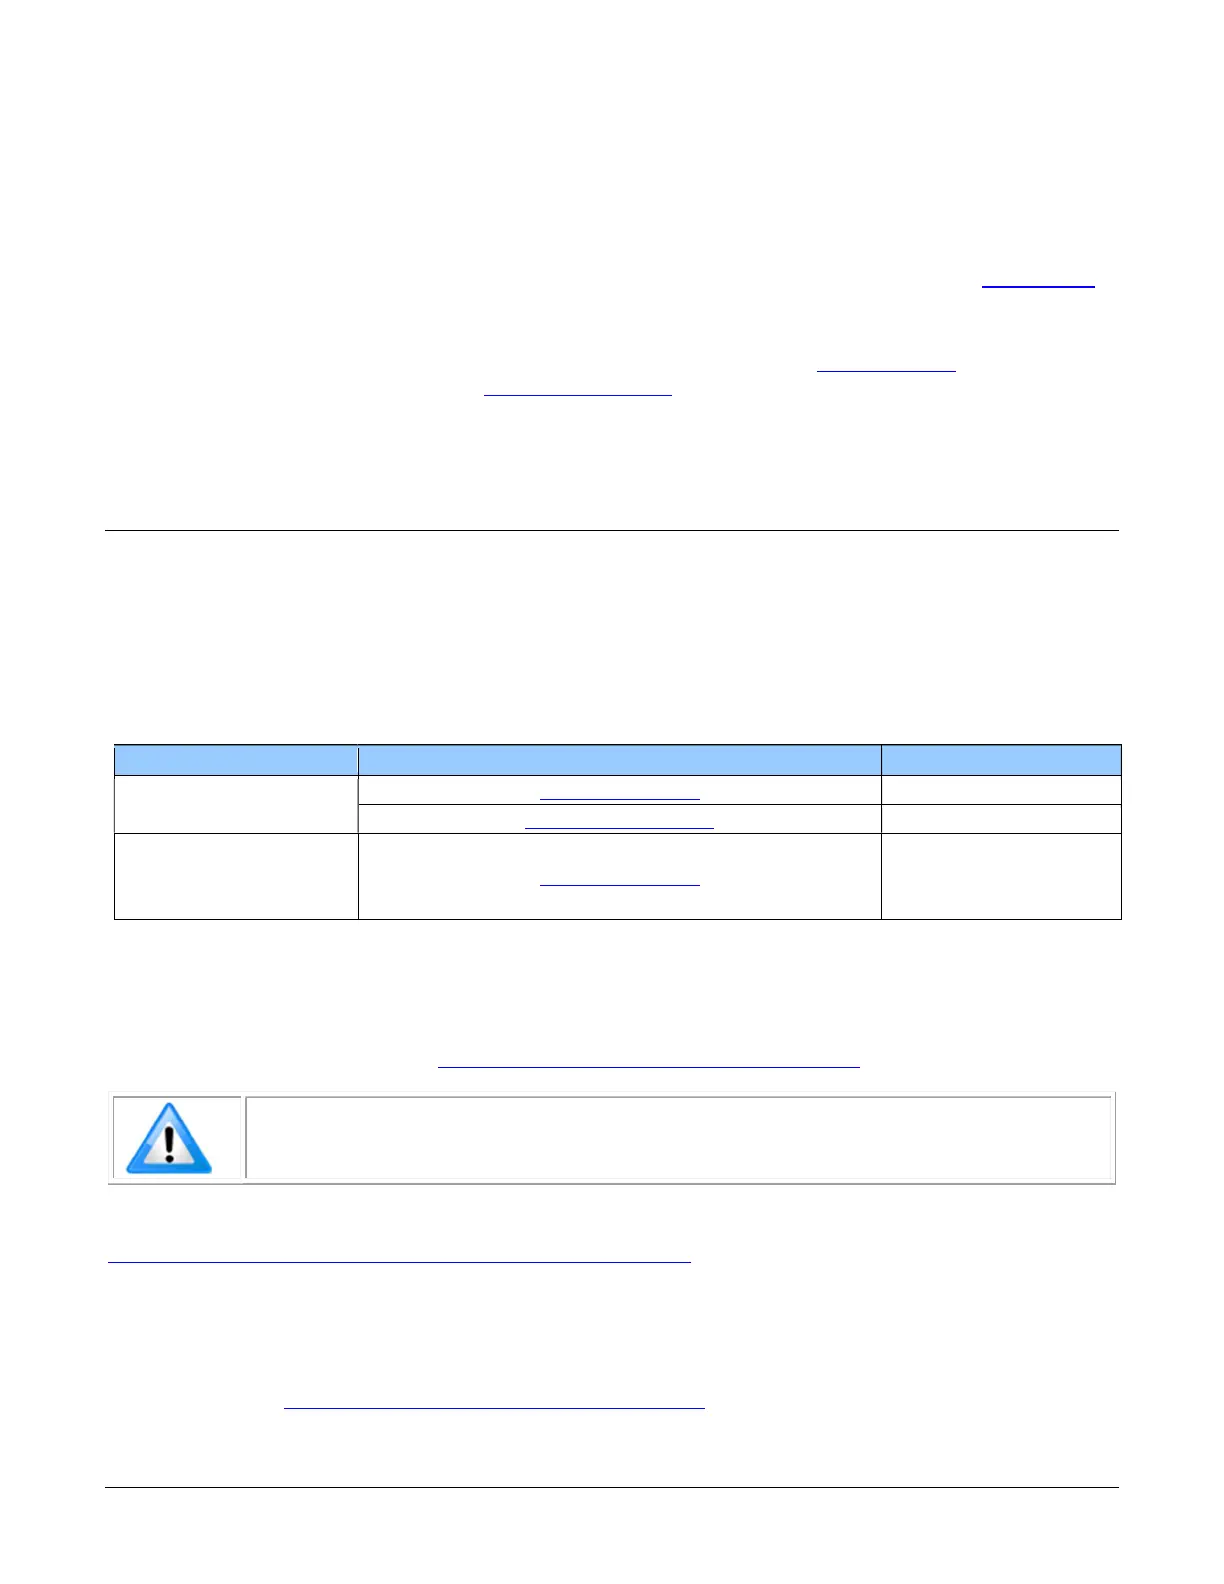
Falcon4 Model Teledyne DALSA Frame Grabber Part Number
M4400
M4480
M8200
Xtium2 CLHS PX8 OR-A8S0-PX870
Camera Link HS Cables
The camera uses a Camera Link HS SFF-8470 (CX4) cable; AOC (Active Optical Connectors) cables
are recommended due to the high-bandwidth CLHS X-Protocol (C3 copper cables < 2m may work
but are not recommended). See Falcon4-CLHS Connectors and Status LED.
Note: CX4 AOC cables are directional; ensure that the connector labelled
“Camera” and “FG” are attached accordingly to the camera and frame grabber.
Visit our web site for additional information on the CLHS interface:
www.teledynedalsa.com/en/learn/knowledge-center/clhs/
Camera Power
Cameras with part number FA-HMxx-xxxxx support Power via the Auxiliary Connector (12 to
24 Volt DC). See Falcon4-CLHS Connectors and Status LED.
 Loading...