126 • Appendix B: Troubleshooting Installation Problems Xtium-CL MX4 User's Manual
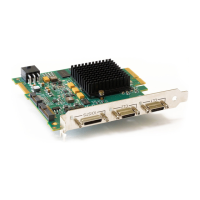
Figure 47: PCI Diagnostic Program
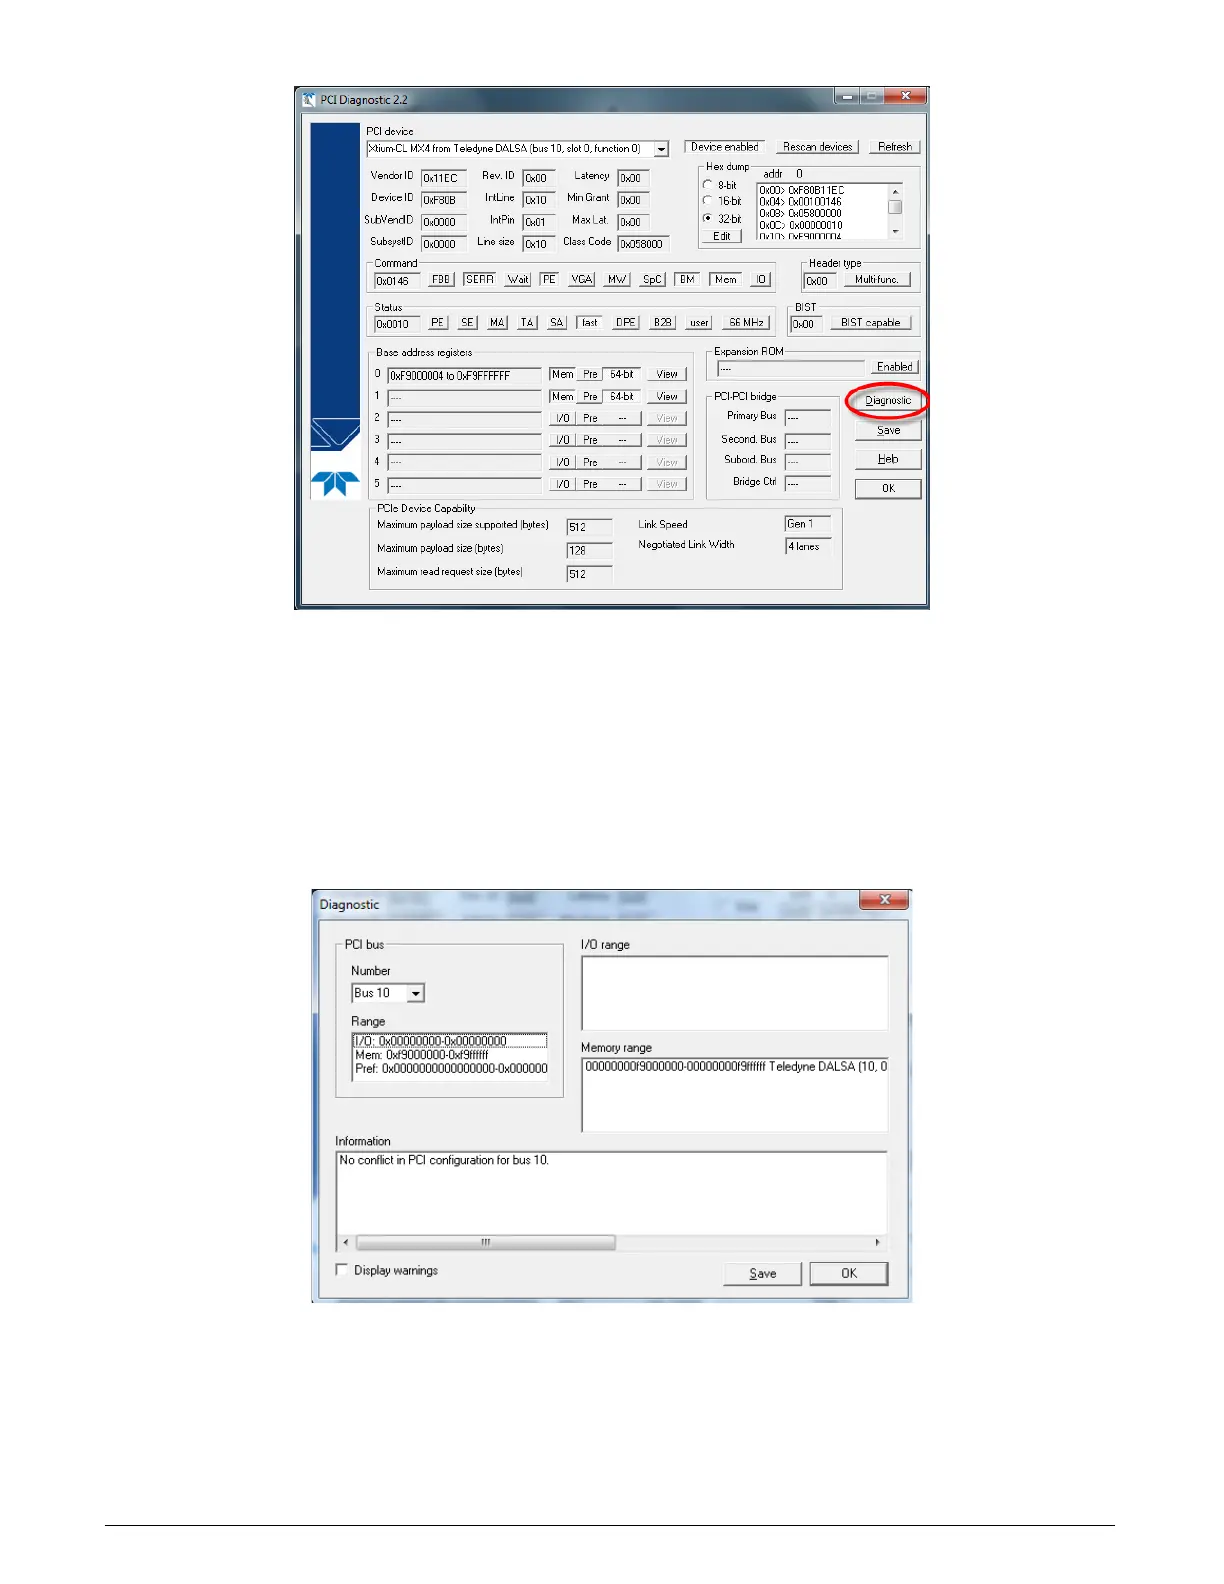
Clicking on the Diagnostic button opens a new window with the diagnostic report. From the PCI
Bus Number drop menu, select the bus number that the Xtium-CL MX4 is installed in—in this
example the slot is bus 10.
The window now shows the I/O and memory ranges used by each device on the selected PCI bus.
The information display box will detail any PCI conflicts. If there is a problem, click on the Save
button. A file named ‘pcidiag.txt’ is created (in the Sapera\bin directory) with a dump of the PCI
configuration registers. Email this file when requested by the Teledyne DALSA Technical Support
group along with a full description of your computer.
Figure 48: PCI Diagnostic Program – PCI bus info