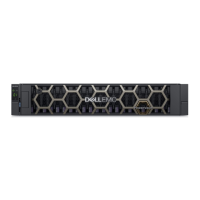
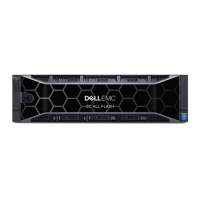
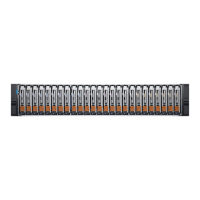
Figure 30. Installing the mid drive tray
NOTE: The images shown here are for representation only and the actual conguration of your system may vary.
Next steps
1 Connect all the cables to the backplane.
2 Follow the procedure listed in After working inside your system.
Identifier GUID-08FF9DB5-D0C5-4F46-B582-E4E630332222
Status Released
Removing a drive blank from the drive carrier
The procedure to remove drive blank from drive carrier is identical to removal of drive from drive carrier. The procedure for removing 2.5-
inch and 3.5-inch blanks from drive carriers is identical.
Prerequisites
1 Follow the safety guidelines listed in Safety instructions.
2 Follow the procedure listed in Before working inside your system.
CAUTION
: To maintain proper system cooling, all empty drive slots must have drive blanks installed.
CAUTION: Mixing drive blanks from previous generations of NAS systems is not supported.
Steps
1 Push out at the edges of the drive carrier to disengage the tabs on the drive carrier from the slots on the drive blank.
2 Lift the drive carrier away from the drive blank.
82
Installing and removing system components
 Loading...

