Before Installation
697
4
Select any options.
Note • Rebooting may be required to reflect the
settings. In this case, follow the onscreen
instructions.
SOAP Port
1
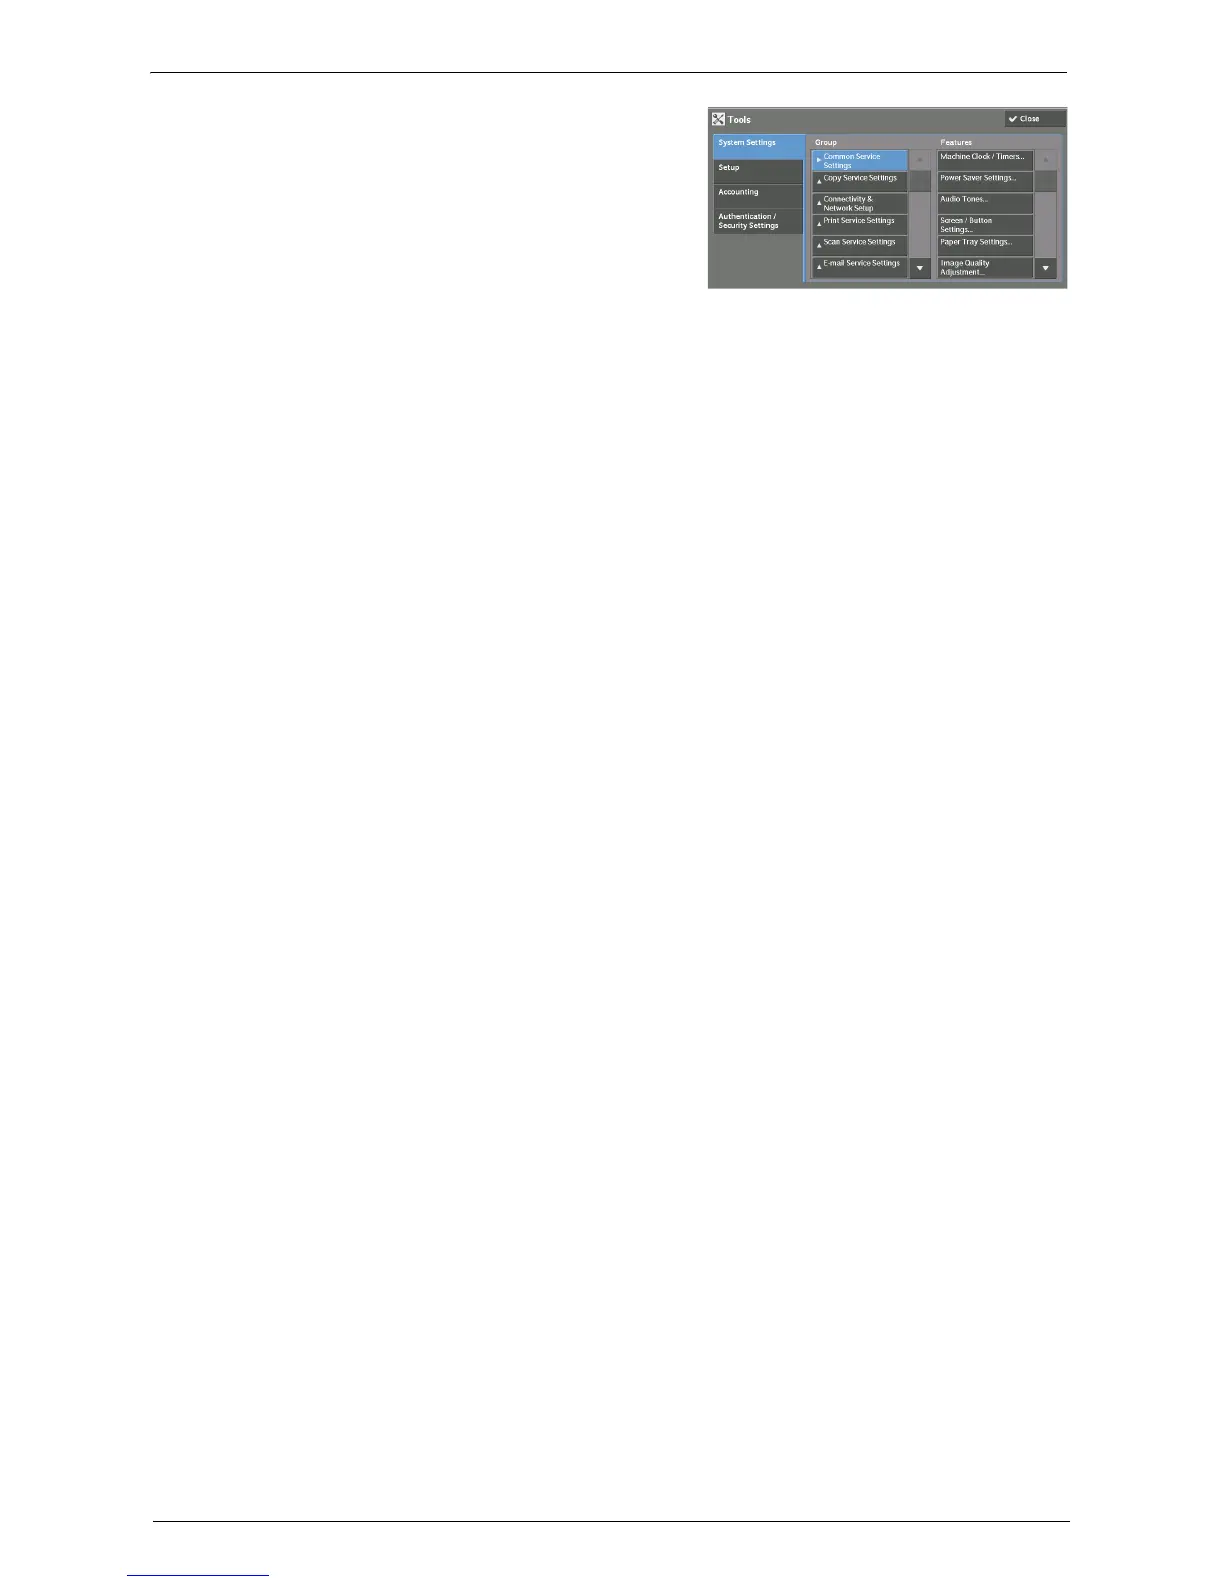
Select [SOAP] in [Port Settings] under
[System Settings] > [Connectivity & Network
Setup], and then select [Change Settings].
2
Select below value for each item.
• [Port Status]: [Enabled]
• [Port Number]: [80]
3
Select [Close] repeatedly until the [Tools] screen is displayed.
4
To exit [Tools], select [Close].
Protocol Settings
1
Select [Protocol Settings] in [Connectivity & Network Setup] under [System Settings], and
then set an IP address, subnet mask, and gateway address (settings for the use in TCP/IP
network environment).
2
Select [Close].
3
To exit [Tools], select [Close].
Web Browser Setup
1
Select [Web Applications Version] in [Web Browser Setup] under [System Settings], and
then select [Change Settings].
2
Select [V4 (New Version)], and then select [Save].
3
Select [Close].
4
To exit [Tools], select [Close].
Login Type
1
Select [Login Type] in [Authentication] under [Authentication / Security Settings].
2
Select [Login to Local Accounts] or [Login to Remote Accounts], and then select [Save].
3
For [Login to Local Accounts], each user’s information must be registered.
Select [Create / View User Accounts] in [Authentication] under [Authentication / Security
Settings].
Note • For [Login to Remote Accounts], skip to Step 9.
4
Select a user displayed as [<Available>], and then select [Create / Delete].
5
Enter a User ID and select [Save].
6
Select [User Name], enter the name and select [Save].
7
Make settings for other items if necessary, and then select [Close].
8
Select [Close].