Connecting and Setting Up Your Printer
69
1
Turn o n the p rinte r.
2
Insert the
Software and Documentation
disc provided with the printer into your computer.
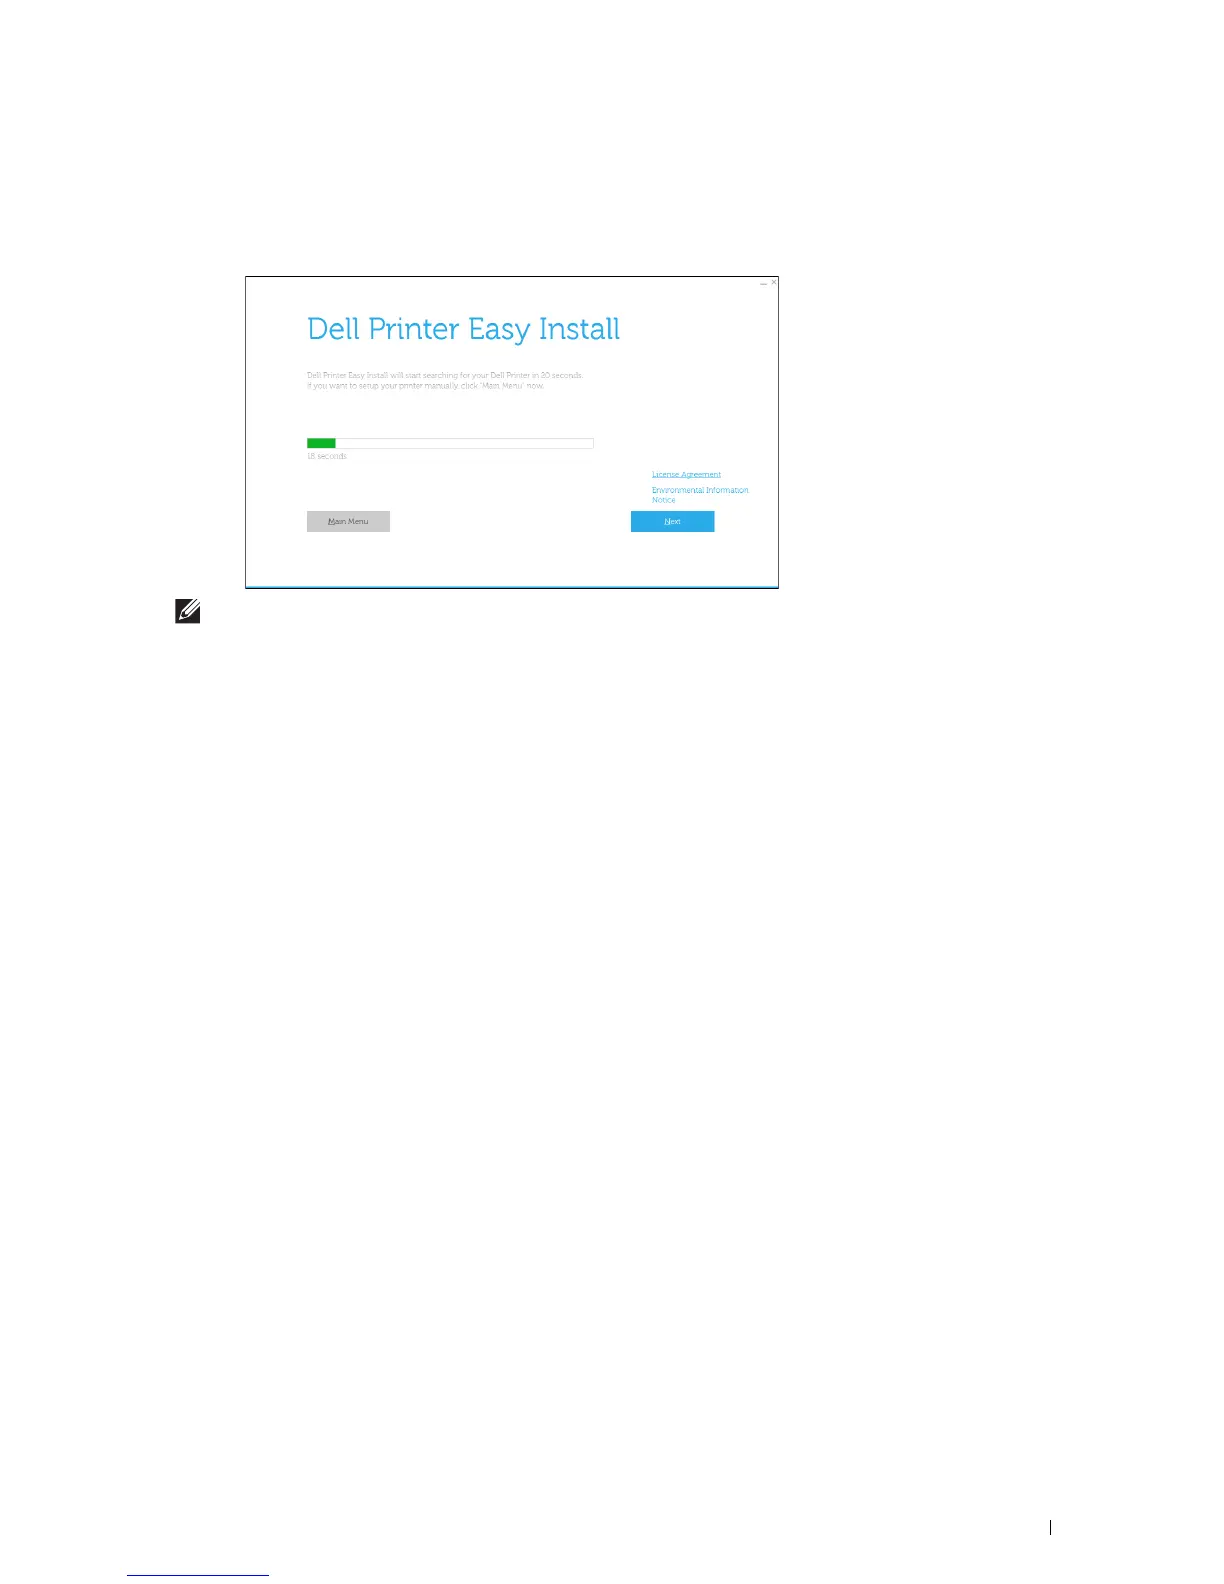
The
Dell Printer Easy Install
program launches automatically.
NOTE:
If the Dell Printer Easy Install program does not launch automatically, follow the procedure below.
For Windows Server
®
2008 and Windows Server
®
2008 R2
Click
start
Run
, enter
D:\setup.exe
(where D is the drive letter of the optical drive) in the Run dialog box, and
then click
OK
.
For Windows Vista
®
and Windows
®
7
Click
Start
All Programs
Accessories
Run
, enter
D:\setup.exe
(where D is the drive letter of the optical drive) in the Run dialog box, and then click
OK
.
For Windows
®
8, Windows
®
8.1, Windows Server
®
2012, and Windows Server
®
2012 R2
Point to the top or bottom right corner of the screen, and then click
Search
Type
Run
in the search box, click
Apps
(for
Windows
®
8 and Windows Server
®
2012 only), and then click
Run
Ty p e
D:\setup.exe
(where D is the drive
letter of the optical drive), and then click
OK
.
For Windows
®
10
Right-click the Start button, and then click
Run
Ty p e
D:\setup.exe
(where D is the drive letter of the optical
drive), and then click
OK
.
3
Wait until the screen changes or click
Next
.
Follow the instructions displayed on the screen.
4
Click
Finish
to exit the wizard when the
Ready to Print!
screen appears.
5
Eject the
Software and Documentation
disc.
If the Main Menu of Dell Printer Easy Install Appears Without Starting or Completing the Basic Setup
Proceed to step 4 in "Setting Up the Printer in Another Connection Method," and set up the printer manually
following the on-screen instructions.