Field Service Ver. 1.0 Apr. 2005 12. Mechanical adjustment
113
ineo 161
ineo 210
Adjustment / Setting
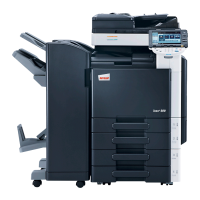
7. Using a small piece of paper, remove
developer from the shaded area on
the surface of the Sleeve Roller and
put it in the Developer Mixing Cham-
ber.
8. Remove the developer left on the
surface of the Sleeve Roller.
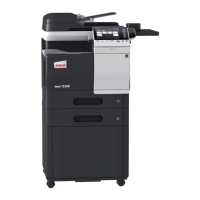
9. Temporarily secure the Doctor Blade
using three new screws.
NOTE
• Whenever a Db adjustment is made,
use new screws (to which lock paint
has been applied).
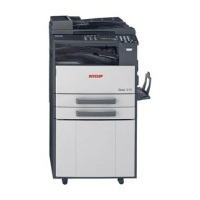
10. Install the Db Gap Adjusting Jigs in a
space between the Sleeve Roller
and Doctor Blade.
11. Put the Developing Assy and Drum Assy together.
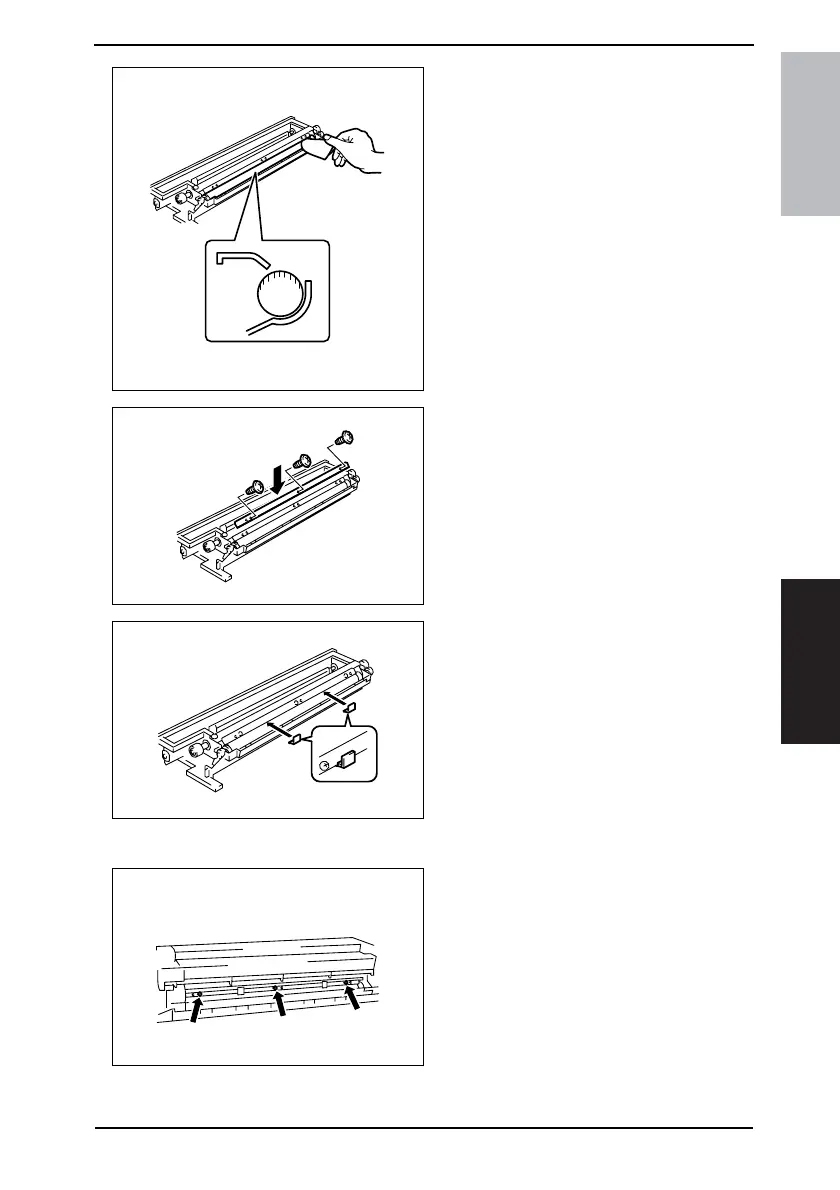
12. Press the Doctor Blade tightly up
against the Db Gap Adjusting Jigs
and tighten the screws in the order of
(1) at the front, (2) at the center, and
(3) in the rear.
NOTE
• The Doctor Blade mounting screws
have been coated with lock paint
and the job must be completed
within 30 min. If the job extends
more than that time, change the
screws for new ones.
4022D036AA
4022D020AA
4022D021AB
4022D022AB
Front Rear