Remote control Digital Projection Ltd. E-Vision Laser 13000 WU Series
Pic Mute
OFF
ON
MENU
EXIT INFO
HDMI1
OK
OFF ON
ALT
LENS
FOCUS ZOOM
IN
OUT
IN
OUT
SHIFT
21 3
HDMI2 DVI
DISPLAYPORT
HD-T 3GSDI
VGA COMP1 COMP2
BRI
TEST
CON GAMMA
R G B ALL
3D EYE PIP SWAP
4 5 6
7 8 9 0
ALT
ADDR
OSD
OFF
ON
DEFAULT
FREEZE
RE-SYNC
A B C D
USER PRESET
Remote Control
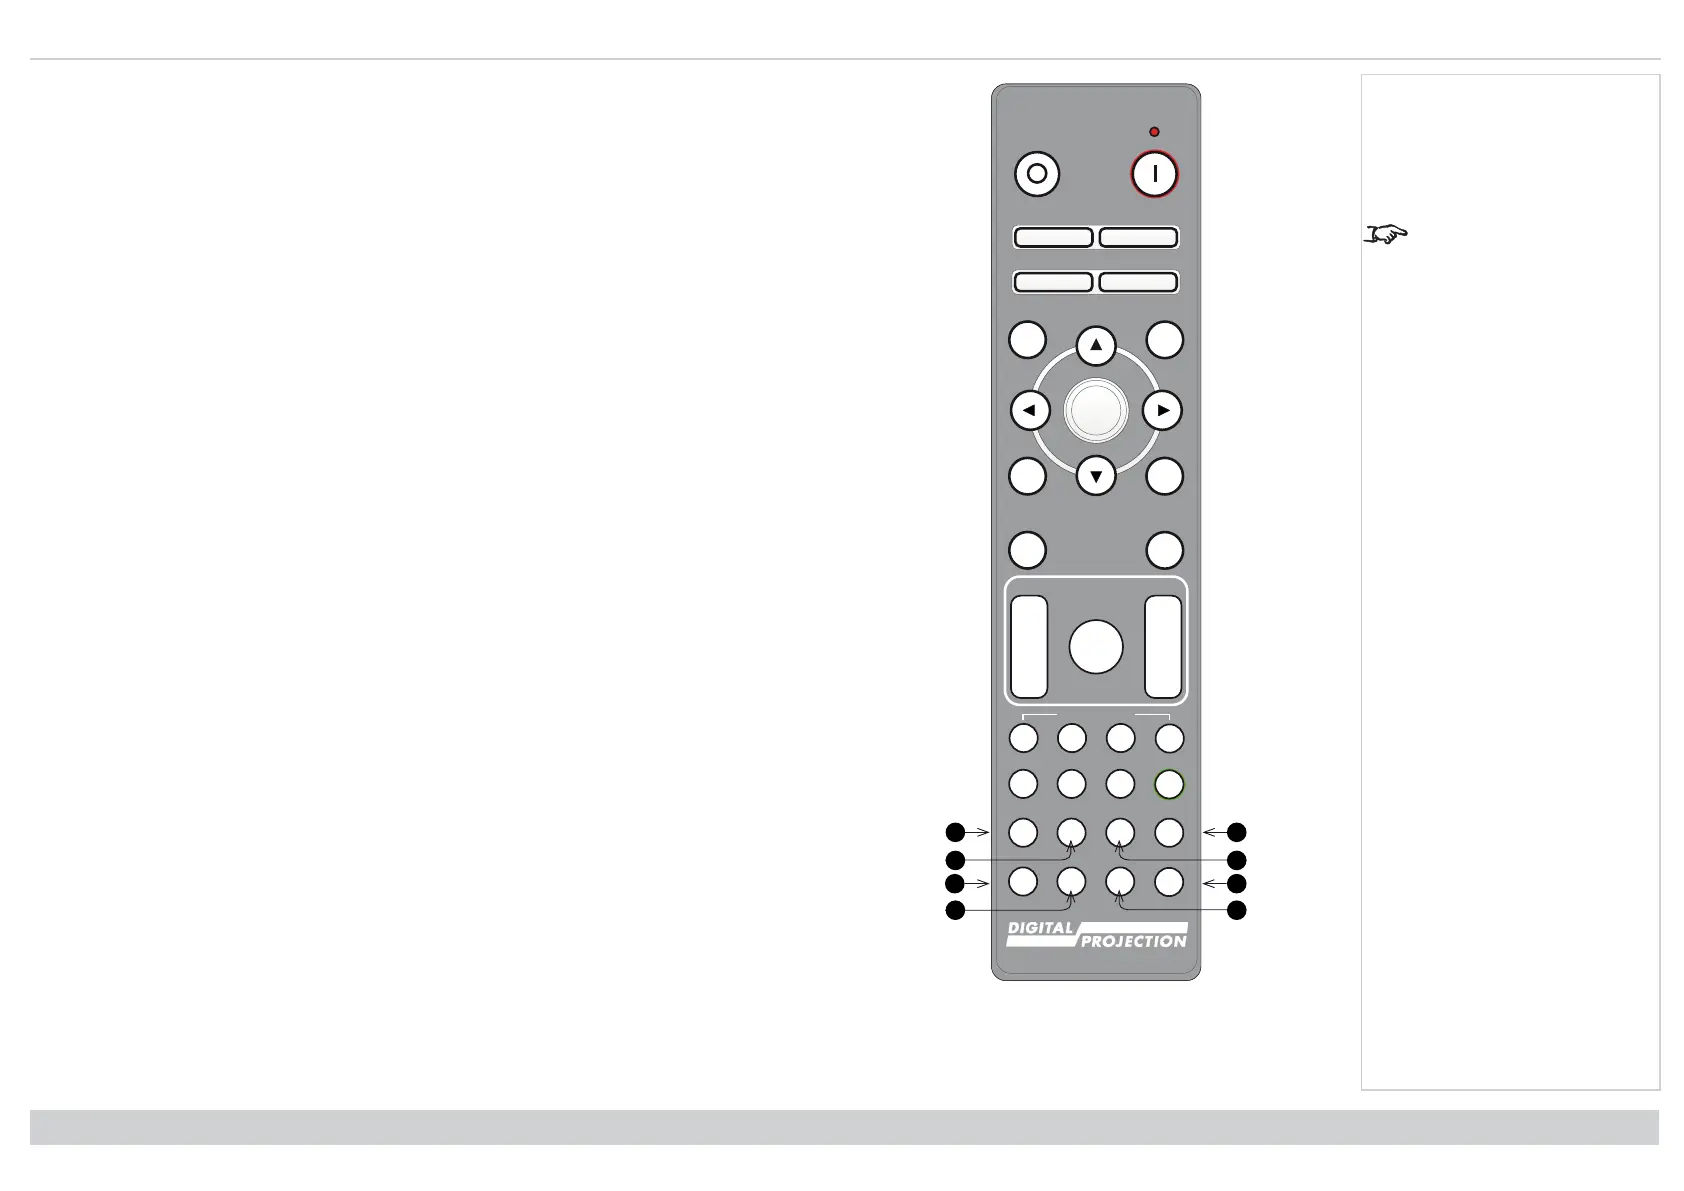
17. DISPLAYPORT 1 / R / numeric input 4
Select DisplayPort 1 input.
18. HD-T / G / numeric input 5
Select the HDBaseT input.
This projector does not
use the following options
on the remote: DVI, VGA,
COMP 1 and COMP 2.
19. VGA / 3D / numeric input 7
There is no VGA input on this projector.
Use with ALT to toggle the 3D Format setting between Off and Auto.
20. COMP1 / EYE / numeric input 8
There is no Component 1 input on this projector.
Use with ALT to switch between left and right eye 3D dominance.
21. ADDR / ALL (with red indicator at the top)
Assign and unassign an IR remote address.
l To assign an IR remote address:
1. Press and hold this button until the red indicator starts flashing.
2. Release this button and while the red indicator is still flashing, enter a two-
digit address using the numeric input buttons. The indicator will flash three
times quickly to confirm the change.
l To unassign an address and return to the default address 00:
1. Press and hold ALT and this button simultaneously until the red indicator
flashes to confirm the change.
22. 3GSDI / B / numeric input 6
Select the 3G-SDI input.
23. TEST / SWAP / numeric input 0
Show a test pattern. Press again to show the next test pattern: White, Black, Red, Green,
Blue, Checkerboard, Crosshatch, V Burst, H Burst, Color Bar, Screen Layout, Off..
When PIP mode is on, use this button with ALT to swap the main and sub images.
24. COMP2 / PIP / numeric input 9
There is no Component 2 input on this projector.
Use with ALT to switch on Picture In Picture (PIP) mode.
Installation & Quick Start Guide
Rev A June 2019
page 17
Notes
 Loading...


