Changing the lens Digital Projection Ltd. E-Vision Laser 13000 WU Series
Changing the lens
Before changing the
lens, always make sure
the projector is switched
off and fully
disconnected from its
power supply.
When changing the lens,
avoid using excessive
force as this may
damage the equipment.
Avoid touching the
surface of the lens as
this may result in image
impairment.
The lens is shipped
separately.
Take care to preserve the
original lens packaging
and protective caps for
future use.
The projector will not
power on without the lens
fitted.
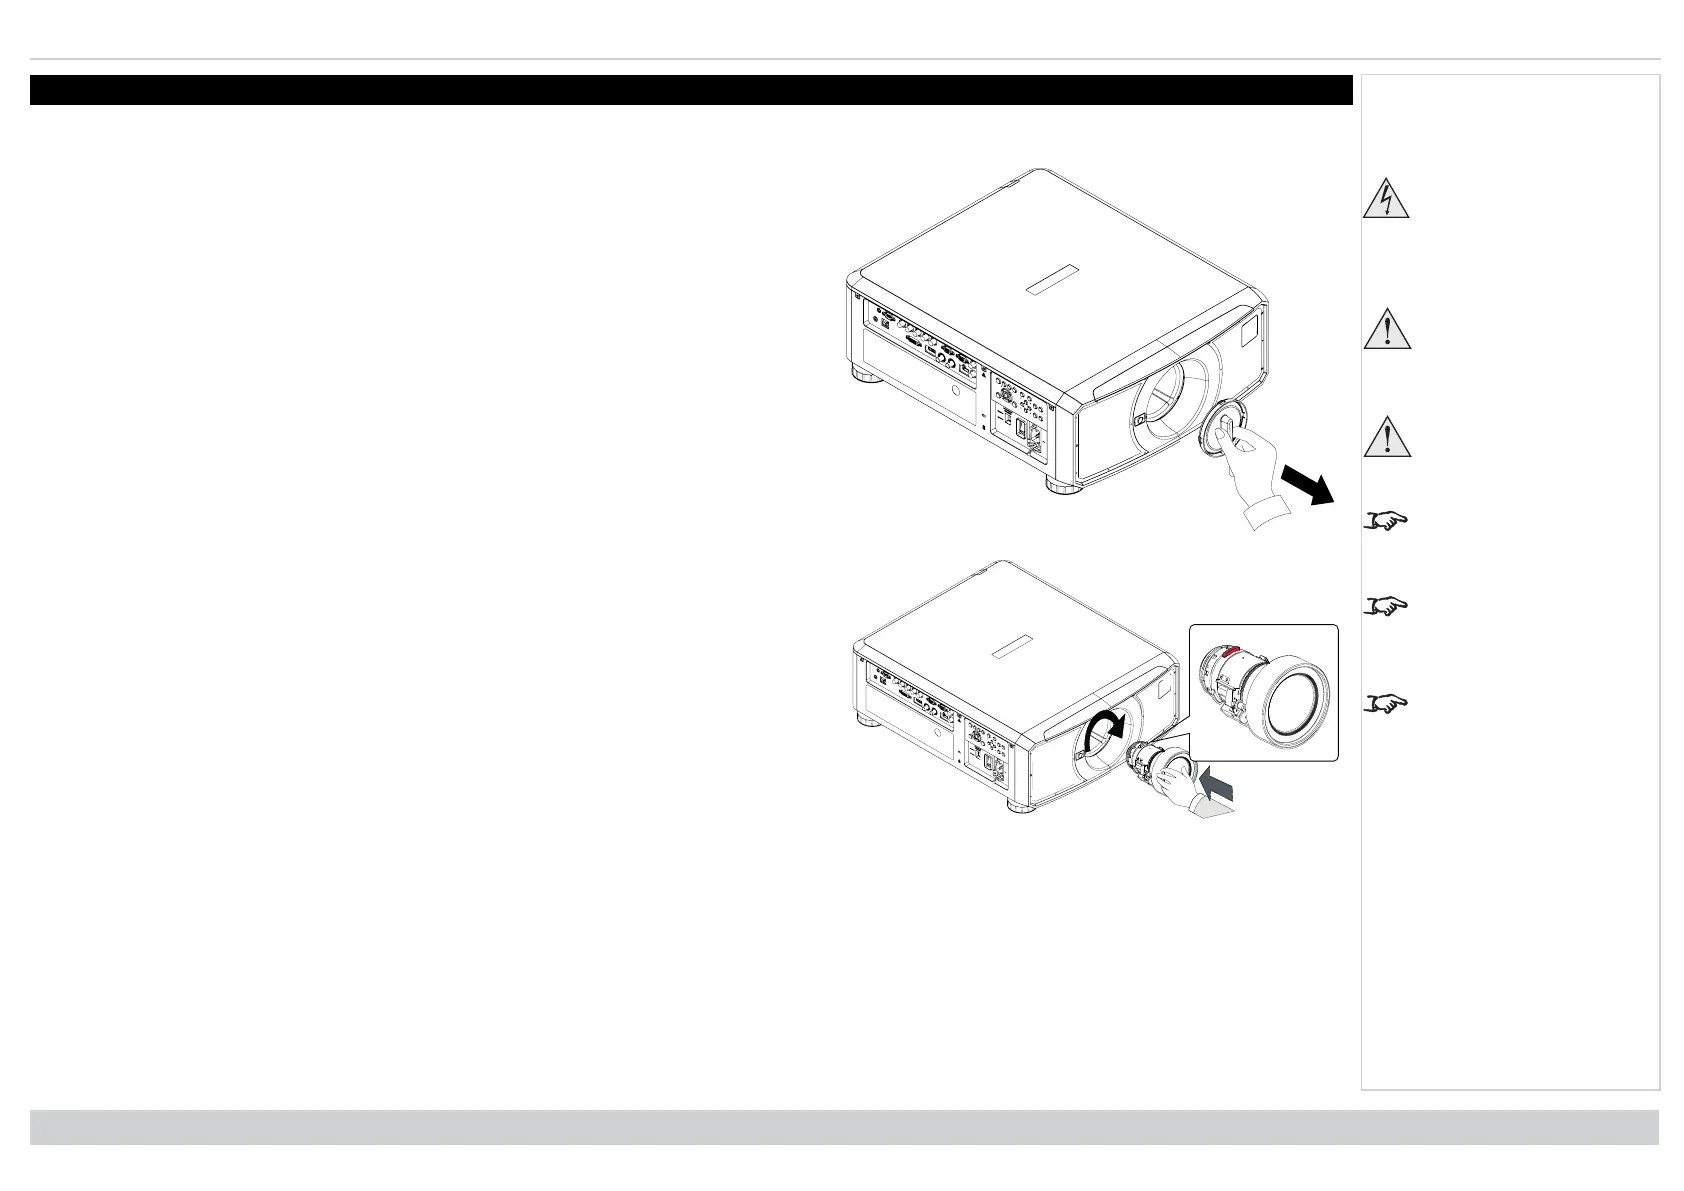
Inserting a new lens
1. Remove the lens aperture cap from the projector.
2. Remove the front and rear lens caps from the lens.
3. Position the lens so that the labels are at the top, and gently insert it all the way into the lens
mount.
4. Push the lens in firmly and turn it clockwise until it clicks into place.
Installation & Quick Start Guide
Rev A June 2019
page 21
Notes

 Loading...


