Digital Projection Ltd. E-Vision Laser 13000 WU Series Using the projector
Setup menu
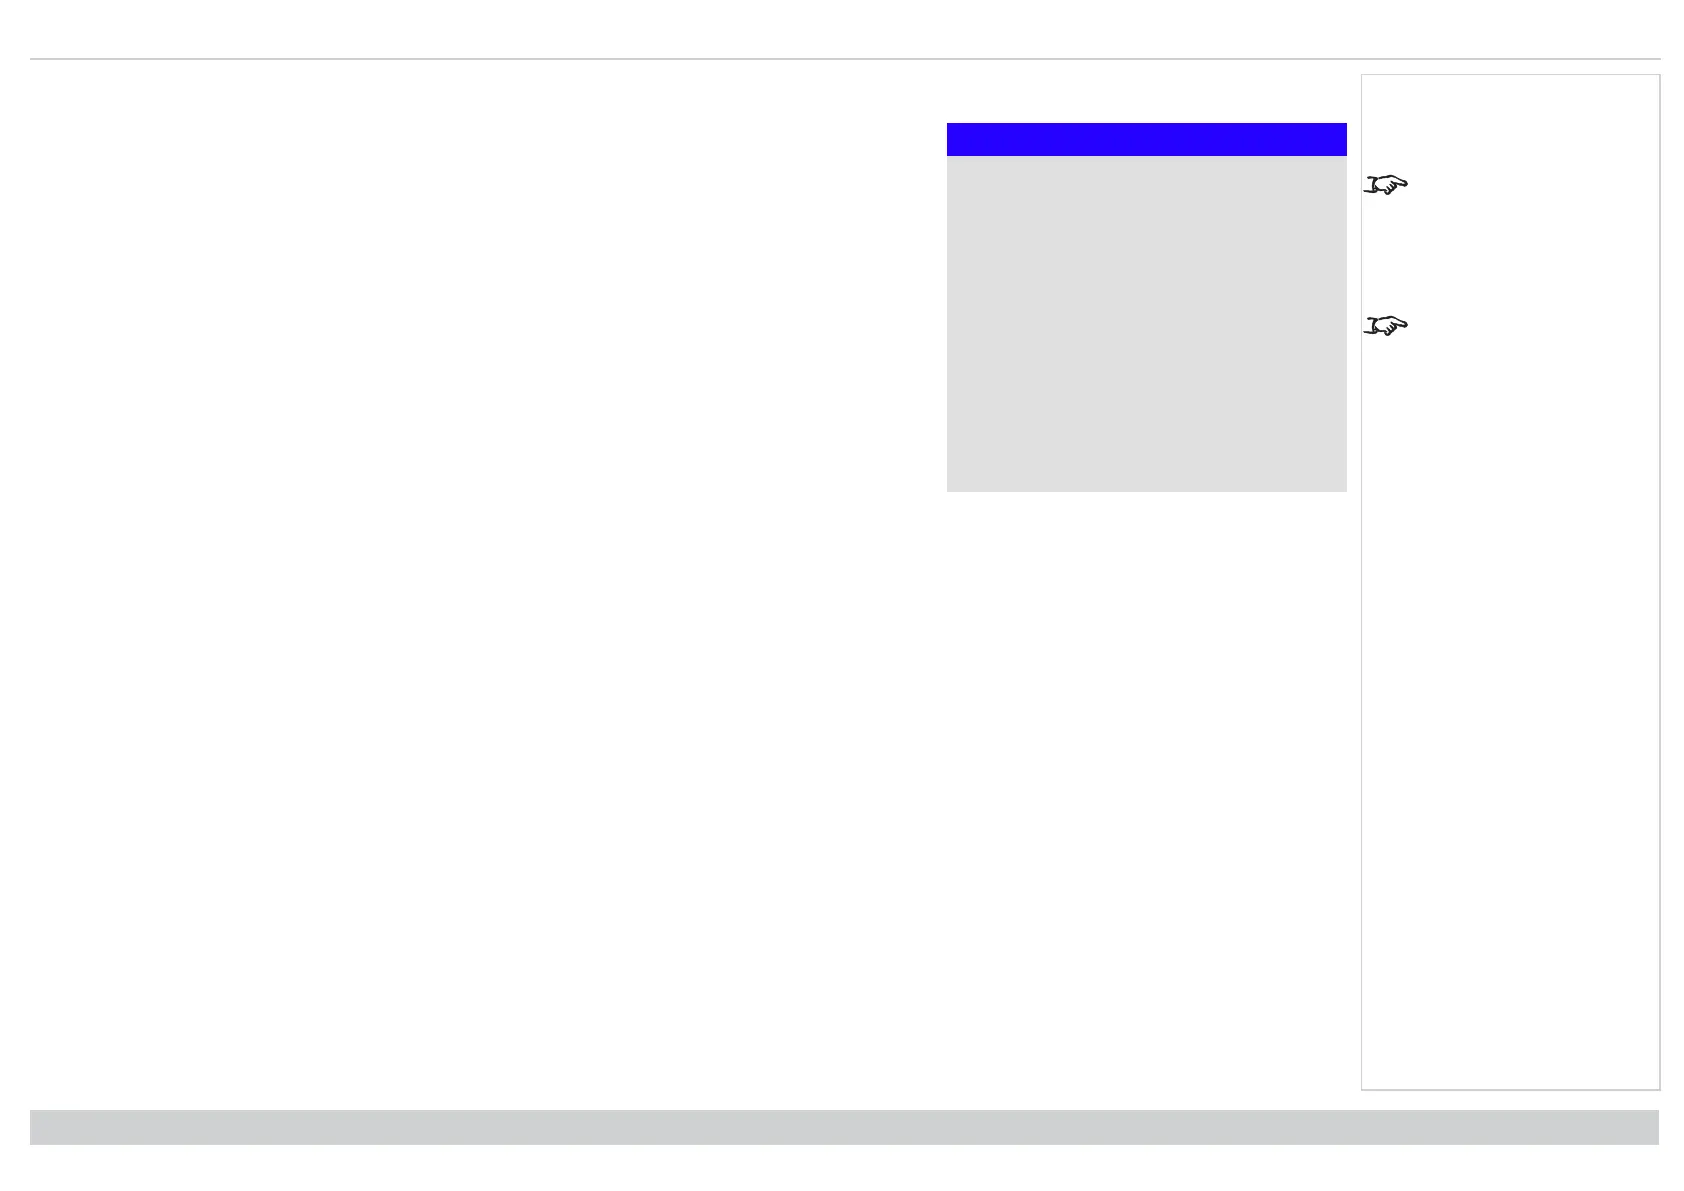
Setup
Orientation Auto-front
Cooling Condition Auto
High Altitude Auto
Screen Setting 16:10
ColorMax Setting ►
Clock Adjust ►
Standby Mode Normal
Startup Logo Original
Blank Screen Original
Auto Source Off
▼
Auto-front automatically
detects the projector’s
position and sets Table or
Ceiling orientation
accordingly.
Custom Logo. Please
request a Custom Logo
Upload Tool from your
local Digital Projection
Service provider to upload
a custom logo.
l Orientation
Choose from Front Tabletop, Front Ceiling, Rear Tabletop, Rear Ceiling and Auto-front.
l Cooling Condition
Choose from Table, Ceiling, Freetilt and Auto.
l High Altitude
Choose from On, Auto and Quiet.
l Screen Setting
Choose from 16:10, 16:9 and 4:3.
l ColorMax Setting
Set up user-defined color gamut values.
l Power On/Off
Access the submenu to set up automatic projector power on and power off.
l Clock Adjust
Access the submenu to set current date and local time.
l Standby Mode
Choose from SuperECO, ECO and Normal.
SuperECO uses minimal power and disables power ON via LAN.
ECO uses a low power setting but enables power ON via Ethernet port only.
Normal enables power ON via both HDBase-T/LAN and Ethernet ports.
l Startup Logo
Choose from Off, Original and User.
Select original to display the Digital Projection Ltd. logo on startup. Select User to display a custom logo. Use the projector controller application to set the
custom logo for the User option.
l Blank Screen
Choose from Original, Logo, Black, Blue and White.
l Auto Source
If this setting is On, the projector will automatically search for an active input source.
Highlight the DOWN arrow at the bottom of the page and press ENTER/OK to navigate to the second Setup menu page.
Rev A June 2019
page 76
Operating Guide
Notes
 Loading...


