35
Printing Photographs and Color Documents
dd
[ Text / Photograph / Text & Photograph ]
Printing
3.
s
How to Set Text / Photo / Text and Photo Mode
Pressing (CANCEL) key redisplays the main screen.
2
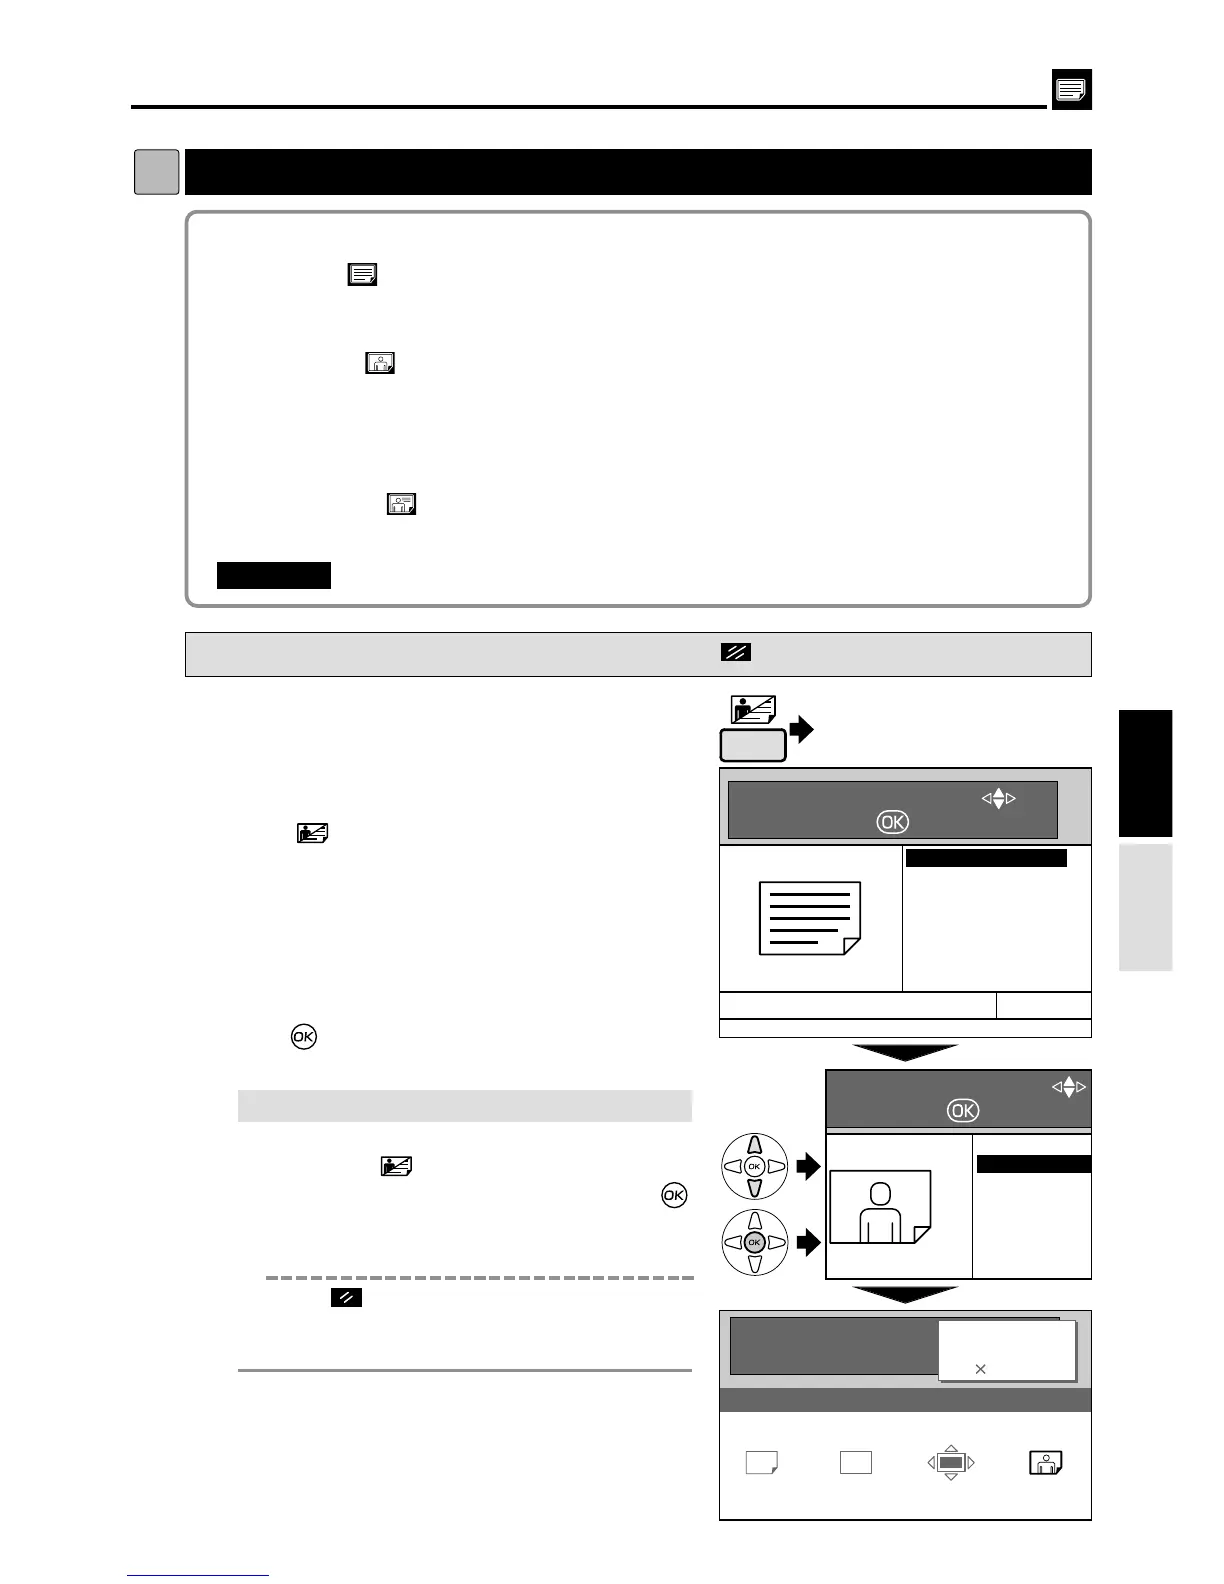
Press (IMAGE MODE) key.
A list of the image items is displayed on the LCD panel.
2This function includes three modes for enhancing text and photographic documents.
3
Press“CURSOR” keys to select one item
in“TEXT, PHOTO, TEXT/PHOTO”.
4
Press (OK) key.
The item selected in step
3 is set.
5
Start platemaking and printing.
Proceed with steps
6
to
9
of the sequence
described in “ Basic Printmaking”.
“ Basic Printmaking”
a
see p.14
Text/Photograph/Text and Photograph Mode
1
Proceed with steps
1
to
5
of the sequence
described in “ Basic Printmaking".
“ Basic Printmaking”
a
see p.14
Select “Text/Photograph/Text and Photograph Mode” before starting platemaking.
IMPORTANT
:
Text mode : Enhances the printing of text documents
Documents suited for text mode :
a
Text documents
a
Documents that include black and white photos that have already been screen processed.
Photo mode : Enhances the printing of the subtle gradations of photographs and
light images from color documents.
Document suited for photo mode :
a
Light-colored color documents
a
Color photographs
a
Documents with non-screened black and white photographs
Text/Photograph mode
: Enhances the printing of documents with both text and photographs.
Documents suited for text/photograph mode :
a
Documents with both text and photographs.
Press
Select
Set
¡
If you reset to Standard
Use one of the following methods.
•
Press the
(IMAGE MODE)
key, then
“CURSOR” keys.
Select “
TEXT
” and press
(OK) key. If the initial setting is changed, the
image mode returns to the one you set.
•
Press (ALL CLEAR) key. In this case, all
settings are reset to standard mode.
“ Standard mode”
a
see p.10
(Advanced)