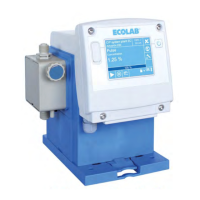
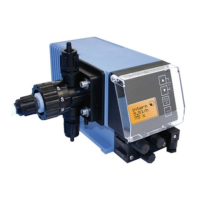
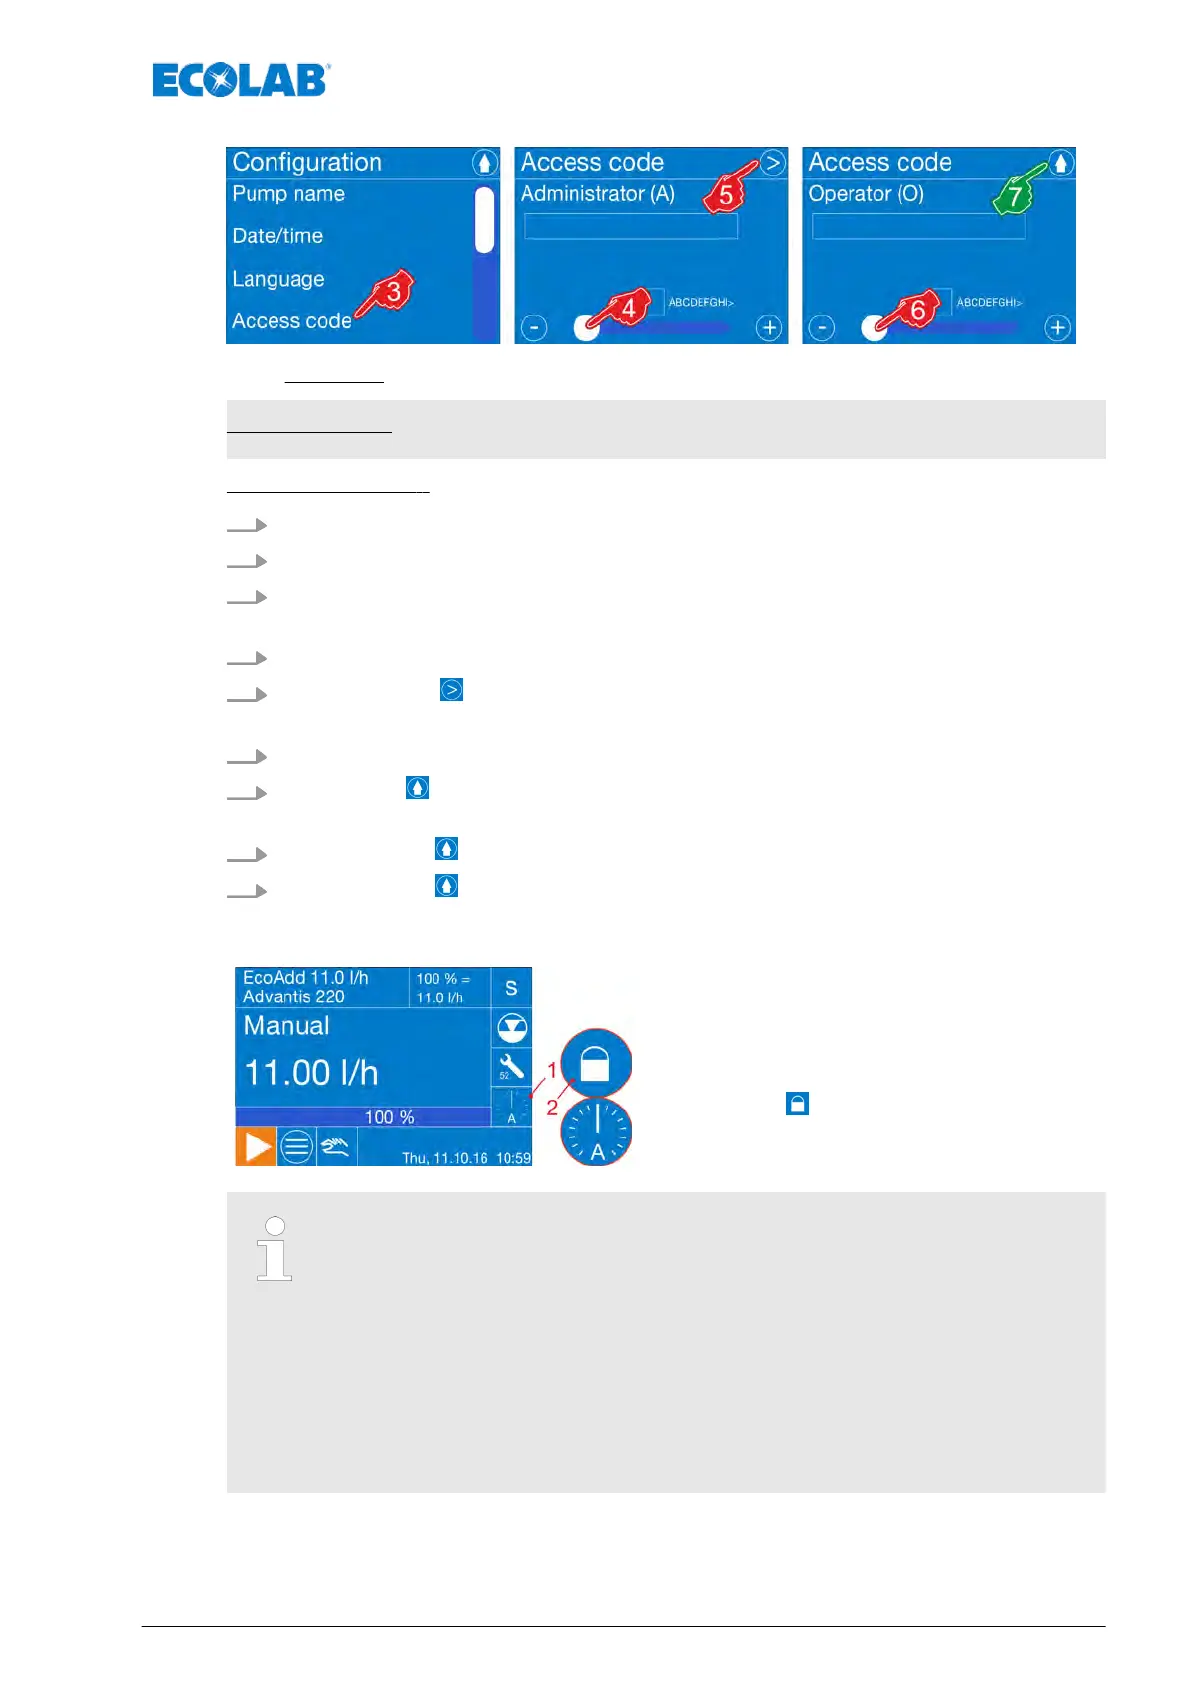
Fig. 48: Configuration: Access code
Factory setting: No access code
[Set Access code] :
1.
[Call up Main menu] :
Ä
Chapter 7.6 ‘Main menu’ on page 66
2.
[Select Configuration] :
Ä
Chapter 7.9 ‘Overview - Configuration’ on page 83
3. [Access code] .
ð
Screen change: ‘Access code’ ‘Administrator (A)’
4. [Access code] enter with the scrollbar
.
5.
[Press the Next] button.
ð
Screen change: ‘Access code’ ‘Operator (O)’
6. [Access code] enter with the scrollbar
.
7.
Pressing the button saves the setting.
ð
The screen switches to the overview: [Configuration].
8.
By pressing the button, you can return to the [Main menu].
9.
By pressing the button, you can return to the [operating display].
If an [Access code] has been set, this is visible on
the display while the pump is in operation.
The activated [Access code] is indicated by a closed
padlock symbol on the operating display (pos. 2).
If the [Access code] has been entered to be able to make settings on the
pump, a clock symbol is shown on the operating display (pos. 1). It runs
backwards for 15 minutes and then blocks the pump again automatically
.
Within this time, if you switch back to Menu, then this period starts all over.
The pump can be immediately stopped by "tapping" on the "clock symbol",
without the clock ticking any further.
If only the [Access code] of the Administrator (A) is set, no code letter is
displayed in the clock symbol. If both access codes are set, the code letter
belonging to the current login (Administrator (A) or Operator (O)) will always
appear.
Control / software
89 Rev. 2-05.2018