Epson Stylus NX510/515/SX510W/515W/TX550W/NX415/SX410/415/TX410/419/NX215/SX210/215/TX210/213/219/ME OFFICE 510 Revision A
DISASSEMBLY/ASSEMBLY Removing the Housing 102
Confidential
9.
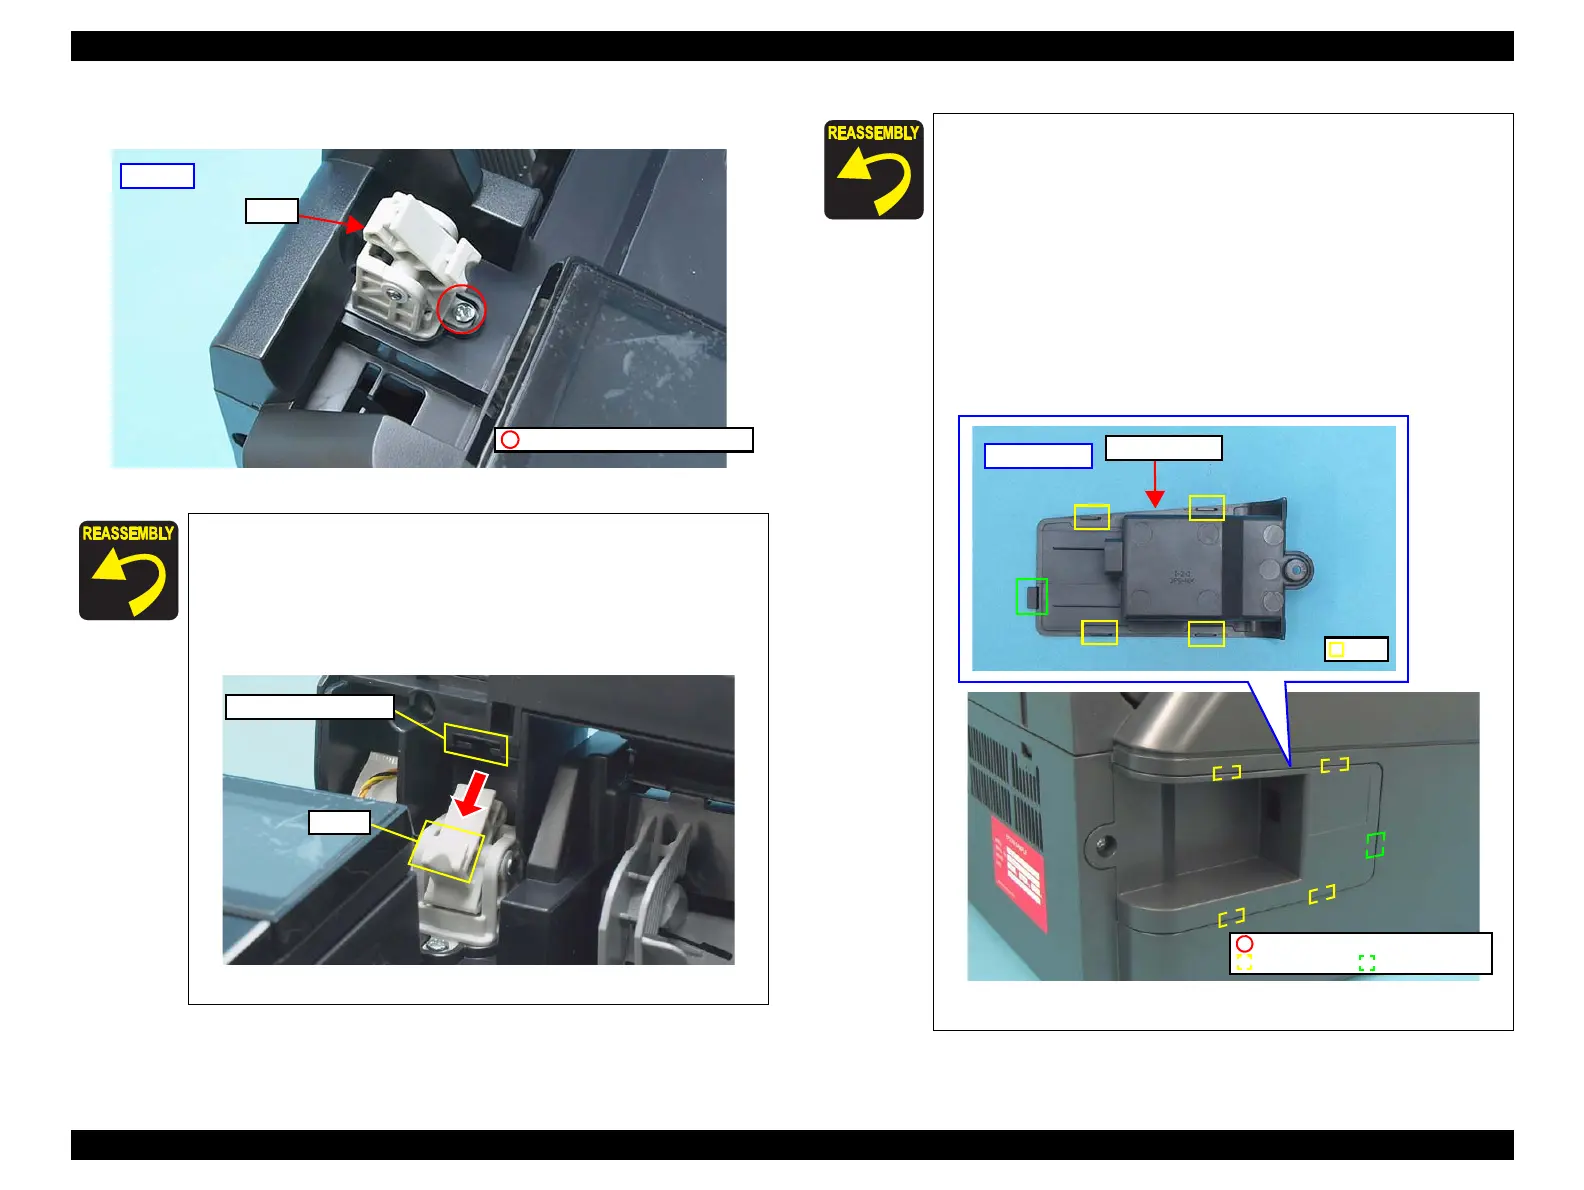
Remove the screw (x1) that secures the Hinge, and remove the Hinge.
Figure 4-10. Removing the Hinge
Route the Scanner Carriage FFC and secure it to the Upper
Housing and Main Board Frame with double-sided tape as
shown in
Figure 4-8.
When installing the Scanner Unit, engage the groove of the
Scanner Unit with the hook of the Hinge as shown in
Figure
4-11.
Figure 4-11. Installing the Scanner Unit
Hinge
C.B.P. 3x10, F/Zn-3C (6±1kgfcm)
Left Side
Groove of Scanner Unit
Hook
Make sure to follow the instructions below because the shape
of the USB Cover for NX510 series and SX410/SX210 series
differs.
• NX510 series:
Install the USB Cover while aligning the tabs (x4) on it
and the holes (x4) on the Upper Housing shown in
Figure
4-6.
• SX410/SX210 series:
Install the USB Cover while aligning the tabs (x4) and the
holes (x4) on the Upper Housing shown in the figure
below.
Figure 4-12. Installing the USB Cover
C.B.S. 3x10, F/Zn-3C (6±1kgfcm)
Tab and Hole
Rib

 Loading...


