246
POWERHEAD
POWERHEAD ASSEMBLY
Use Torquing Socket, P/N 331638, to tighten rod
cap screws in three stages:
• Apply first torque of 40 to 60 in. lbs. (5 to 7 N·m)
to both rod cap screws.
• Tighten screws to a torque of 14 to 16 ft. lbs. (19
to 21.7 N·m).
• Apply final torque of 30 to 32 ft. lbs. (41 to 43
N·m).
IMPORTANT: If a new screw is used, it must be
installed as above. Then, it must be removed, re-
lubricated, and installed again.
Loosen forcing screw and remove the frame.
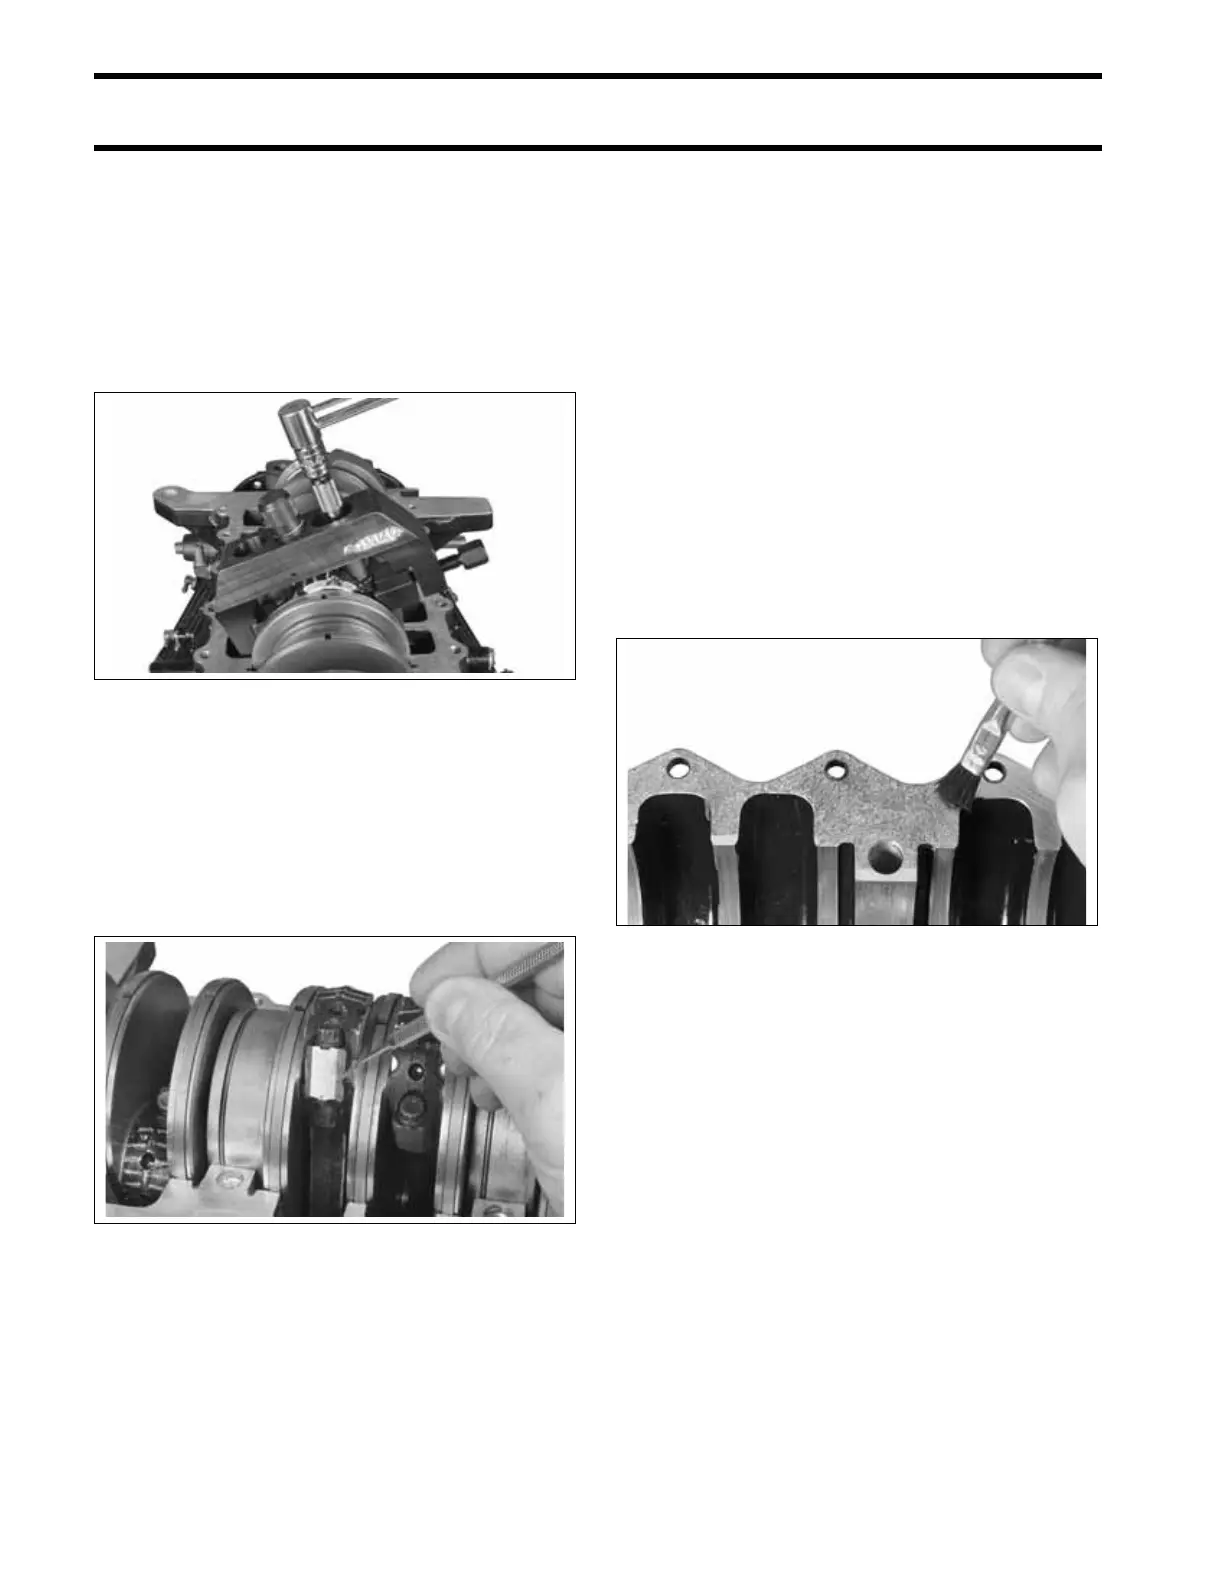
Test at least three corners of the rod and cap joint
with a pick. Joint must be smooth with no step.
Crankcase Assembly
Thoroughly clean and degrease the mating
flanges of the crankcase and cylinder block with a
non-petroleum based solvent, such as isopropyl
alcohol or acetone, and let air dry.
IMPORTANT: DO NOT allow solvent to get on
internal components. Clean only the mating
flanges.
Apply Gasket Sealing Compound to lower oil seal
groove in crankcase. DO NOT put any sealer in
upper seal groove.
Use a small brush with a tapping motion to apply a
thin, even coat of Gel-Seal II sealant to the crank-
case mating flange. The sealer must not come
within 1/4 in. (6.4 mm) of bearings.
IMPORTANT: Gel-Seal II has a shelf life of at
least one year when stored at room temperature.
Test the Gel-Seal II or replace it if the age of the
tube cannot be determined. Using old Gel-Seal II
could cause crankcase air leaks.
IMPORTANT: The use of Locquic Primer is NOT
recommended. If primer is used, crankcase
halves must be assembled and tightened within
ten minutes after the Gel-Seal II has been applied.
Lower the crankcase into place. Make sure that
upper oil seal and lower seal housing are seated
in grooves.
005299
005300
003874