SMP 300 Series • Installation 16
Power Connection
A
100-240 VAC power input (see figure4 on page15) — Connect the provided
IEC cord. Verify the front panel buttons and LCD illuminate (see Front Panel Menu
Operation on page26).
Control System and External Device Connections
The SMP300 Series can be configured and controlled from the Remote RS-232 port (see
figure4,
E
on page15) or the front panel USB mini-B Config port (see figure8,
B
on
page21) using SIS commands with DataViewer. A standard web browser can be used
for control and configuration from the LAN port. Because the LAN port must be connected
for streaming output, Extron recommends using it for configuration, remote control, and
firmware upgrades.
B
USB storage device — Attach an optional external USB storage device to the front or
rear USB ports to save recorded files. The storage device can be any standard external
hard drive or USB flash drive formatted with a compatible file system.
NOTE: The SMP300 Series can detect and record to USB storage devices using
FAT32, VFAT long file name extensions, EXT2, EXT3, EXT4 file systems, or NTFS-
formatted storage volumes. For FAT32 USB storage, file sizes must be limited to
4GB or the recording creates multiple 4 GB files.
C
USB keyboard and mouse, or RCP 101 — Connect a keyboard and mouse to the
two USB typeA ports. With a keyboard and mouse connected, the user can toggle
<CtrL + ALT + S> the HDMI output (see figure8) between the standard preview output
and the internal browser view.
D
Digital I/O — Connect to the four 3.5 mm, 5-pole captive screw ports to provide user-
defined digital inputs or outputs (see Digital I/O Configurator on page104).
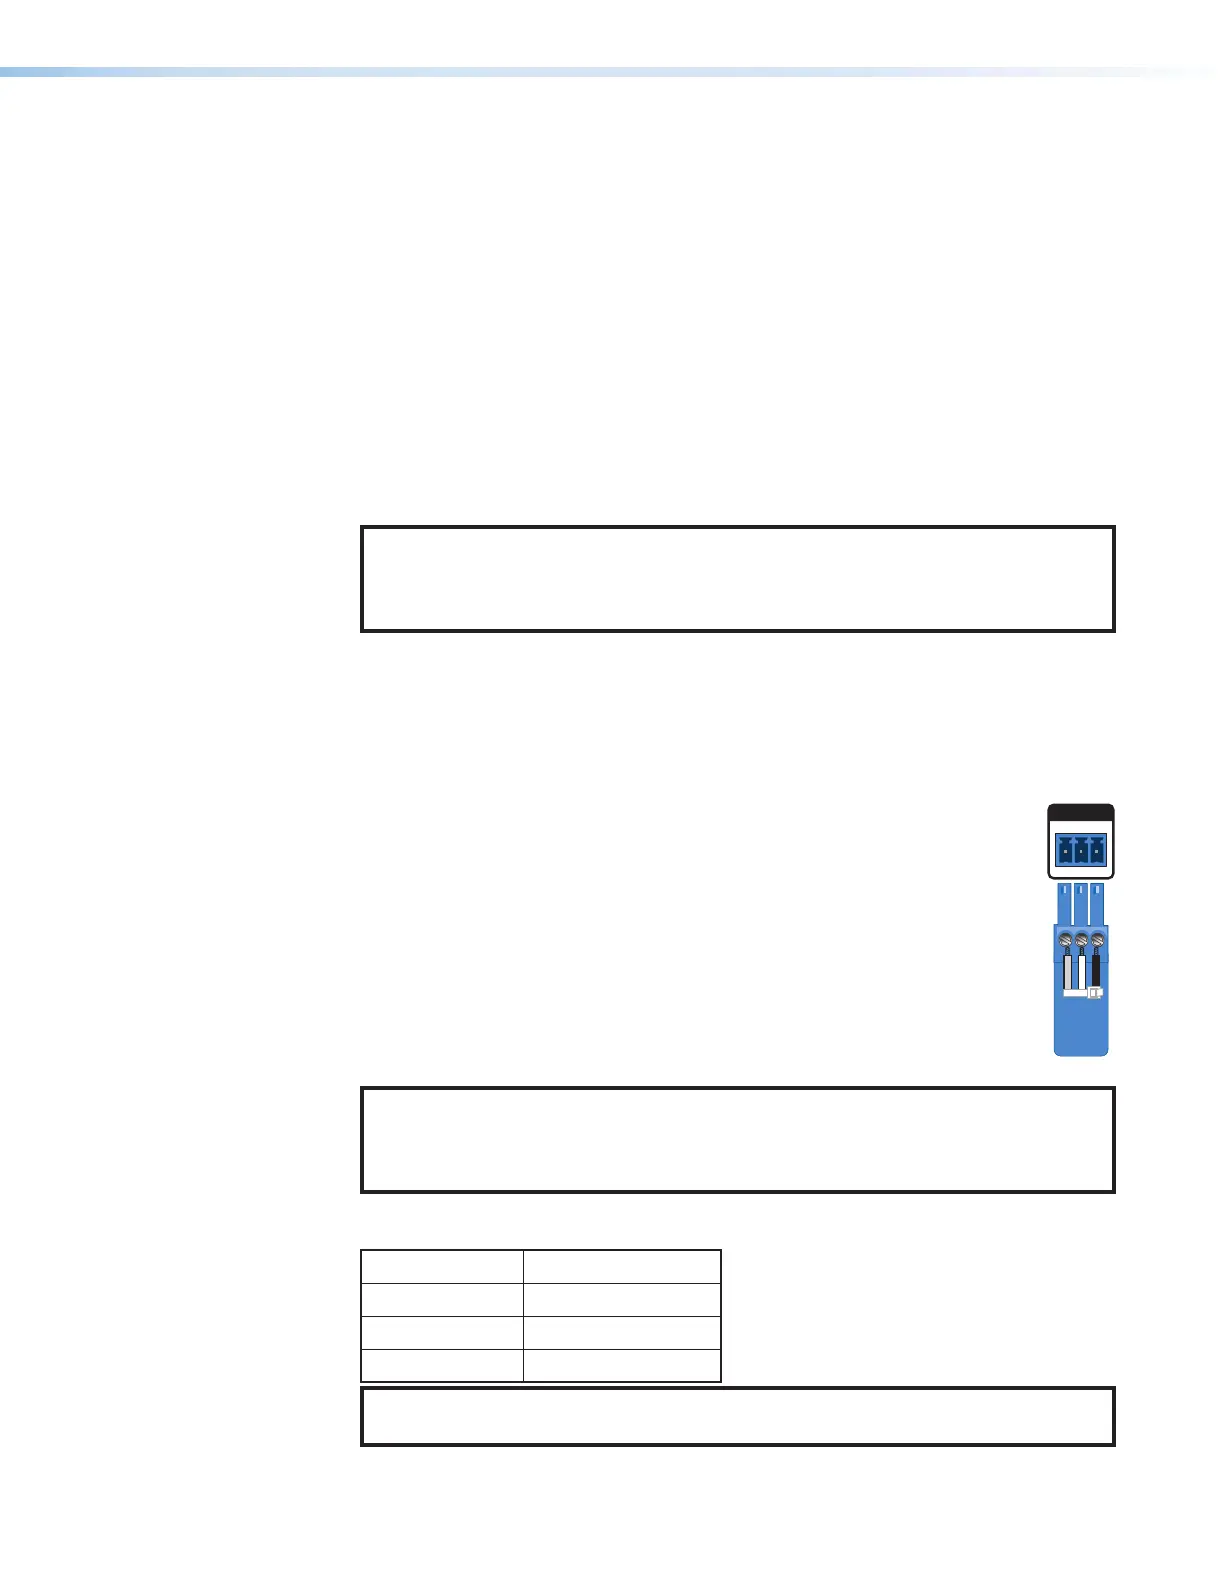
E
Remote RS-232 — Connect the host RS-232 cable to the rear panel with
a 3-pole captive screw connector for bidirectional (±5V) serial host control,
to control the SMP300 Series using SIS commands over RS-232.
The default protocol port is:
• 9600 baud • no parity • 8 data bits
• 1 stop bit • no flow control (handshaking)
P
Reset button and LED — Press the button to reset the SMP300 Series.
There are several reset modes to return the SMP to user-defined configuration
settings or to return all settings back to factory defaults.
The LED indicates the selected reset mode, and provides the reset status
during the reset operation (see Rear Panel Reset on page19).
NOTE: The factory configured passwords for all accounts on this device have
been set to the device serial number. In the event of a complete system reset, the
passwords convert to the default, which is no password (see Users and Roles
on page86 to change a password).
Q
RJ-45 Ethernet connector (LAN) — Use a standard Ethernet cable to connect to a
network. The default network settings are:
IP Address:
192.168.254.254
Subnet Mask:
255.255.0.0
Default Gateway:
0.0.0.0
DHCP:
OFF
NOTE: To connect the SMP300 Series directly to a computer Ethernet port, use a
crossover Ethernet cable (see Connection Options on page106).
Tx Rx
RS-232
G
REMOTE
Ground
Receive
Transmit