SMP 300 Series • Front Panel Operations 24
PIP Upper Left <5>
PiP 25%, main window 100%
Ch. B
16:9
Ch. A
16:9
PIP Upper Right <6>
PiP 25%, main window 100%
Ch. B
16:9
Ch. A
16:9
PbP 25%, main window 75%
Ch. B
16:9
Ch. A
16:9
METADATA
METADATA
PBP Upper Right <2>
PbP 25%, main window 75%
Ch. B
16:9
Ch. A
16:9
METADATA
METADATA
PBP Mid Left <3>
PbP 25%, main window 75%
Ch. B
16:9
Ch. A
16:9
METADATA
METADATA
Fullscreen A <9>
main window 100%
Ch. A
16:9
PbP 25%, main window 75%
Ch. B
16:9
Ch. A
16:9
METADATA
METADATA
Windows horizontally centered
Ch. B
16:9
Ch. A
16:9
METADATA,
MORE METADATA
CH A Center <11>
main window 75%, centered in screen
Ch. A
16:9
METADATA, MORE METADATA
CH B Center <12>
main window 75%, centered in screen
Ch. B
16:9
METADATA, MORE METADATA
Ch. A
16:9
Ch. B
16:9
METADATA,
MORE METADATA
Side by Side (1) <8>
Windows horizontally centered
main window 100%
Ch. B
16:9
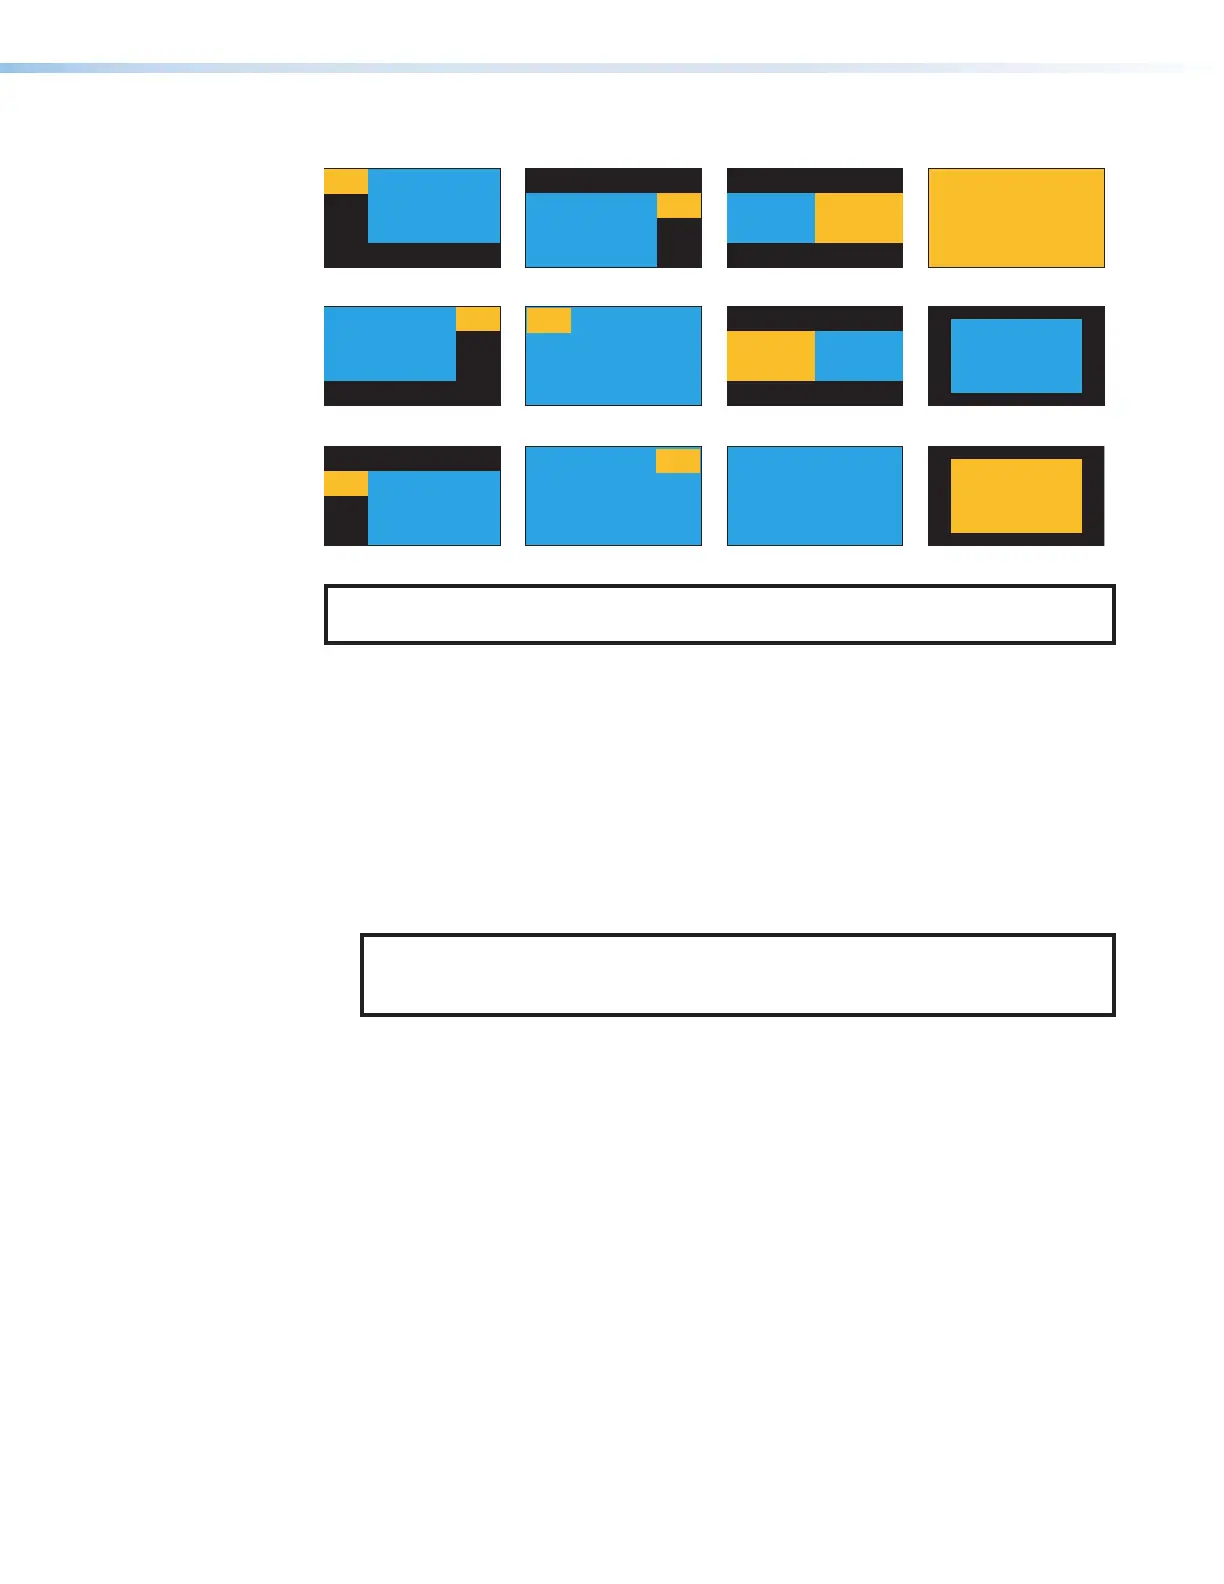
Figure 10. Layout Presets
NOTE: PBP = Picture Beside Picture
PIP = Picture In Picture
4. Press NEXT (see figure9,
H
on page23) to select the layout.
5. If desired, press SWAP to reverse the screen position of the A and B input selections.
To store a custom layout configuration:
1. Select the layout from the above configurations closest to your requirements.
2. Change the window size and centering adjustments for each input to modify the layout
as needed (see Picture Control Menu on page30),
3. Press and hold LAYOUT PRESET for 3 seconds to enter the saved layout menu.
4. Use either ADJUST knob to select the desired preset location to store the new layout.
5. Press Next to save the new layout.
NOTE: In order to preserve the aspect ratios of the windows, some layouts can
have slightly different spacing at lower resolutions. It is recommended to save
custom layouts at the resolution at which they are to be recalled.
10