Computer Operations
528
Computer Operations
12
Importing Using Stored File Manager 3
The following describes how to use Stored File Manager 3 to import files from a machine's
folder.
Stored File Manager 3 is software to import files from a machine's folder to a computer
without using any client-side application.
To use Stored File Manager 3, your computer must have Network Scanner Utility 3 installed.
z
Network Scanner Utility 3 is included in the Media(Software/Product Manual).
z
When Secondary Ethernet (optional) is installed on the machine and the IP address of Ethernet2 is specified,
Network Scanner Utility 3 cannot operate. For more information, refer to "Tools" > "Connectivity & Network
Setup" > "Protocol Setup" > "TCP/IP - Network Settings (Ethernet 2)" in the Administrator Guide.
z
To import files stored in a folder, prior settings are required, such as enabling ports. For more information, refer to "Scanner
Environment Settings" > "Configuration of Store to Folder" in the Administrator Guide. For information on the operation of the
application, refer to the documentation provided with the application.
z
For information on how to install Stored File Manager 3, refer to the Media Information included in the
Media(Software/Product Manual).
z
To learn about fields in the displayed dialog box, click [Help] to view the Stored File Manager 3 help.
1 Click [Start] and select [Programs] > [Fuji Xerox] > [Network Scanner Utility 3] > [Stored File
Manager 3].
z
If you used another directory for installation, specify the directory instead.
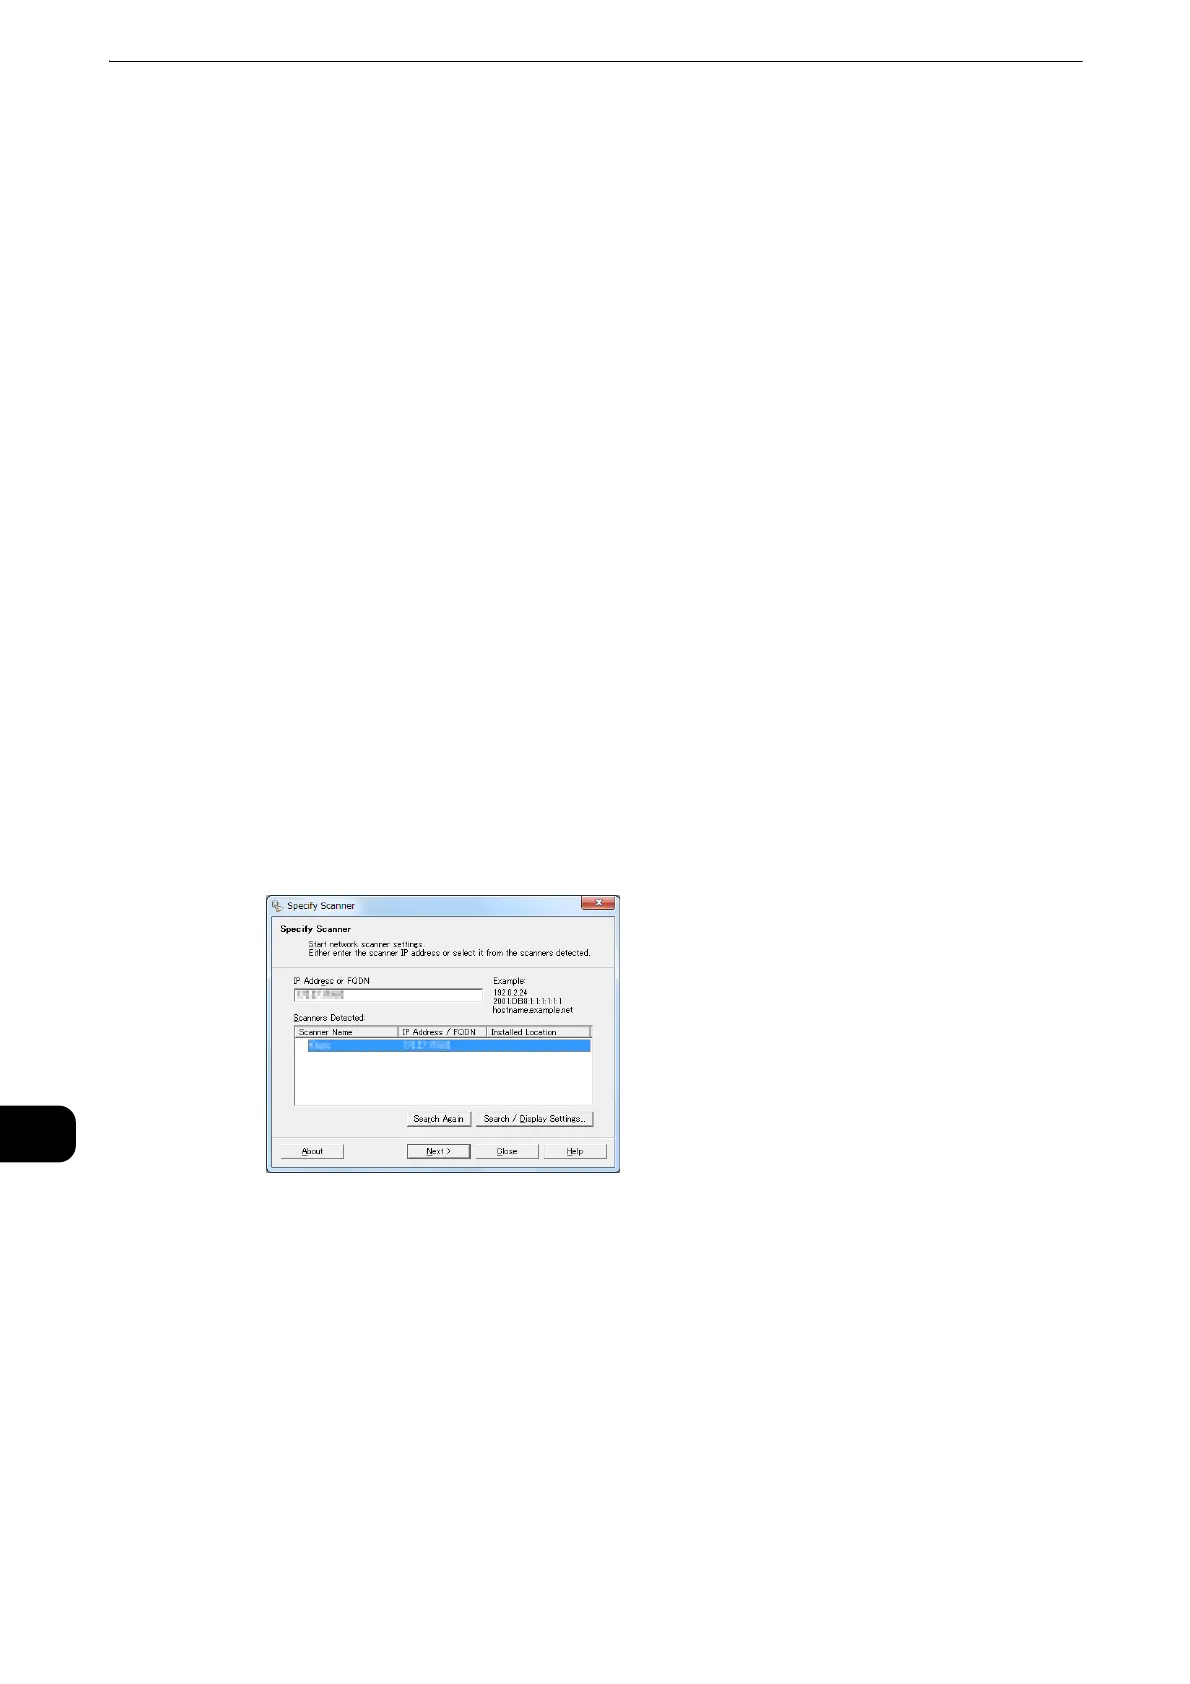
2 From the displayed list, click the scanner name of the machine, and click [Next].
z
If no scanners are shown in the list, click [Search Again]. The application searches for scanners.
z
To change the display of scanner names, use the dialog box that appears by clicking [Search/Display
Settings]. For more information, refer to "Changing the display of scanner names" (P.531).
z
Only when the machine is connected to the network, the scanner name is automatically listed. To view the
machine connected to another network, click [Search/Display Settings] and register the IP address and
scanner name. For information on how to change the settings, refer to "Changing the display of scanner
names" (P.531).
 Loading...


