7. When reassembling the probe housing make sure the groove in the break plate faces the probe housing
cover. Also check that the temperature sensor is oriented so that it is on top.
5.5 Lower Unit Repairs
5.5.1 Removing the Chassis Cover with the Storage Drawer in Place
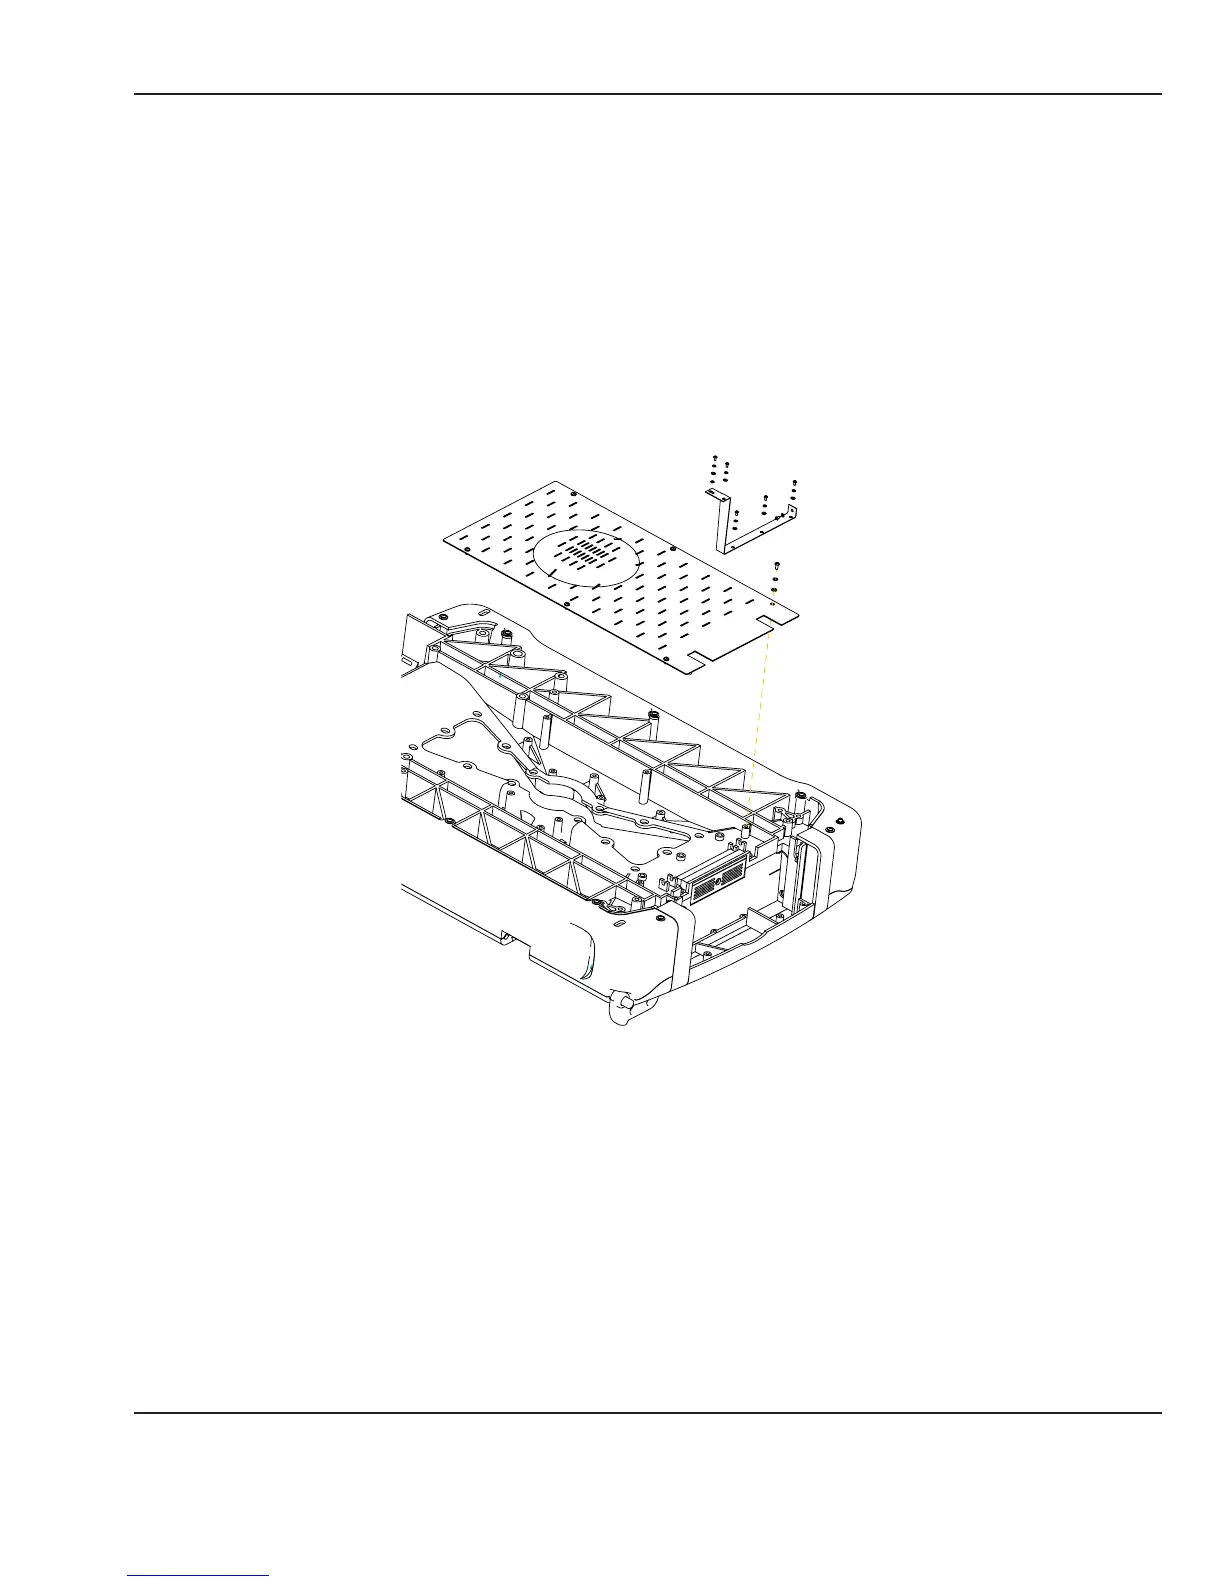
Refer to “Figure 5-4 Chassis Bottom Cover”.
Chassis cover
Wire raceway cover
Chassis
Figure 5-4 Chassis Bottom Cover
1. Slide the drawer all the way over in one direction, and use a 2.5 mm hex key to remove the 3 chassis cover
screws on one side.
2. Slide the drawer to the other side and remove the 3 remaining screws from the cover.
3. Remove the humidier reservoir.
4. Remove the bottom 2 screws (2mm hex key) that secure the right end of the wire raceway cover.
5. Flex the raceway cover and carefully slide the cover panel forward until it drops o the back drawer slide.
© 2001 by Datex-Ohmeda, Inc.. All rights reserved. 6600-0356-000 103 71
Chapter 5: Repair Procedures