GE MEDICAL SYSTEMS
D
IRECTION FK091075, REVISION 04 VIVID 3N PRO/EXPERT SERVICE MANUAL
Chapter 8 Replacement Procedures 8-111
8-6-8-4 Front Wheel Removal - Procedure 2 (cont’d)
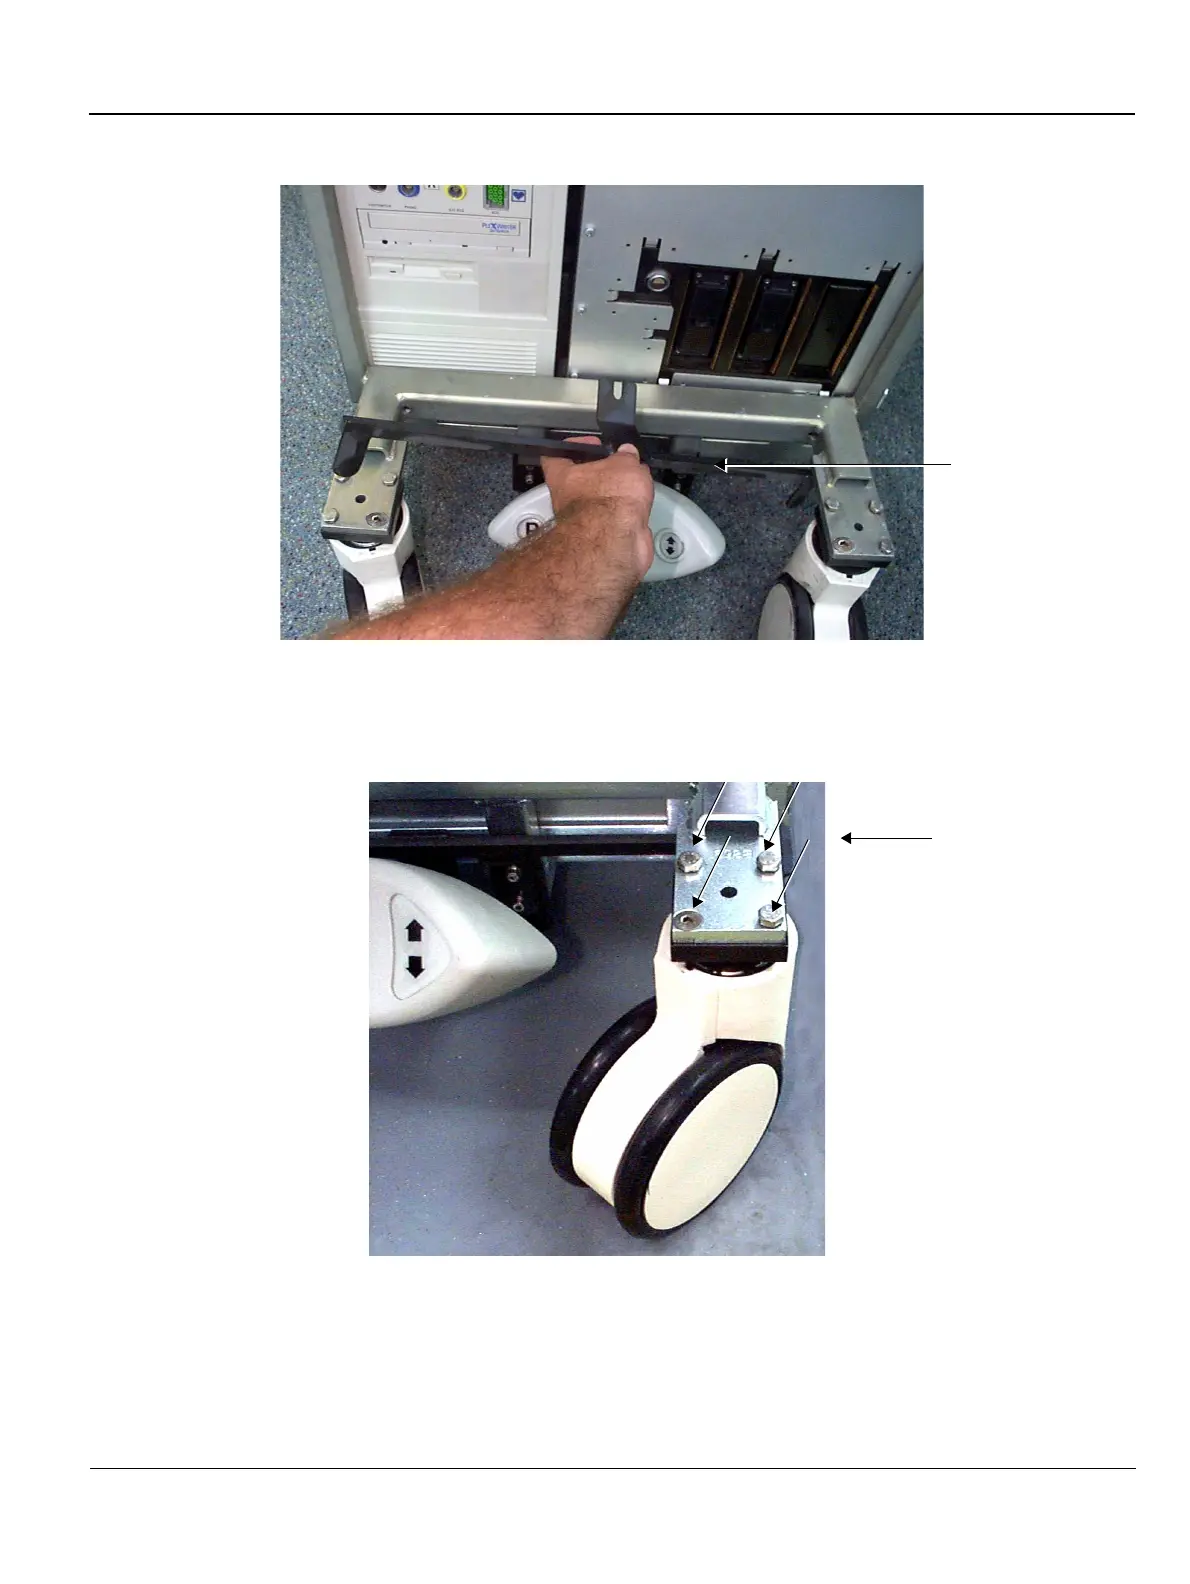
Figure 8-95 Removing the Transverse Arm
6) Remove the four bolts (three wrench bolts and one Allen bolt - see Figure 8-96 below) that secure
one of the front wheels to the chassis, and remove the wheel.
7.) Proceed to step 1 of the Front Wheel Installation - Procedure 2 on page 8 - 112 to install a new front
wheel in place of the one removed.
8.) Repeat step 6 above, to remove the other front wheel from the chassis.
9.) Proceed to step 2 of the Front Wheel Installation - Procedure 2 on page 8 - 112, to install the second
new front wheel, then complete the remaining steps of the front wheel installation procedure.
Figure 8-96 Front Wheel Bolted to Chassis
Transverse Arm
(Wheel Position Bar)
Securing Bolts
 Loading...


