11.3 Calibrating Map Images
How to Calibrate a Map Image
To configure the program for the map coordinates inserted in the background of the screen, first load an image
through
Tools > Insert Map Image
button or by pressing F7. The map will appear in the center of the screen,
the button will be enabled and the button will appear to its side.
GTM PRO® will also show the Map Rotation Tool and the Map Clipping Tool .
GPS TrackMaker® uses a process of calibration with two stages:
1 – Image rotation to match the angle of the map grid with the program grid.
2 – Image calibration with two points, changing the position, height and width of the image.
The rotation stage is available only in GTM PRO®. To calibrate images in free version of the program, be sure the
image is already rotated.
Rotating the Image before calibrating with two points
If the inserted image is rotated, it won't be possible to calibrate it with two points. It is necessary to rotate the
image to match the image grid with the grid of the program.
To know how to rotate images in GTM PRO®, see the topic Rotating Images.
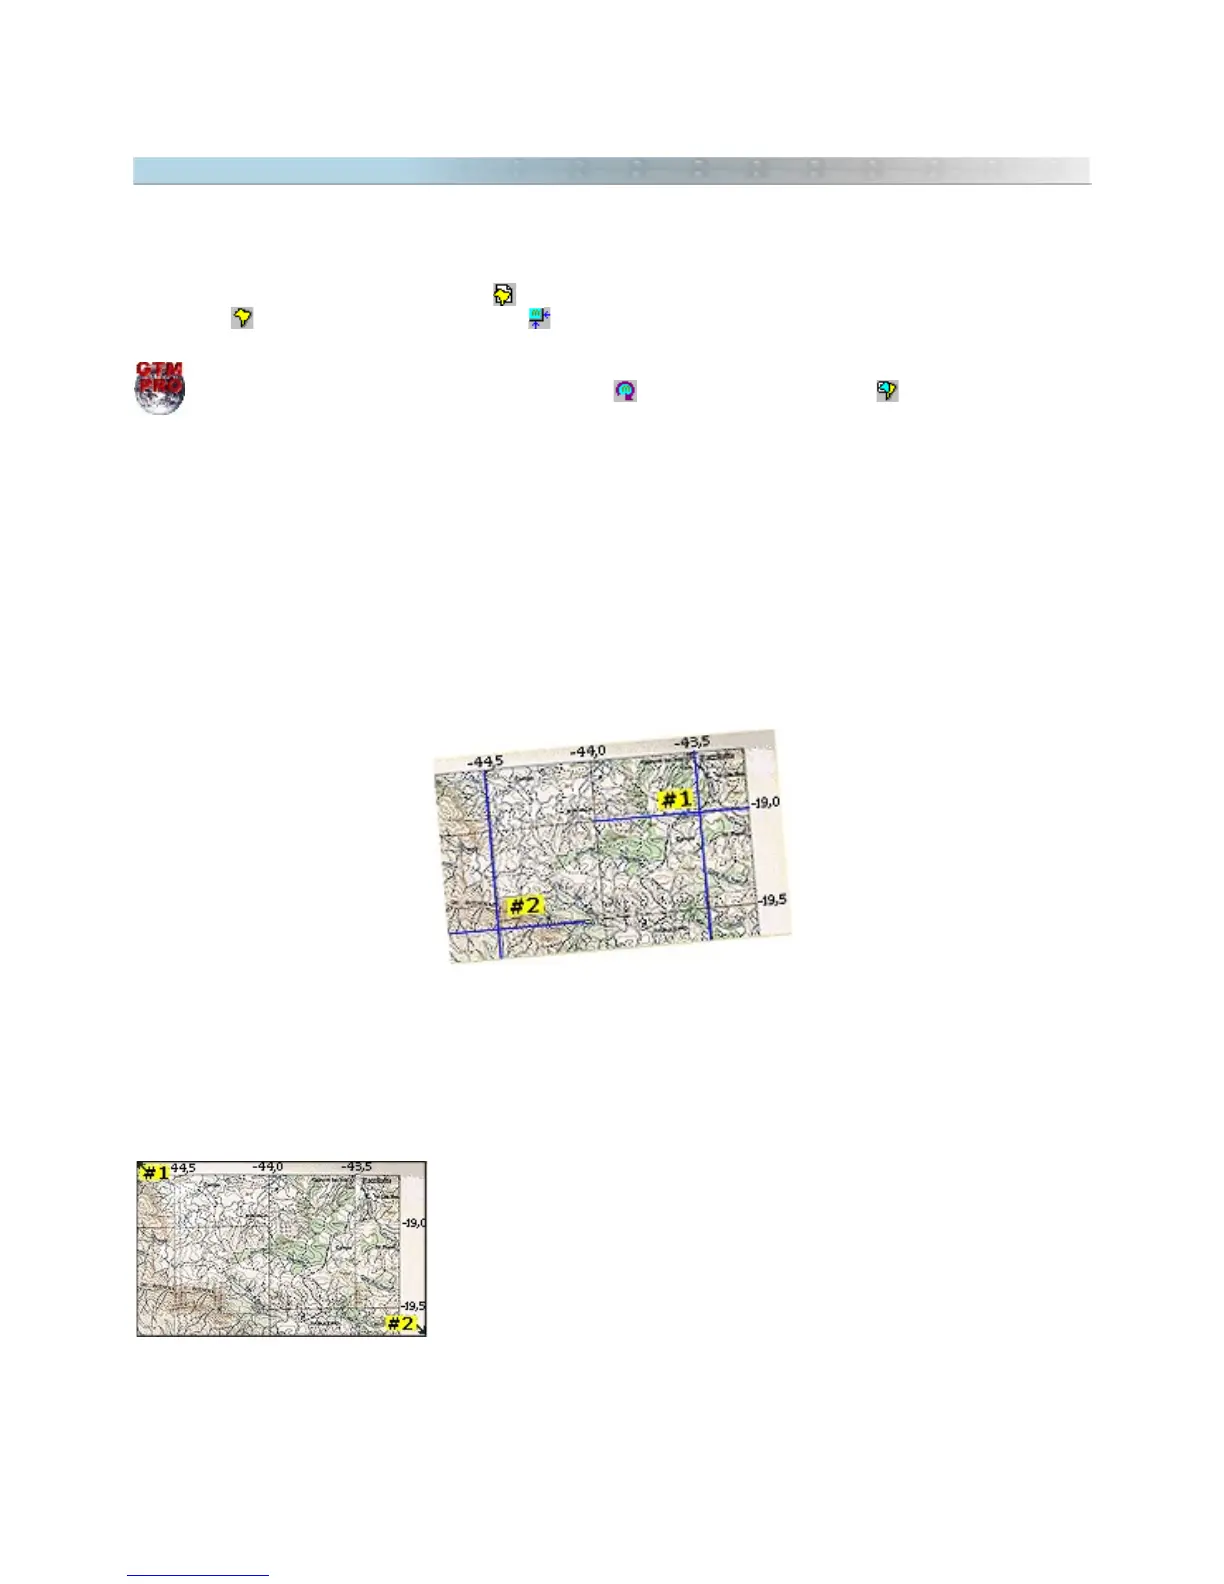
Calibrating the Map through the Points of the Extremities of the Image
After rotated, an easy way to calibrate map images is through the indication
of the coordinates of the upper-left and lower-right corners of the image.
This method, in spite of being easier, can’t provide good precision because its
not always that it is possible to obtain the values of the extremities of the
map in a precise way, mainly when there are borders at the map or
generated in scan process.
To know how to calibrate an image this way, see Calibrating Images through Extremities Points.
131