11.9 Saving the Image
In GTM PRO®, the <Salve as> button saves the image in its original format or converts the image to the
following formats:
• BMP - Windows and OS/2 Bitmap
• JPG - JPEG Compliant
• GIF - Compuserve Graphics Interchange
• TIF - Tagged Image File Format
• PNG - Portable Network Graphics
• PCX - ZSoft PaintBrush
Icons and vector files such as WMF and EMF are always saved in its original formats.
Attention: free version of GPS TrackMaker® saves images only in its original formats.
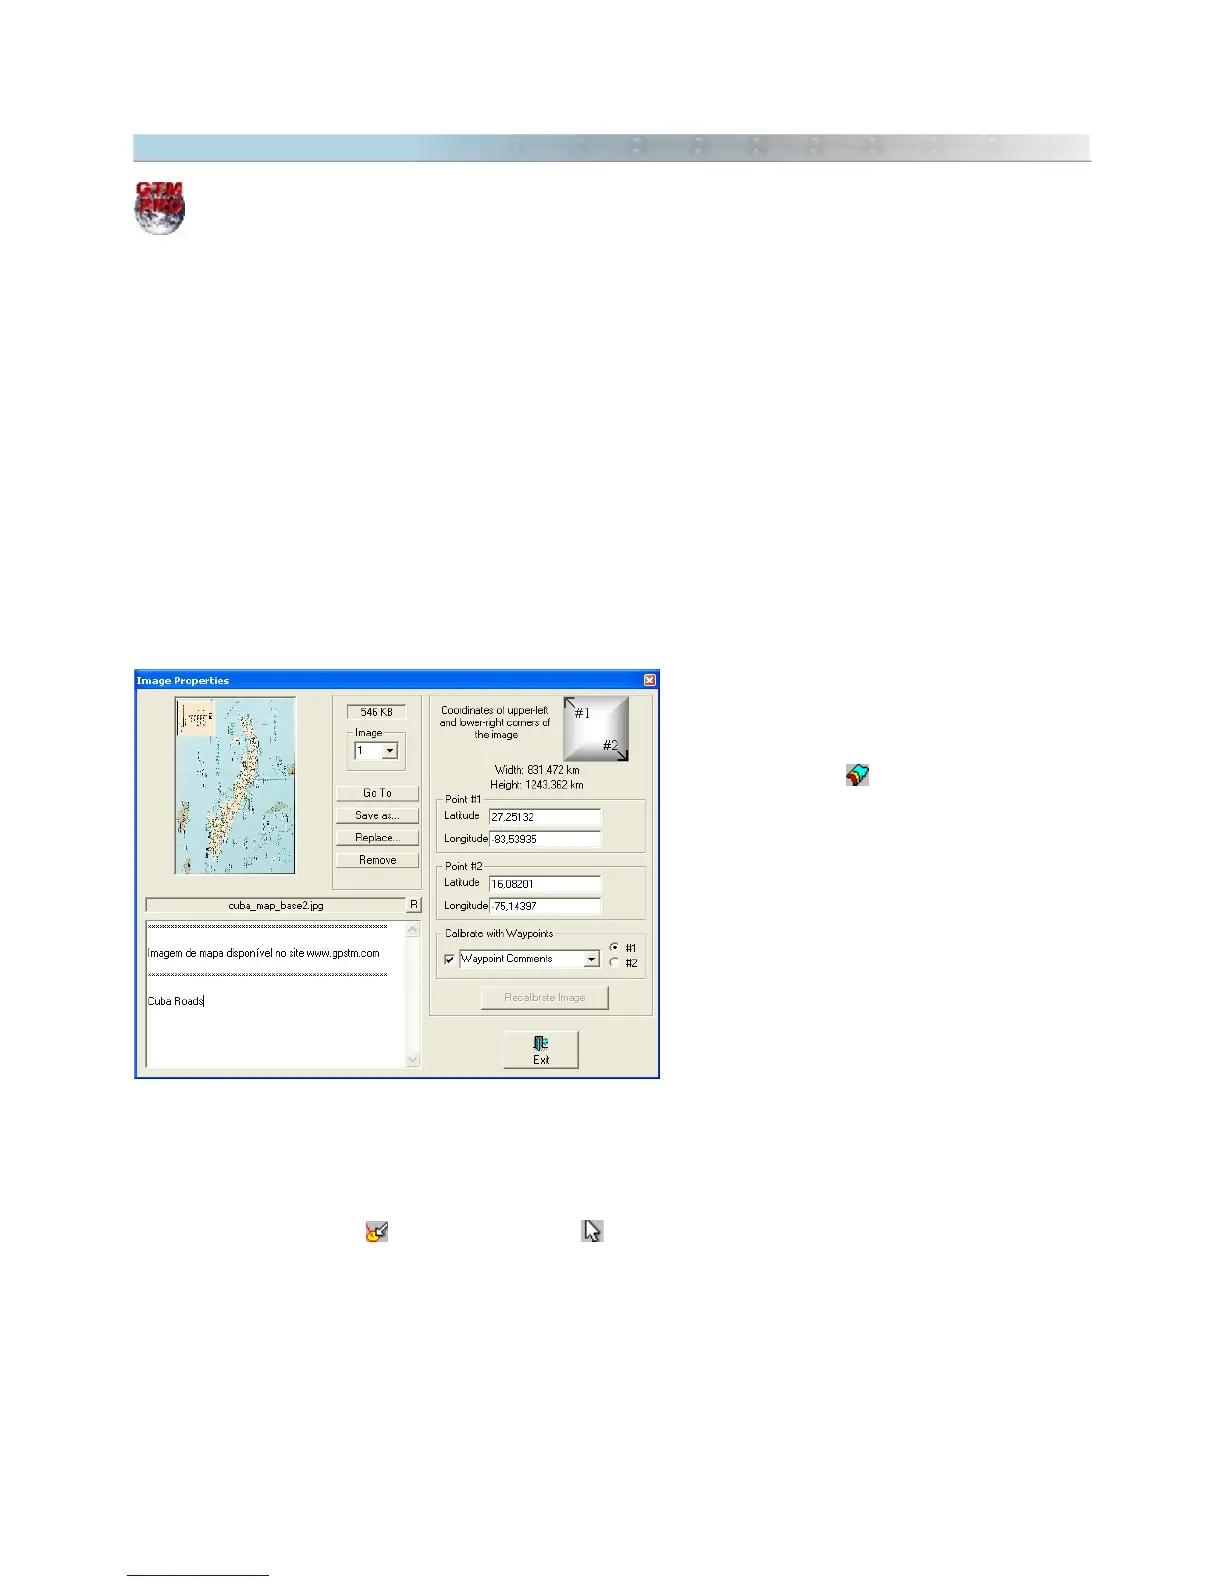
There are two ways to save the scanned image:
Through
Map Image Properties
window
Scanned images can be saved to disk by
accessing the
Map Image Properties
window in
the
Tools
menu or button. Then, choose the
image to be removed by pressing the arrow keys
up or down or selecting the index number of the
image. After choosing the image, press the
Save
as
button. See Showing Image Scanned
Properties.
Through
pop-up
menu
To save in disk an image through
pop-up
menu, follow these steps:
• Press
Detect Elements button
and Selection Tool button.
• Click with the left mouse button on the image.
• A
pop-up
menu will appear next to the mouse pointer.
• Choose
Save Image as
.
139