11.4 Calibrating Images Through the Points of Extremities
An easy way to calibrate map images is through the indication of the
coordinates of the left superior side and right inferior side of the image. This
method, in spite of being easier, may not provide good precision because its
not always that it is possible to obtain the values of the extremities of the
map in a precise way, mainly when there are borders at the map or excesses
generated in scan process.
The Calibration through extremities is made in
Properties of Image
window
that can be accessed from
Tools
menu or clicking with the left button of the mouse on image. It can also be
accessed through button.
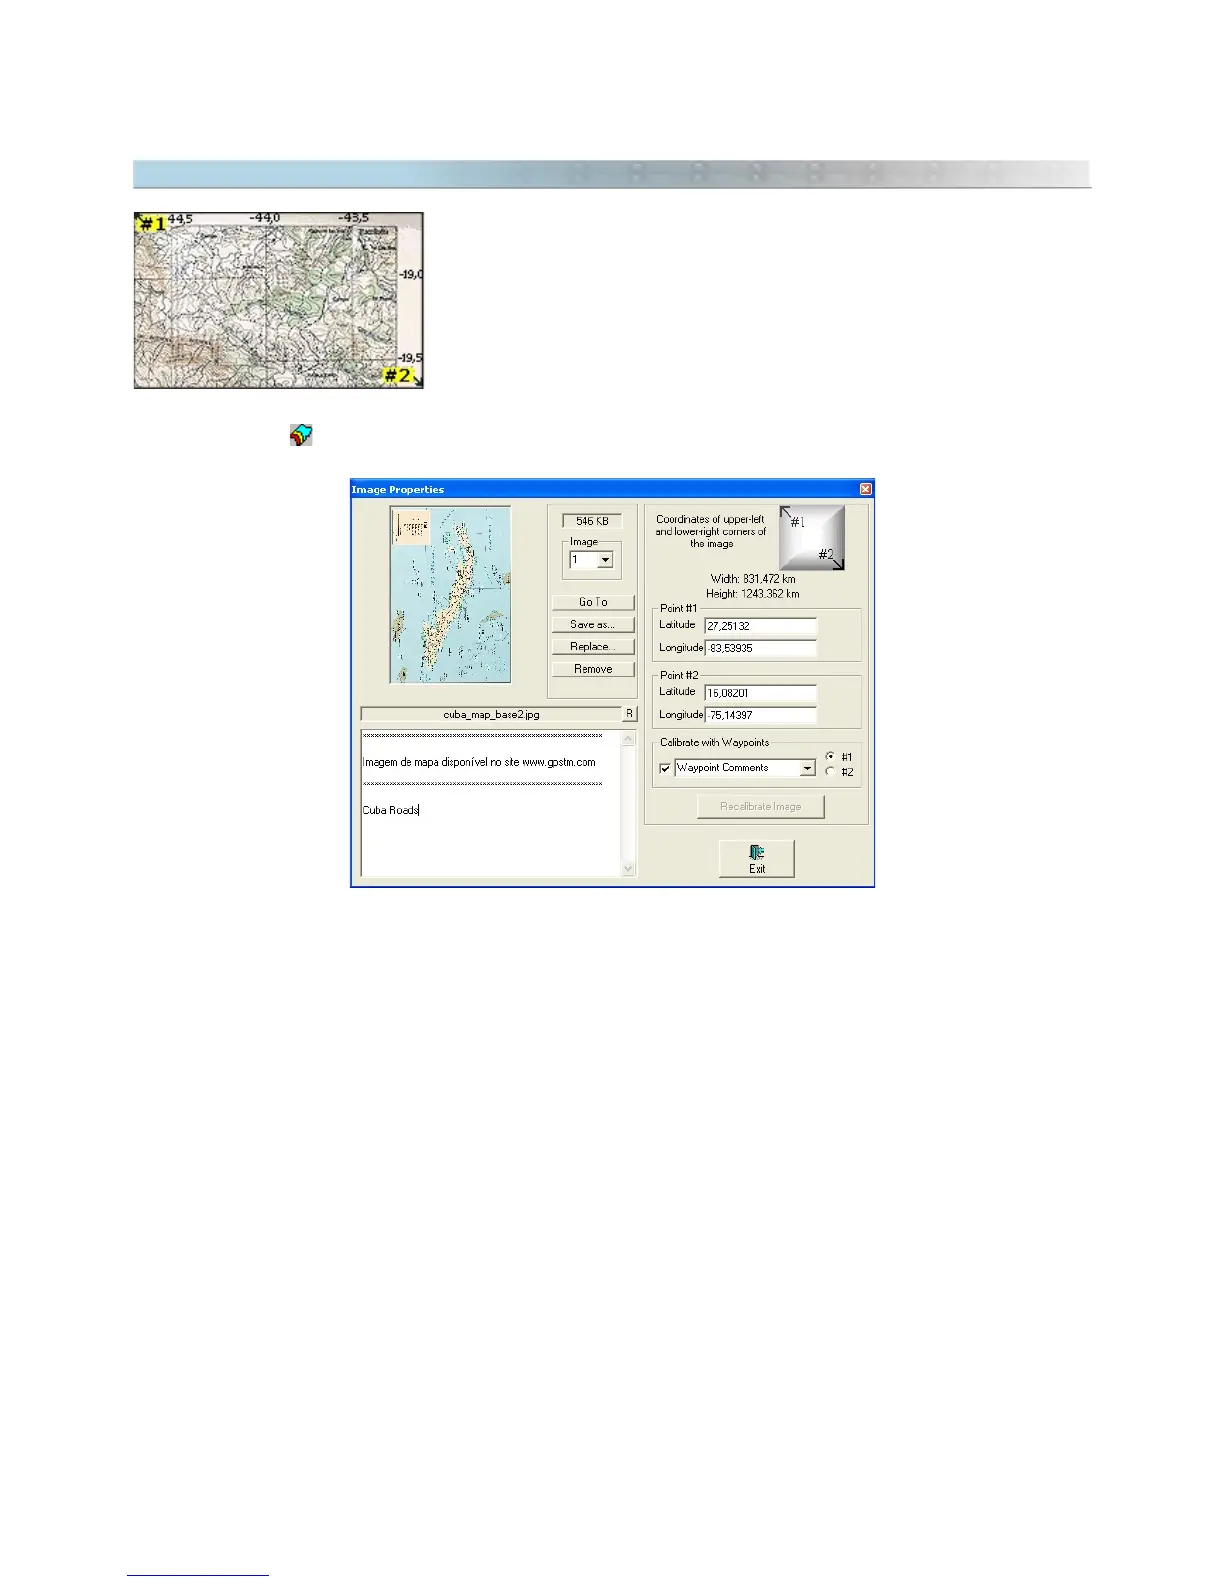
Inserting the coordinates manually
To calibrate the image, first verify the system of coordinates and the notation and then insert the values of the
coordinates of the point #1 and point #2, that respectively correspond to the upper-left and lower-right corners of
image. Then, press the button <Recalibrate Image>. If inserted points are compatible, a message will appear
informing that the calibration was successful.
Calibrating with 2 Waypoints
Instead of inserting the coordinates manually, it is possible to use the coordinates of Waypoints to define points
#1 and #2. For that, click on options
#1
or
#2
in the
Calibrate with Waypoints
box and then choose the Waypoint
that corresponds to that point. Repeat the procedure for the second point and press <Recalibrate Image>
button.
To alternate the search of Waypoints of names or comments, click on the box on the side of the Waypoint list.
135