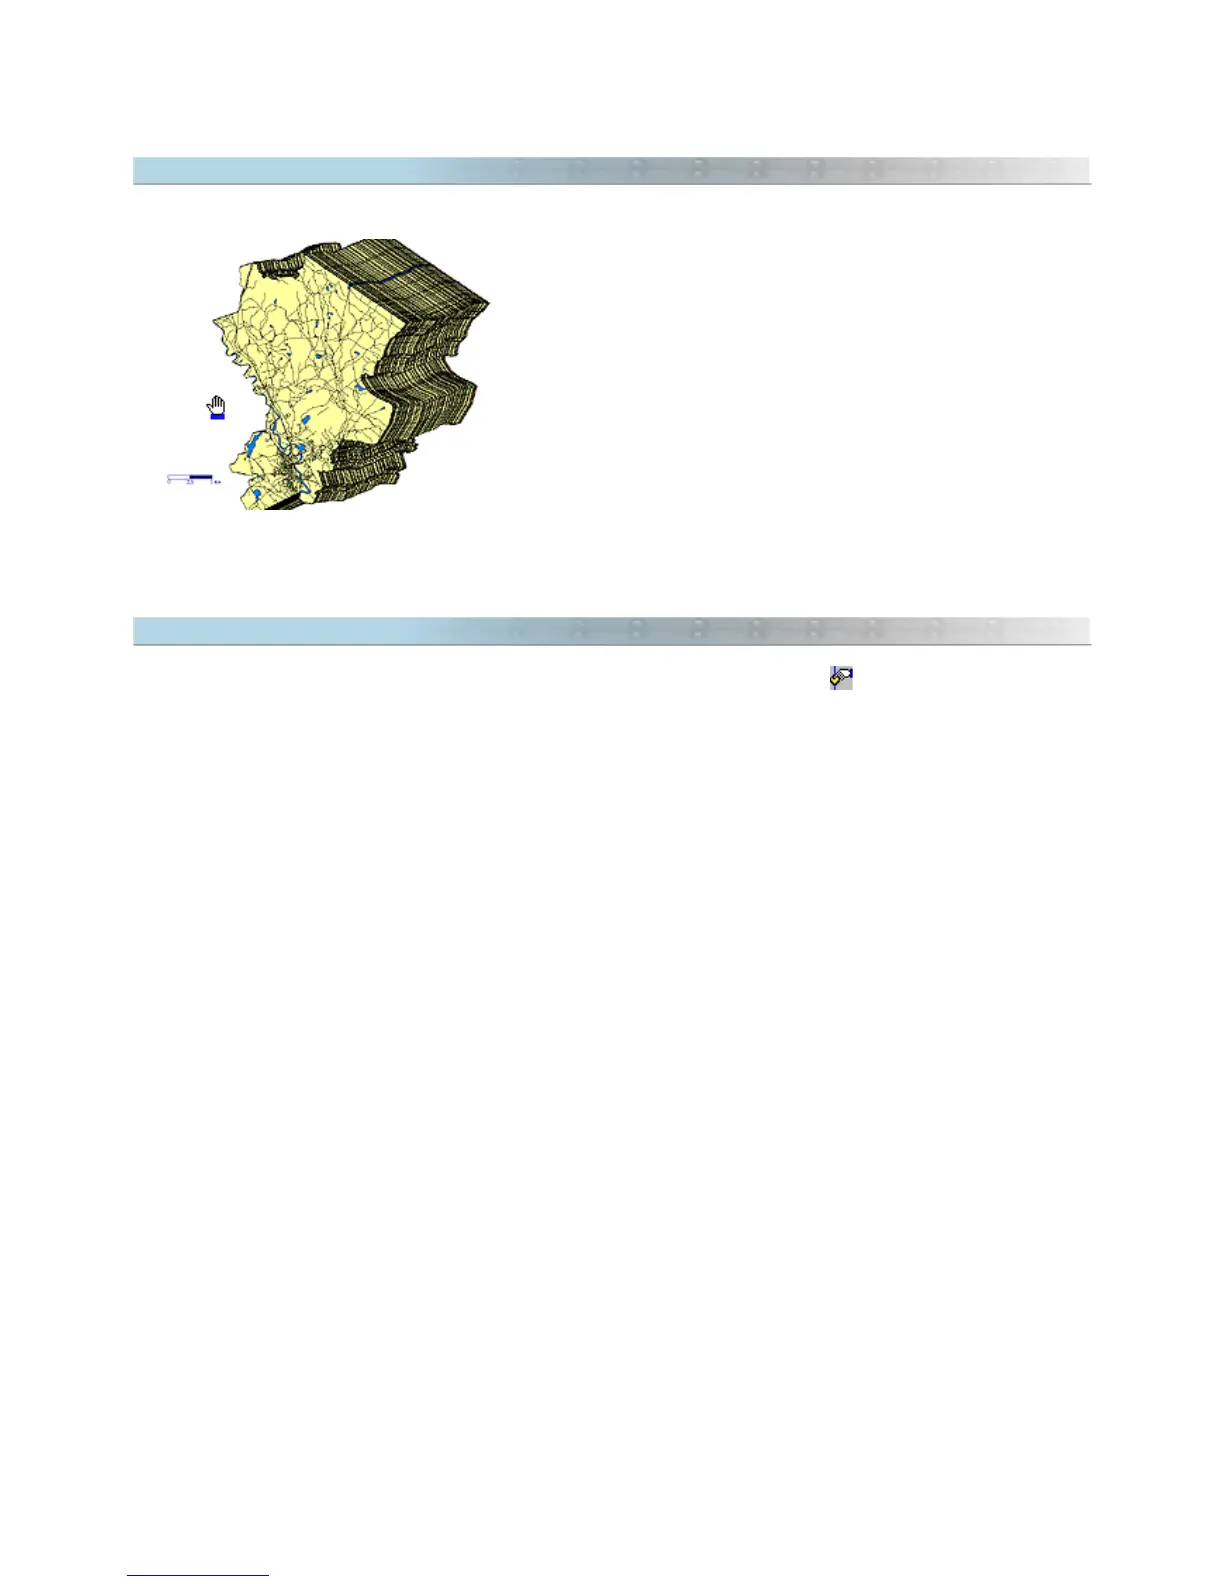
8.2 Dragging the Screen
The GPS TrackMaker® program allows dragging the screen
to another position using the mouse. Just hold down the right
mouse button and move it to any position on the screen. All
data will be moved together.
Drag function is also enabled to work on digitized images of
maps or photos, inserted in the background of the screen.
However, when dragging these images they will be
temporarily invisible on screen in order to avoid the delay of
the redrawing of these images, effecting dragging
performance.
To see digitized images when dragging, configure the
visualization mode in
Tools > Options > Images
. For further
information, see Configuration of Images.
8.3 Dragging Vertexes and Waypoints
To drag vertexes of Tracklogs or Routes and isolated Waypoints, press the button and then place the mouse
arrow on a vertex of the Tracklog or Route or on a Waypoint. Press the left button and drag the mouse to the new
position, maintaining the left button pressed.
To drag complete Tracklogs and Routes or group of Waypoints, see the topic Dragging Tracklogs, Routes and
Waypoints with the Mouse.
82