5 – 1
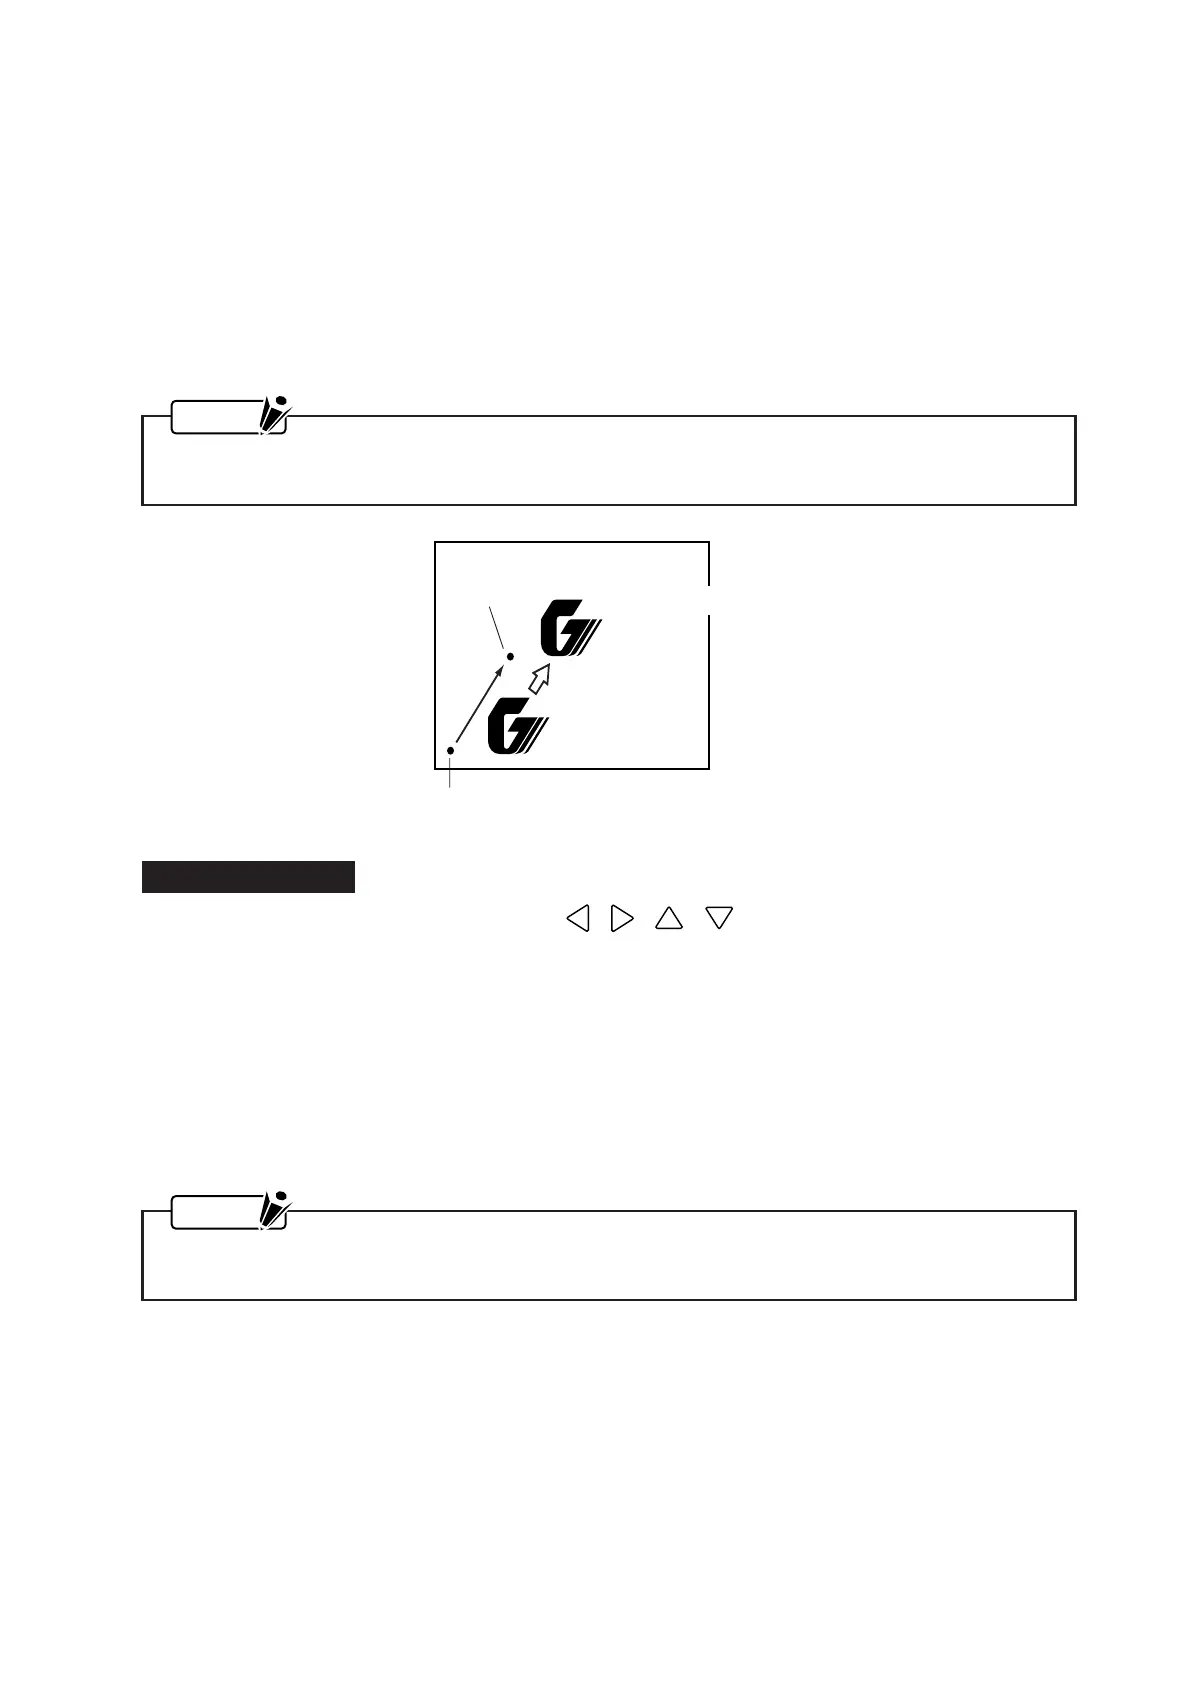
New origin point
Original origin point
Cutting from the new origin point
Cutting from
the original origin point
5. USING THE BASIC FUNCTIONS
This chapter explains how to use the plotter’s basic functions.
5.1 Specifying the Origin Point of the Plotting Area
The starting position for a cutting operation or a plotting operation can be moved freely to another position
within the mechanical plotting area.
NOTE
To use this function, the MARK setting must be off. (For more information, see Section 6.7, “Setting
the MARK MODE Parameter to Print Registration Marks.”)
Setting Procedure
(1) With the plotter in READY status, use the , , , POSITION keys to move the pen car-
riage to the position of the new origin point.
(2) When the ORIGIN key is pressed, a beeper will sound and the new origin point will be set at the current
position of the pen carriage.
After moving the origin point, your new origin point will be initialized when you rotate the coordinate
axes using the ROTATE parameter, set the MIRROR MODE setting to ON, or select or deselect the plot
area.
To rotate the coordinate axes or use the MIRROR MODE with a new origin position, be sure to specify
the ROTATE and MIRROR MODE parameters before specifying the origin point of the plotting area.
NOTE
The coordinate values displayed after a new origin point has been specified represent the relative
distance of the current position from the new origin point.