9 – 3
9.1.3 Using the Character Dump Mode
CAUTION
As soon as the F4 (DUMP) key is pressed to select this function in Step (4) below, the pen carriage
begins moving. Be sure to keep hands, hair, and so forth away from the plotter’s moving parts.
This CHAR DUMP function enables advanced users to check whether or not the plotter is properly receiv-
ing the data sent from the computer. If the data printed by the CHAR DUMP function does not match the
data actually sent from the computer, check your RS-232C interface conditions or COMMAND setting once
more. These settings may be incorrectly set or may not match your software application’s settings.
Setting Procedure
(1) Load a medium of A4 size or larger in the plotter.
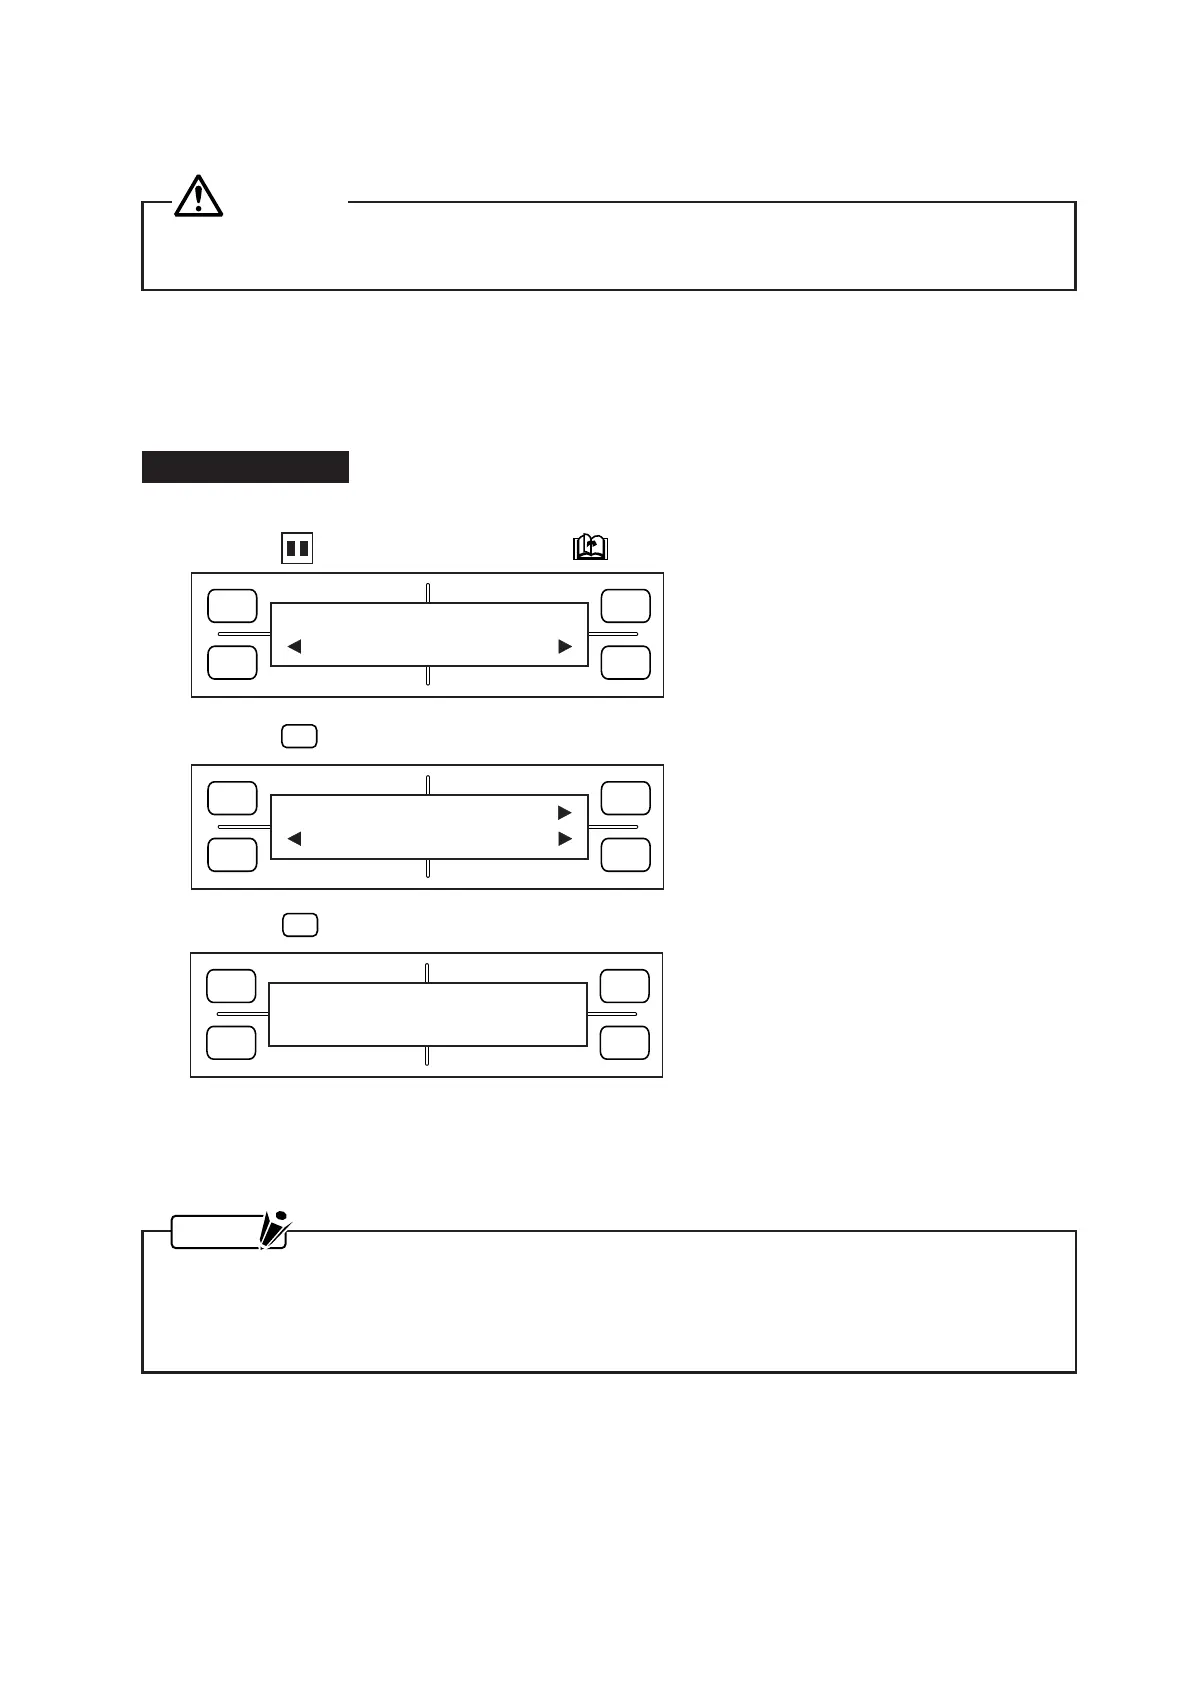
(2) Press the PAUSE key, then press the NEXT PAGE key until the menu below appears.
(3) Press the
F4
(OPTION2) key to display the menu below.
(4) When the
F4
(DUMP) key is pressed, the menu below appears and the plotter enters DUMP mode.
(5) When you send data from the computer to the plotter, the plotter begins printing that data.
(6) To exit the DUMP mode, turn off the plotter.
NOTE
• In DUMP mode, the plotter prints the data it receives as ASCII codes. Control codes are printed in
smaller characters as two-digit hexadecimal values.
• In response to the receipt of a READ-type command, the plotter sends back dummy data except
when requested to output its current status.
FORCE
SPEED
OFFSET
QUALITY
F1 F3
F4
F2
OPTION1 OPTION2
FORCE
SPEED
OFFSET
QUALITY
F1 F3
F4
F2
SELF TEST
COND. PAT. DUMP
FORCE
SPEED
OFFSET
QUALITY
F1 F3
F4
F2
CHAR DUMP