9 – 1
9. TEST MODES AND TROUBLESHOOTING PROCEDURES
This chapter explains how to use the plotter’s test modes, how to identify and remedy basic problems you
may encounter, and what to do if an error message appears.
9.1 Using the TEST Modes
9.1.1 Printing a List of the Currently Selected Conditions
CAUTION
As soon as the F2 (COND. PAT.) key is pressed to select this function in Step (4) below, the pen
carriage begins moving. Be sure to keep hands, hair, and so forth away from the plotter’s moving
parts.
The PRINT CONDITION function prints a list of the plotter’s currently selected conditions so you can check
them all at once.
Setting Procedure
(1) Load a medium of A4 size or larger in the plotter.
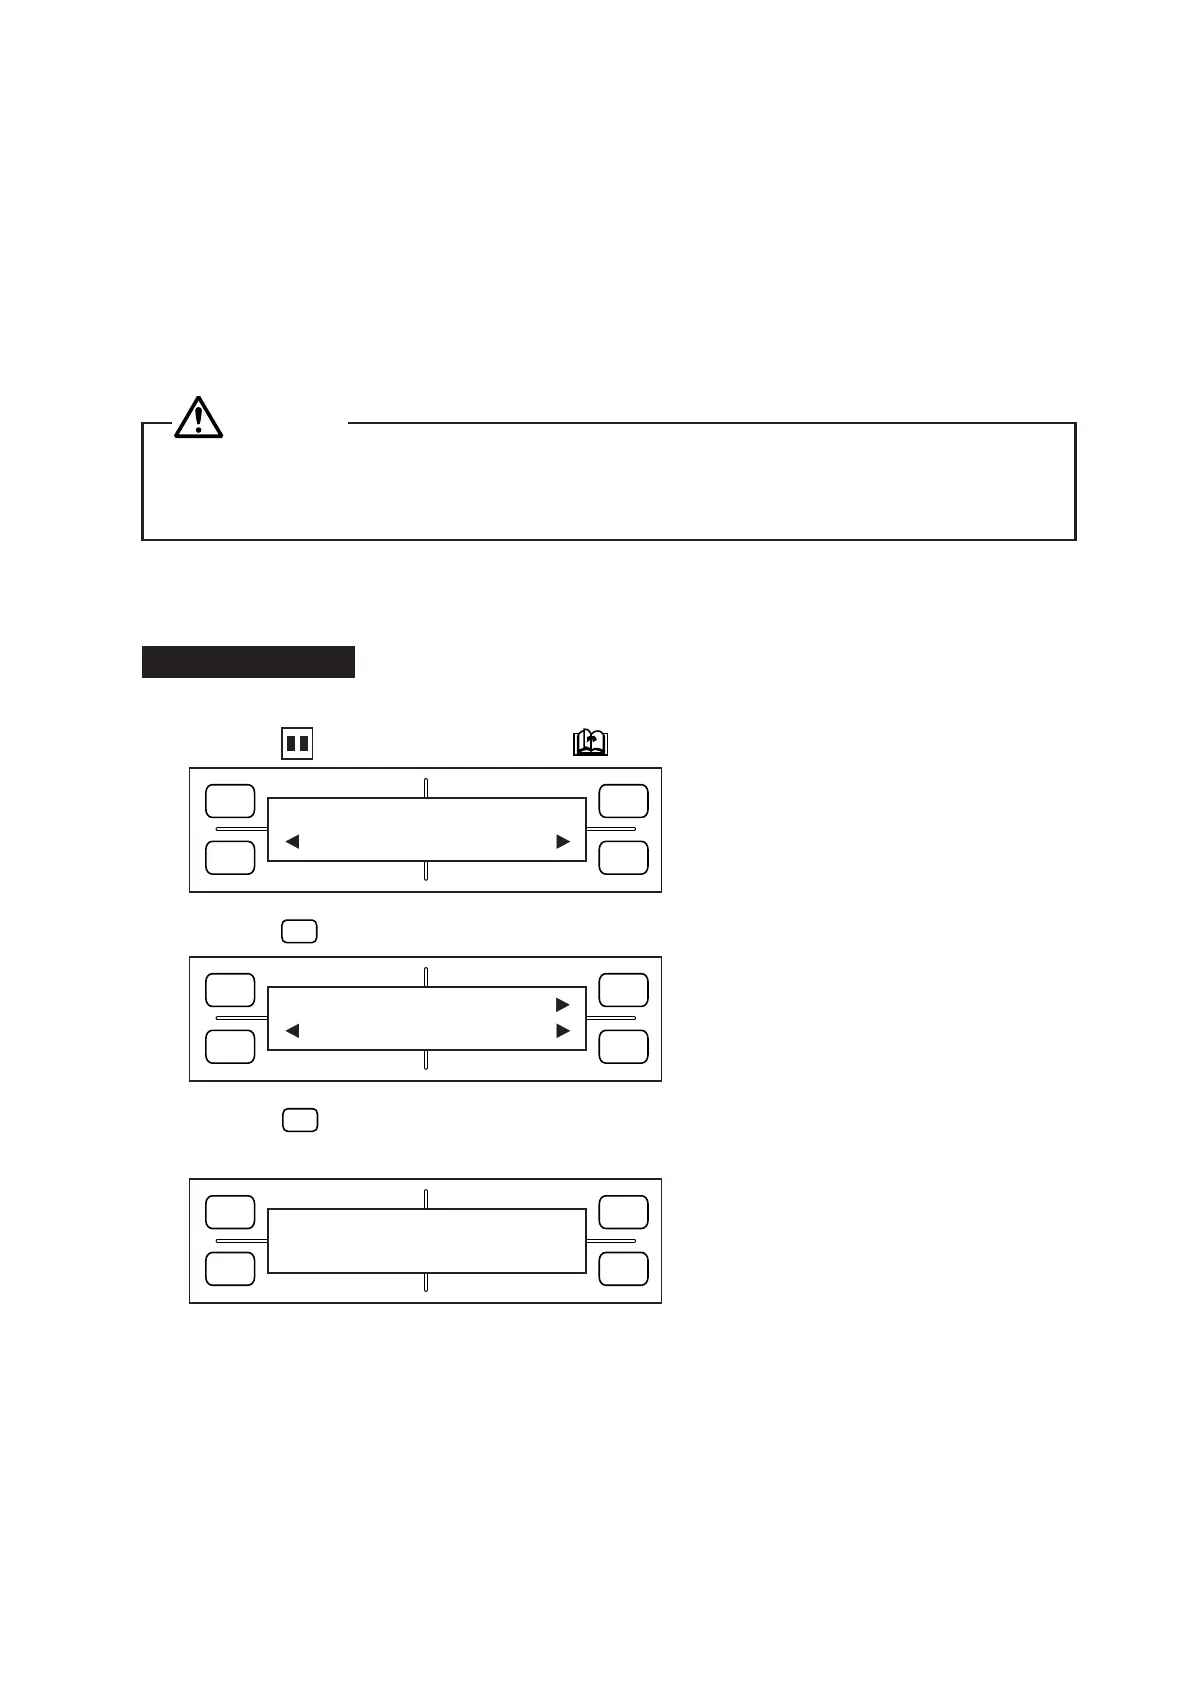
(2) Press the PAUSE key, then press the NEXT PAGE key until the menu below appears.
(3) Press the
F4
(OPTION2) key to display the menu below.
(4) When the
F2
(COND. PAT.) key is pressed, the menu below appears and the plotter begins printing
a list of its currently selected conditions.
(5) After the conditions have been printed, the plotter resumes READY status.
FORCE
SPEED
OFFSET
QUALITY
F1 F3
F4
F2
OPTION1 OPTION2
FORCE
SPEED
OFFSET
QUALITY
F1 F3
F4
F2
SELF TEST
COND. PAT. DUMP
FORCE
SPEED
OFFSET
QUALITY
F1 F3
F4
F2
PRINT CONDITION