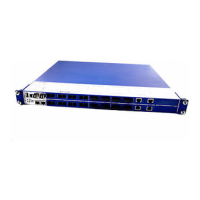
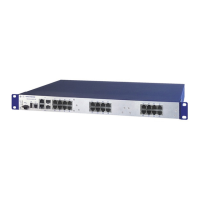
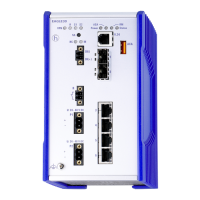
Basic Settings
RM Web L3E
Release
6.0
07/2010
1.4
Port Configuration
29
1.4 Port Configuration
This configuration table allows you to configure each port of the device and
also display each port‘s current mode of operation (link state, bit rate (speed)
and duplex mode).
X In the “Name” column, you can enter a name for every port.
X In the “Ports on” column, you can switch on the port by selecting it here.
X In the “Propagate connection error” column, you can specify that a link
alarm will be forwarded to the device status and/or the the signal contact
is to be opened.
X In the “Automatic Configuration” column, you can activate the automatic
selection of the the operating mode (Autonegotiation) and the automatic
assigning of the connections (Auto cable crossing) of a TP port by
selecting the appropriate field. After the autonegotiation has been
switched on, it takes a few seconds for the operating mode to be set.
X In the “Manual Configuration” column, you set the operating mode for this
port. The choice of operating modes depends on the media module. The
possible operating modes are:
– 10 Mbit/s half duplex (HDX),
– 10 Mbit/s full duplex (FDX),
– 100 Mbit/s half duplex (HDX),
– 100 Mbit/s full duplex (FDX),
– 1000 Mbit/s half duplex (HDX),
– 1000 Mbit/s full duplex (FDX) and
– 10 Gbit/s full duplex (FDX).
X The “Link/Current Operating Mode” column displays the current operating
mode and thereby also an existing connection.
X In the “Cable Crossing (Auto. Conf. off)” column, you assign the
connections of a TP port, if “Automatic Configuration” is deactivated for
this port. The possible settings are:
– enable: the device swaps the send and receive line pairs of the
TP cable for this port (MDIX).
– disable: the device does not swap the send and receive line pairs of
the TP cable for this port (MDI).
– unsupported: the port does not support this function (optical port,
TP SFP port).
X In the “Flow Control” column, you checkmark this port to specify that flow
control is active here. You also activate the global “Flow Control” switch
(see on page 90 “Switching Global“).
 Loading...