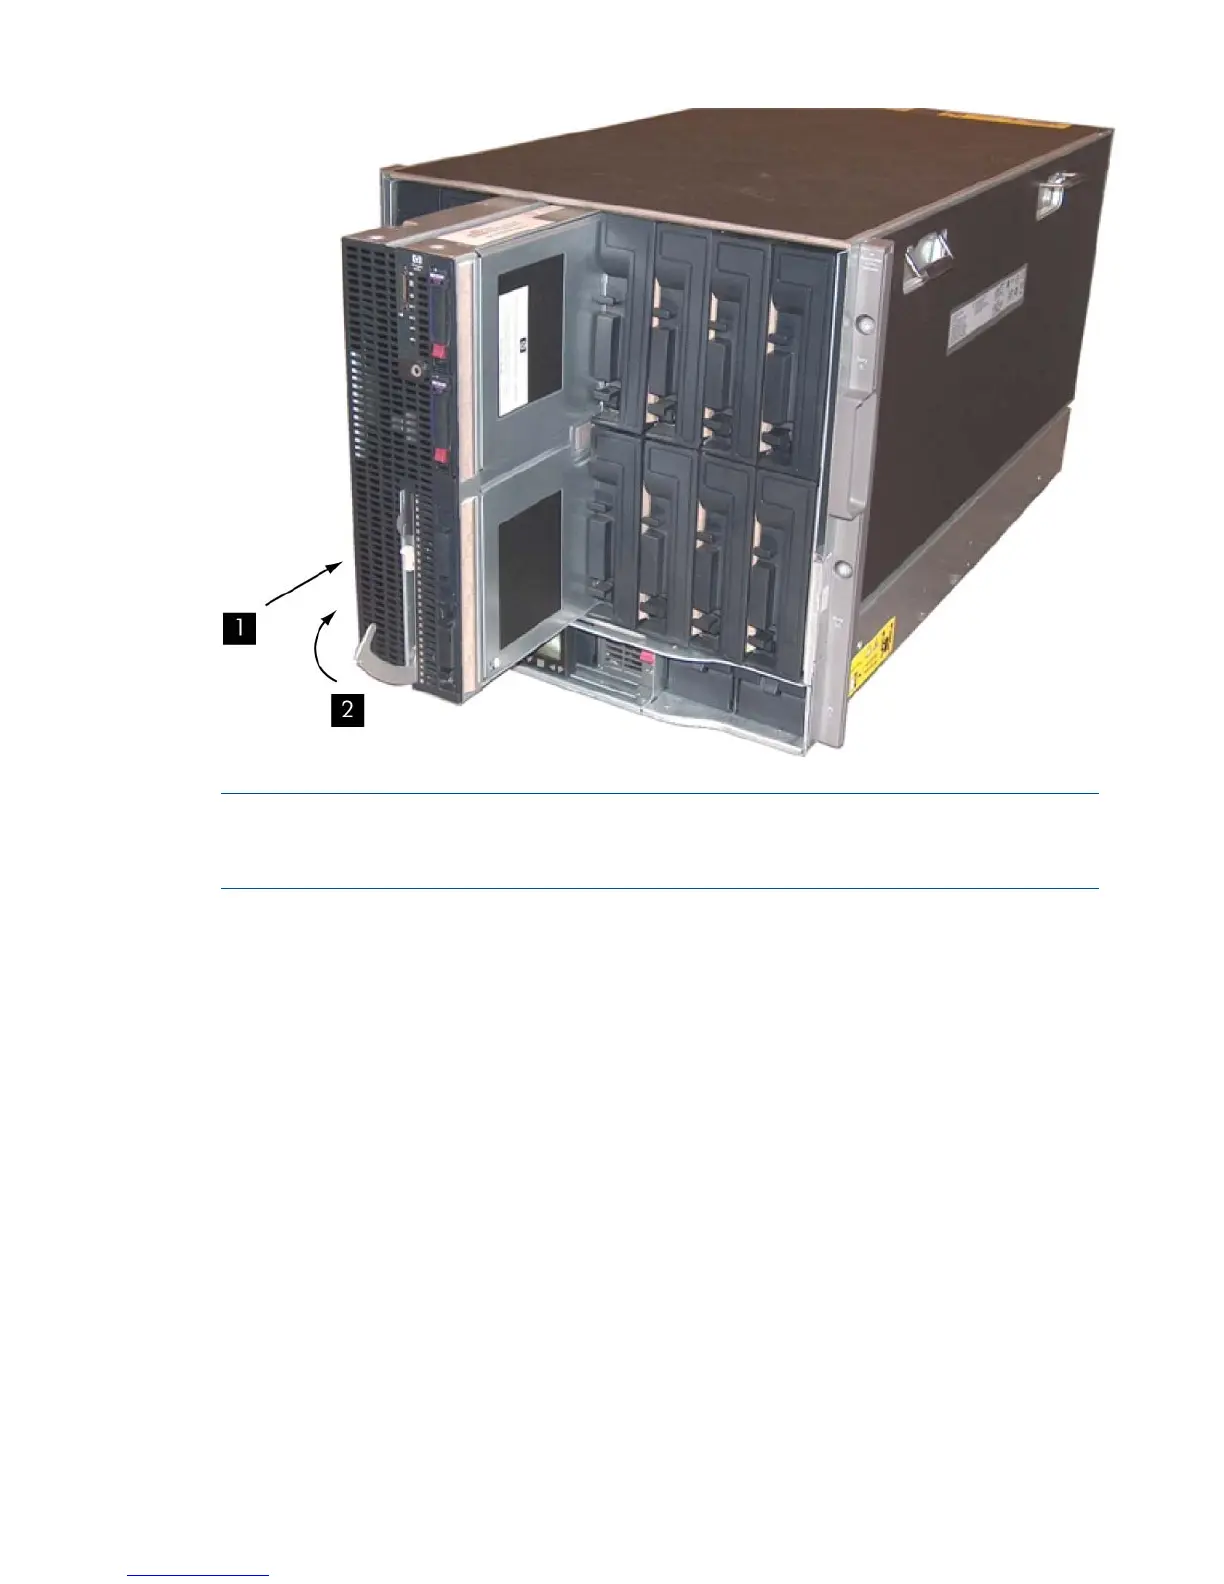
Figure 42 Installing the Server Blade into the Enclosure
NOTE: After you install the server blade back into the enclosure, the server blade might go
to standby power (Internal health LED is amber), or full power (internal health LED is green,
and the fans may get louder).
3. If the server blade has not come up to full power, push the power button to get the server to
full power.
The fans might get much louder as the server powers up to full power.
Removing and Replacing the Server Blade Access Panels
The server blade has two access panels. When the server blade is oriented vertically (mounted in
an enclosure) they are the right access panel and the left access panel.
Removing the Right Access Panel
To remove the access panel:
1. Power off the server blade and remove it from the server blade enclosure.
See “Preparing the Server Blade for Servicing” (page 113).
2. Place the server blade on an antistatic pad with the right access panel up.
3. Unlock the cam on the right access panel latch (if necessary) by turning the lock on the latch
counter-clockwise with a 2.5 mm allen wrench.
4. Pull up on the access panel latch (1).
This causes the access panel to slide back about 1.75 cm (0.75 in) (2).
See Figure 43.
5. Remove the access panel by lifting it straight up and off the server blade (3).
116 Removing and Replacing Components
 Loading...


