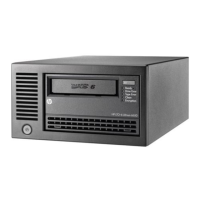
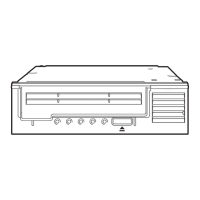
Replacing the front panel on a half-height LTO Ultrium drive
1. Use the screwdriver to release the tab on the right side of the chassis (next to the red warranty
sticker).
2. Swing the front panel out slowly, pulling it gently to the left, so that the lugs release on the left
side of the chassis.
NOTE:
Do not swing the panel too far out or pull too hard, as the lugs are quite delicate.
3. To replace the panel, line up the lugs on the left side of the chassis and swing the panel firmly
into place.
There will be a slight click when the lug is located on the right side of the chassis.
Volume 1: hardware integration 29
 Loading...