CAUTION:
Before moving the Autoloader, remove all media. During a move, the cartridges could come out of
the storage slots and damage the Autoloader.
Possible tools needed
To service the Autoloader you may need one or more of the following tools:
• Flat-blade screwdrivers (large and small)
• Short-handle #1 Phillips screwdriver
• #2 and #3 Phillips screwdrivers
• Ground strap
• Paper clip or pin (for manual magazine removal)
• HP Library and Tape Tools (L&TT) diagnostic software
NOTE:
You may use the HP StorageWorks Library and Tape Tools (L&TT) diagnostic utility to perform
diagnostic functions for the Autoloader. L&TT is a diagnostic tool designed to aid in the installation
and maintenance of HP tape storage products. L&TT includes several features designed for use
by both HP storage customers and trained service personnel. L&TT is available for download at
the following HP website at no cost: http://www.hp.com/support/TapeTools. Frequent firmware
image updates to the website are released on the Internet. For optimal performance, HP
recommends that you update your system periodically with the latest device firmware.
Removing and replacing a tape drive
Install the tape drive from the back of the Autoloader.
To remove a tape drive:
1. Using the remote management interface or the operator control panel, unload any tape cartridge
from the tape drive, if present.
2. Power off the drive from the OCP or RMI. (See “Powering a drive on or off (Support > Power
On/Off Drive)” on page 101.)
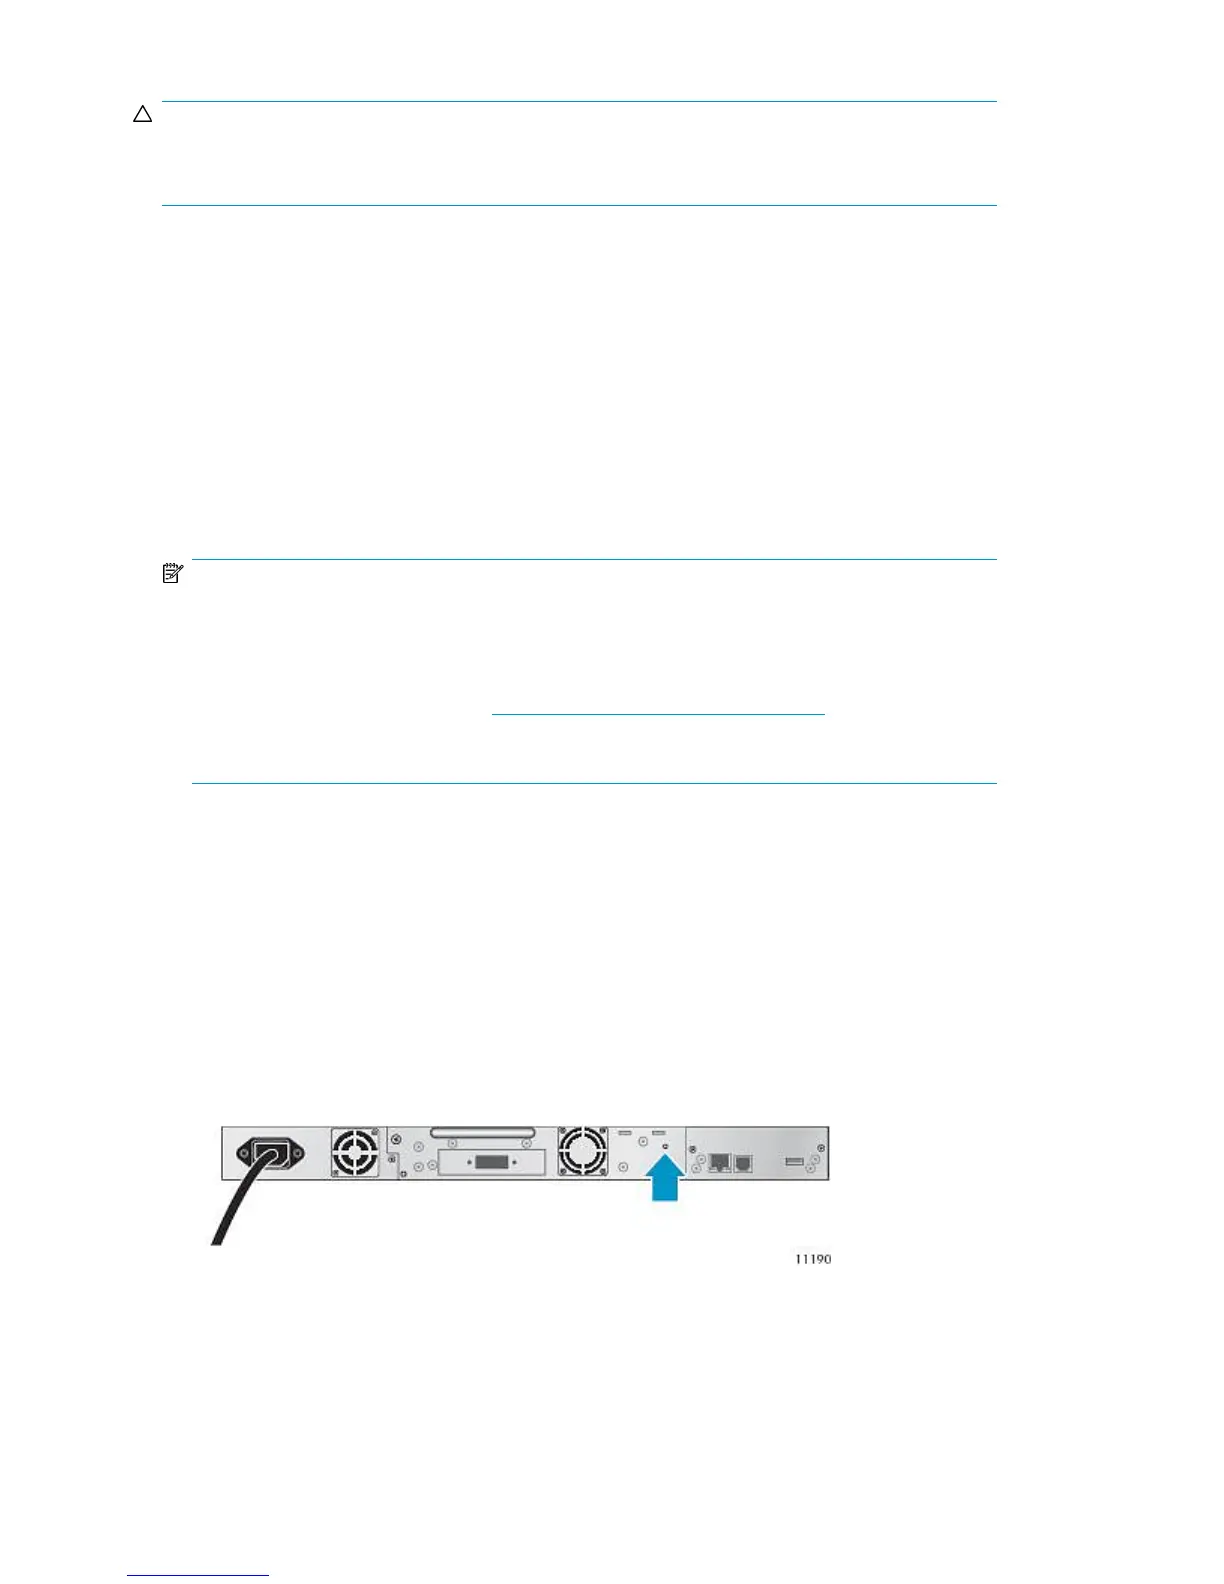
3. Make sure the LED on the tape drive is off (see Figure 73).
Figure 73 Drive LED
.
Upgrading and servicing the Tape Autoloader158