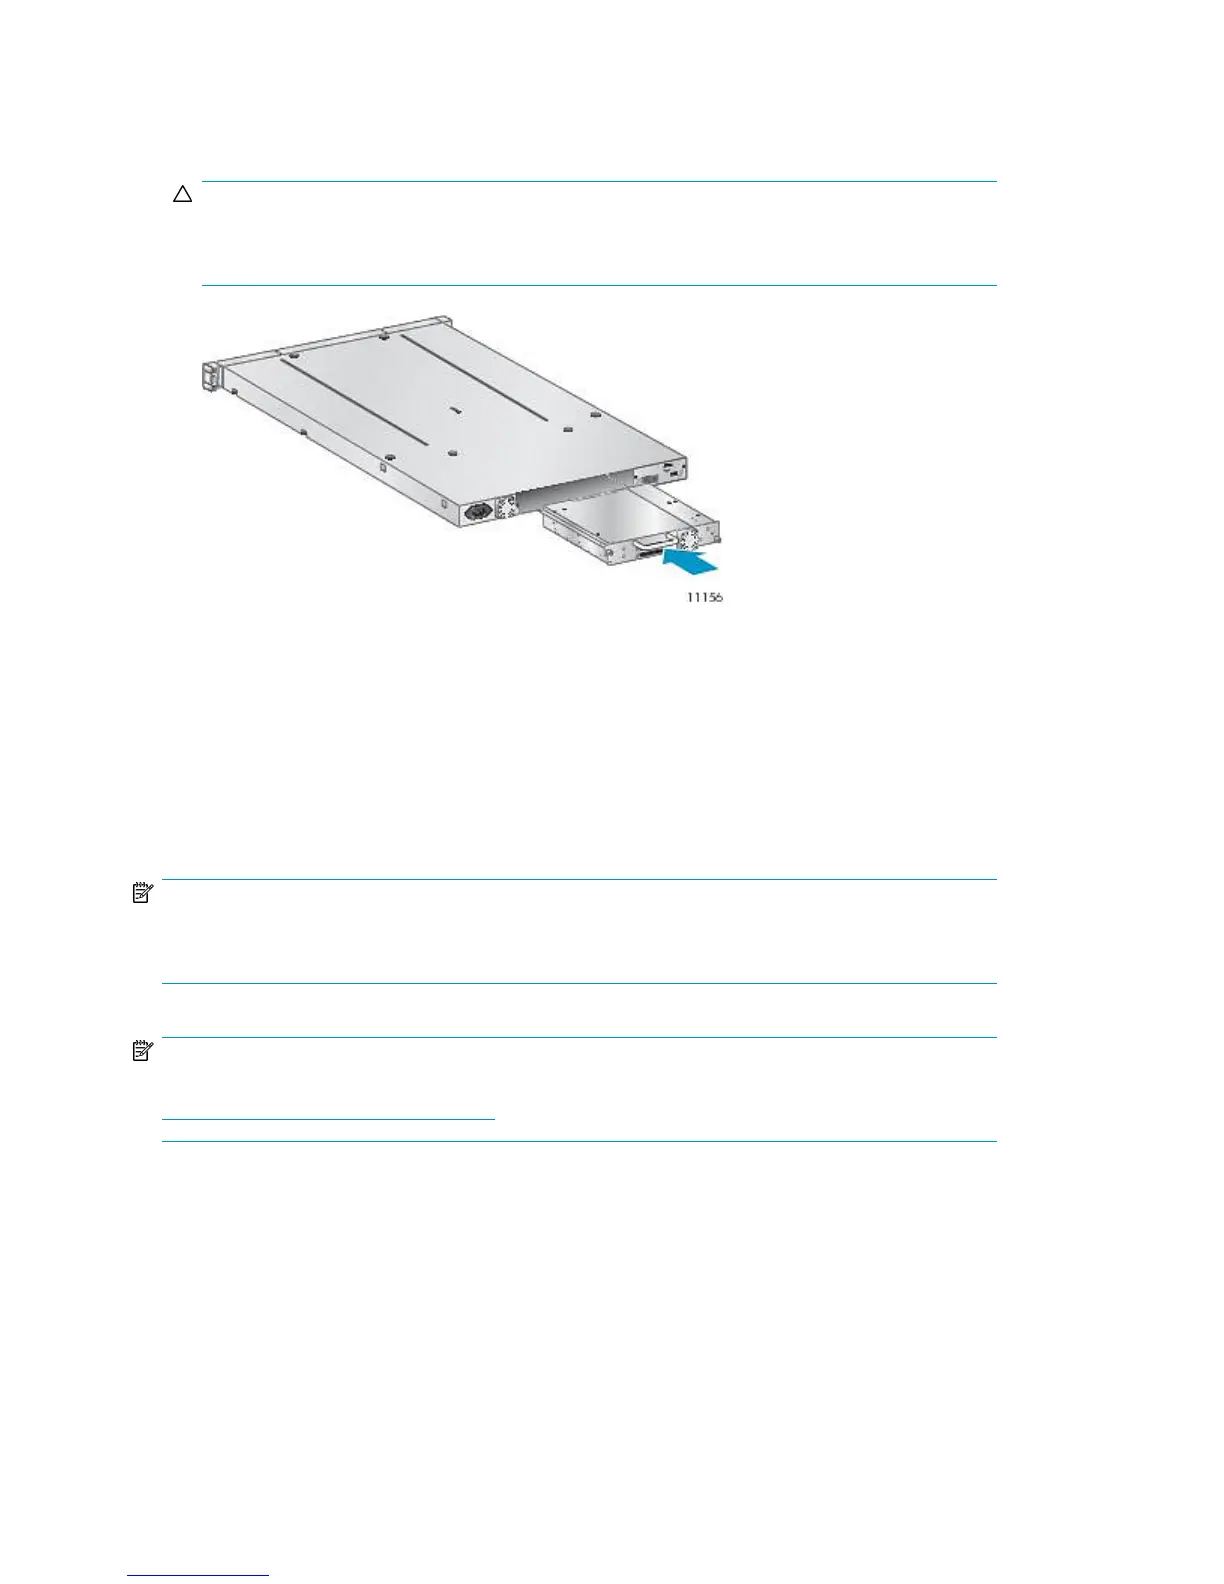
2. Slowly insert the new tape drive into the drive bay, and align the connectors on the Autoloader
while supporting the drive assembly until the drive seats itself against the back of the Autoloader
(see Figure 77).
CAUTION:
Push in on the tape drive handle while supporting the bottom of the tape drive until it is properly
seated. Damage to the connector pins may occur if this procedure is not followed.
Figure 77 Installing the tape drive
.
3. Tighten the blue captive thumbscrews by hand until the drive is secure.
4. Attach the cords and terminator, if necessary, that you removed from the old tape drive.
5. Power on the tape drive.
6. If necessary, upgrade the Autoloader and drive firmware using HP Library & Tape Tools, the
RMI, or a USB flash drive.
NOTE:
If you are upgrading a parallel SCSI drive, be sure to use supported cabling configurations. See
“Planning the SCSI configuration” on page 28.
NOTE:
Use
L&TT
to upgrade the drive to the latest firmware. You can download the latest version of
L&TT
at:
http://www.hp.com/support/TapeTools.
Upgrading and servicing the Tape Autoloader160