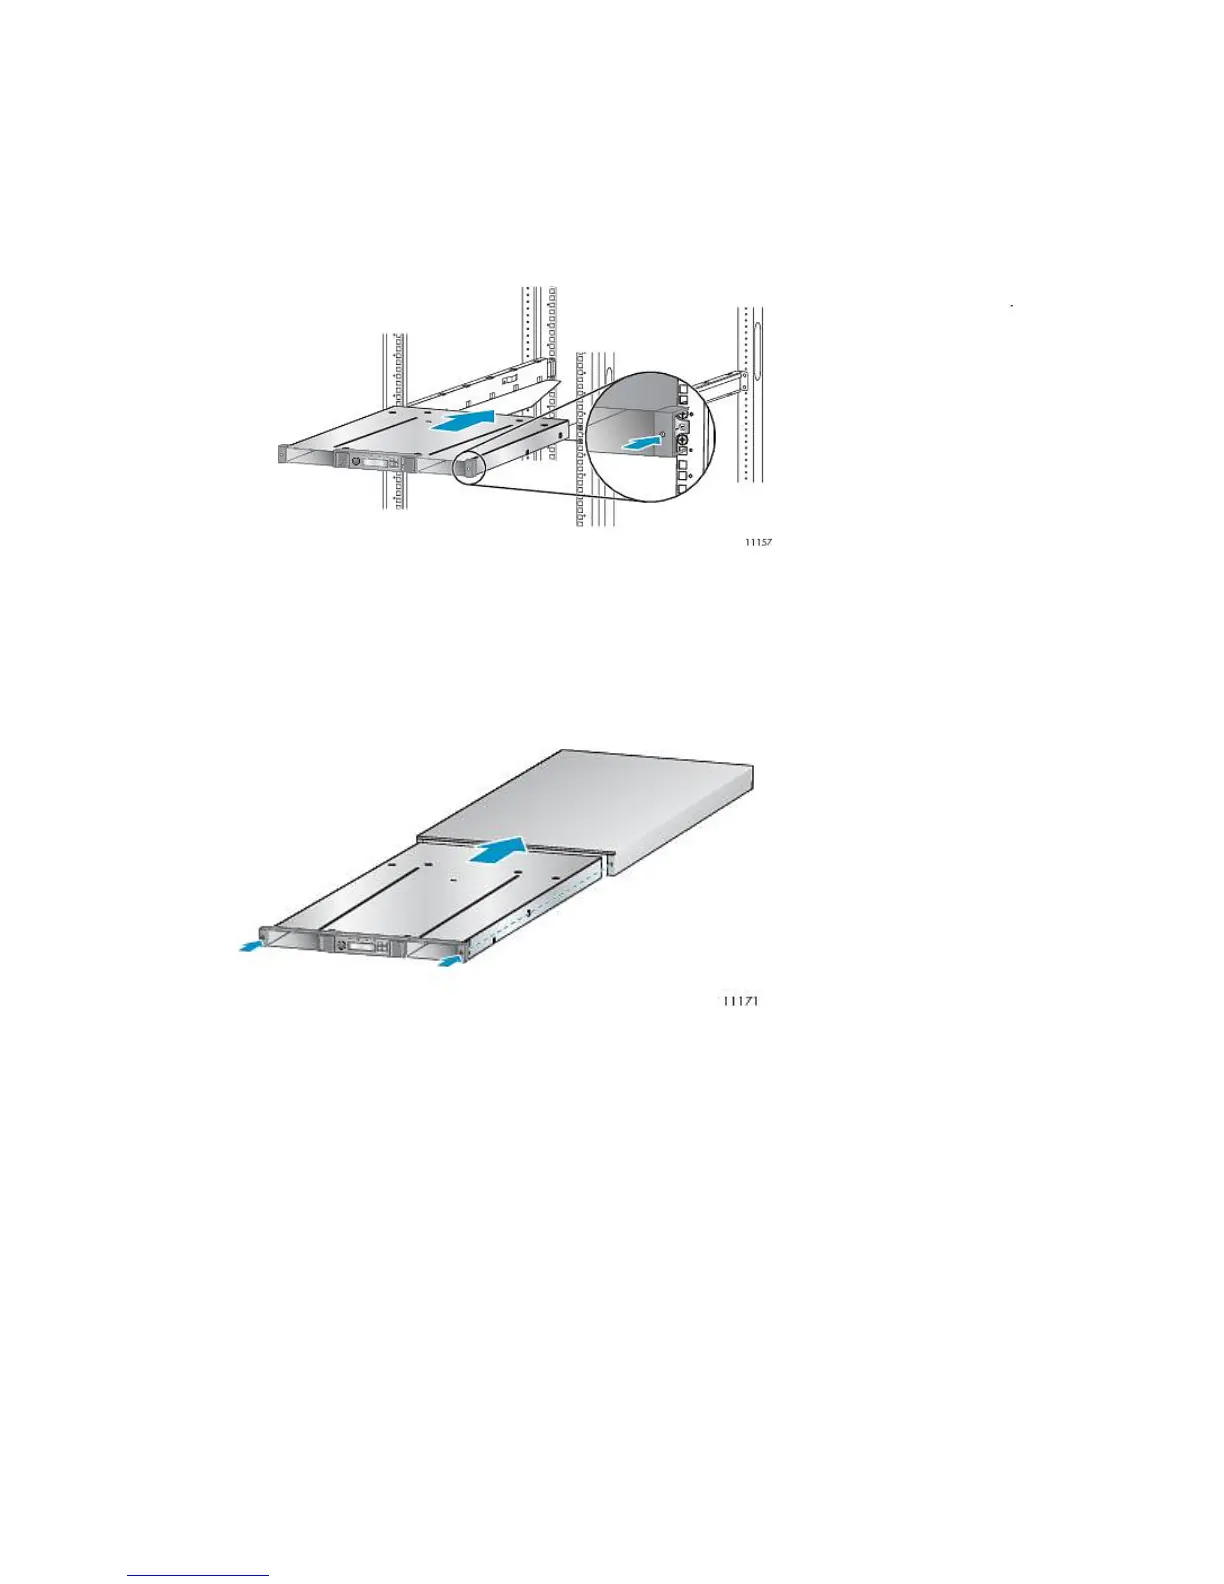
2. Mount the Autoloader in a rack or in the tabletop conversion cover.
To mount the Autoloader in a rack:
a. With assistance, slide the Autoloader onto the metal rails that are already in position in the
rack.
b. From the front of the device, secure the front bezel to the rack using a #2 Phillips screw
driver placed through the small holes in the mounting bracket to tighten the captive screws
on each side of the device.
Figure 86 Securing the Autoloader to the rack
.
To replace the tabletop conversion cover:
a. Set the new base chassis on a sturdy surface in front of the cover.
b. Slide the chassis into the cover until the front panel of the chassis is aligned with the cover.
c. Tighten the captive screws on the chassis front panel until the cover is secure.
Figure 87 Sliding the Autoloader into the cover
.
3. Replace the tape drive.
4. Replace the magazines.
5. Replace the cords and cables.
6. Reconnect the cables and power cord.
7. Power on the Autoloader.
8. Reconfigure the Autoloader.
HP StorageWorks 1/8 G2 Tape Autoloader User and service guide 167