Recording configuration settings
If the OCP or RMI works, save the configuration settings to the USB flash drive from the OCP or to a
file from the RMI. You will need these settings to re-configure the Autoloader after replacing the chassis.
Removing the tape cartridge from the tape drive
Before beginning, be sure no cartridges are in the tape drive. To move a cartridge with the OCP, see
“Moving tapes in the Autoloader (Operations > Move Tape)” on page 98. To move a cartridge with
the RMI, see “Moving media” on page 74.
CAUTION:
If you cannot remove the tape cartridge from the tape drive, handle the tape drive gently during the
rest of the procedure to avoid damaging the tape and losing data.
Removing the cables, magazines, and tape drive
If the OCP or RMI are operational, remove the magazines using the RMI or OCP.
Power off the Autoloader. Remove the power cord and other cables from the Autoloader.
If the magazines have not been removed, remove the magazines from the device using the manual
process (see “Releasing the magazines manually” on page 127).
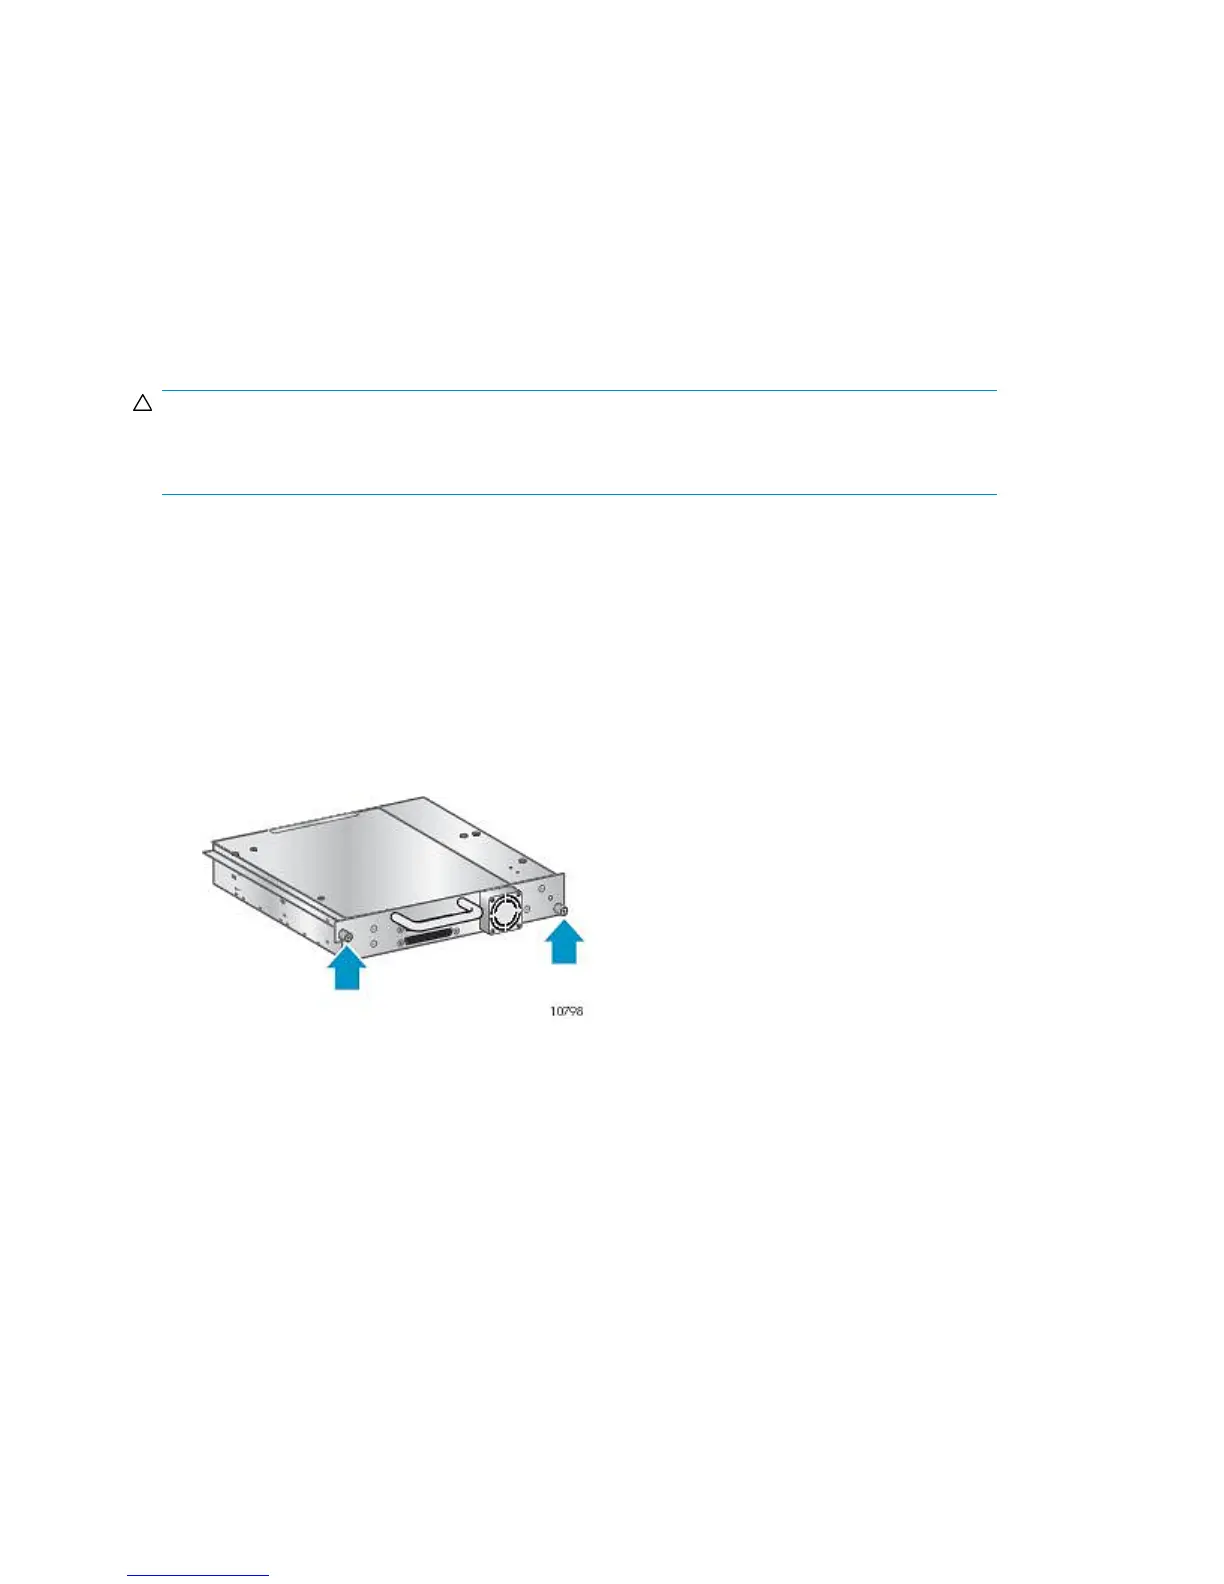
To remove the tape drive:
1. Loosen the blue captive thumbscrews on the drive (see Figure 82).
Figure 82 Captive screws on the tape drive
.
Upgrading and servicing the Tape Autoloader164