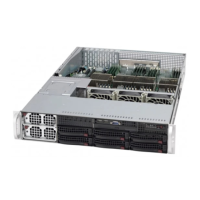
Figure 7-113 Pulling out the LCD
Step 19 Pull the LCD out of the LCD tray in the arrow direction. See step (2) in Figure
7-113.
Step 20 Remove the LCD in the arrow direction and pull out the cable. See Figure 7-114.
Figure 7-114 Removing the LCD
Step 21 Place the removed LCD in an ESD bag.
----End
7.48 Installing the LCD
Install an LCD to replace the faulty one.
RH2288H V3 Server
User Guide 7 Replacing Parts
Issue 46 (2022-12-28) Copyright © Huawei Technologies Co., Ltd. 251

 Loading...


