Screed Electric Heat ControlsScreed Electric Heat Controls
4
5
6
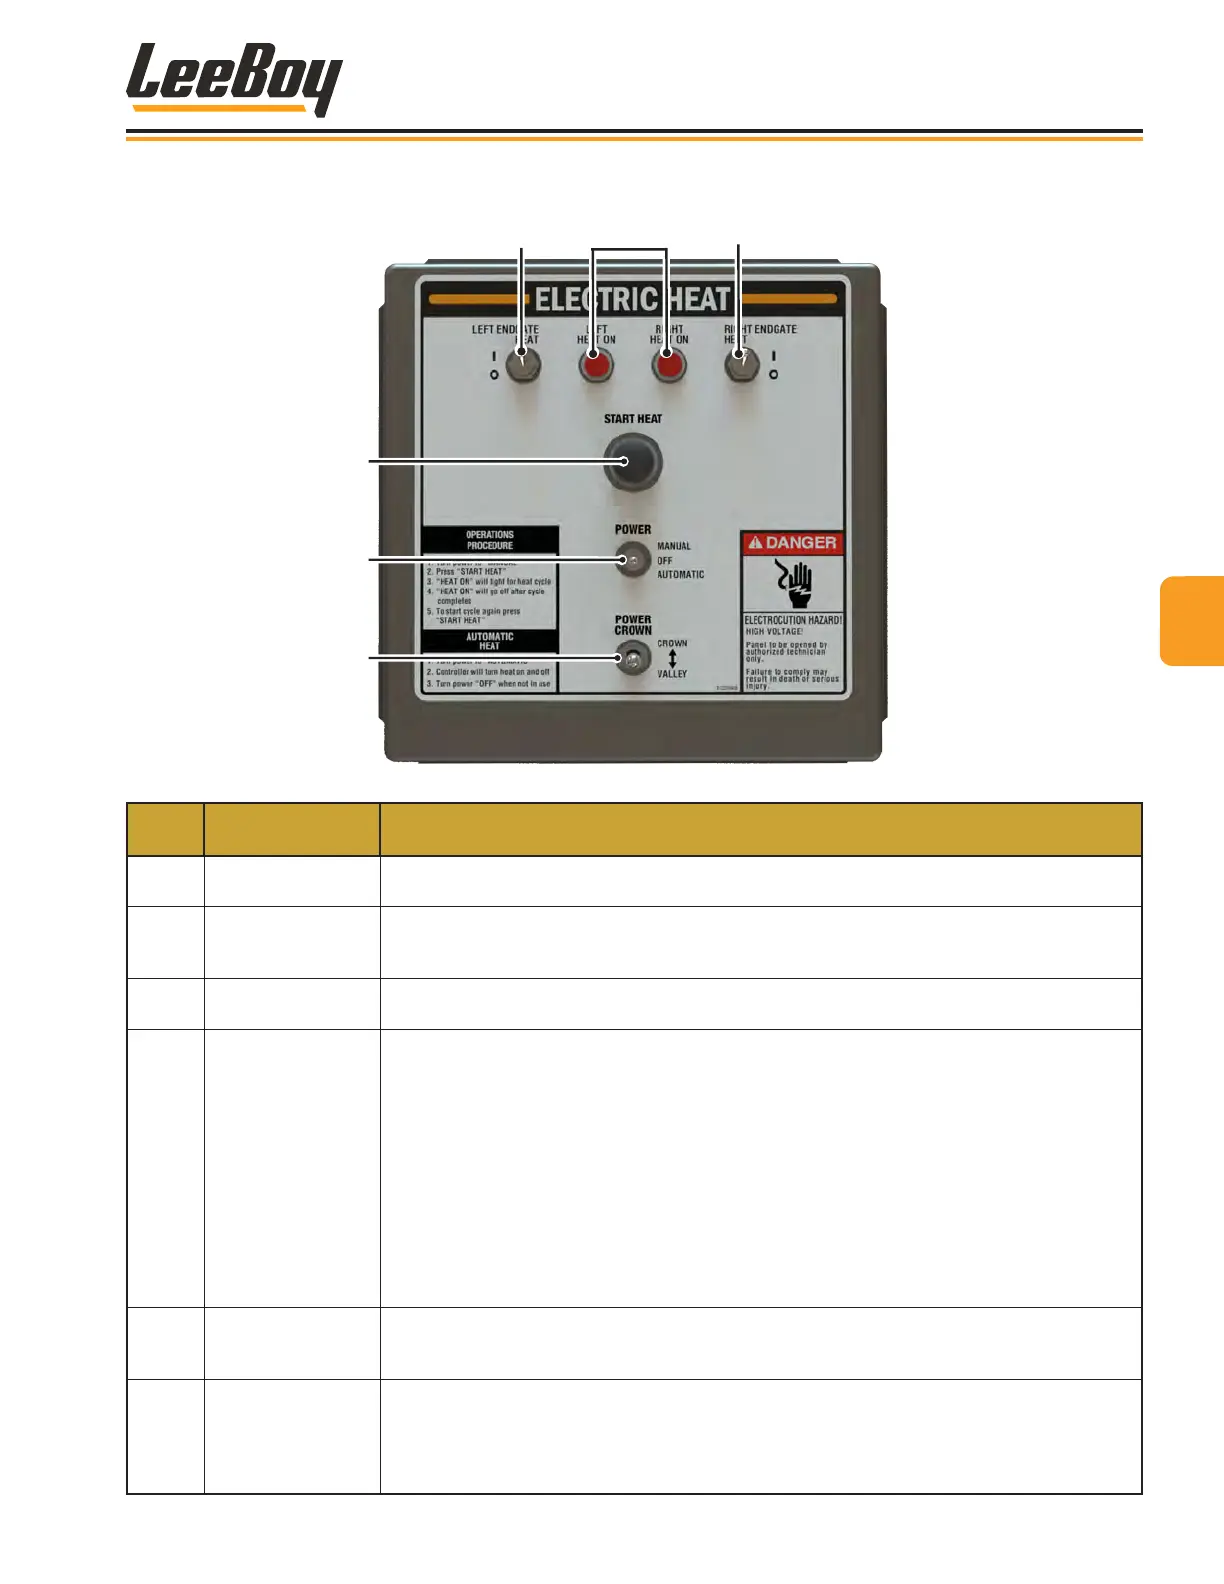
Figure 3-4. Electric Heat Controls
ITEM
NO.
CONTROL NAME FUNCTION
1
LEFT End Gate
Heat Switch
Push the switch UP to turn on the LEFT endgate heat (if equipped with this option).
2 Heat On Lights
Illuminates and stays on as long as the elements are heating the screed plates. The left light
illuminates when the left screed elements are heating; the right light illuminates when the right
screed elements are heating.
3
RIGHT End Gate
Heat Switch
Push the switch UP to turn on the RIGHT endgate heat (if equipped with this option).
4 Start Heat Button
After turning on the power, press the Start Heat button. Once the heating function has been
enabled, the distribution/control box will apply electrical power to the heating elements and the
heating cycle will begin. The heating cycle is timed to optimize the heat generated at the screed
plates.
• While joysticks are in neutral, both sides of the screed are heating.
• When joysticks are out of neutral, the elements automatically cycle every two minutes from
side to side to decrease the load to half.
• If equipped with this option, the heated endgates work independently of the main screed and
do not cycle.
Press the button again to reheat the screed if needed.
5 Power Switch
Turns the electric heat system on and off. Push the switch UP to select MANUAL screed heat
operation (approximately 20 minutes). Push the switch DOWN to select AUTO screed heat
operation (if equipped with the Automatic Temperature Control option).
6
Power Crown
[Option]
If equipped with this option, the power crown automatically adjusts positive or negative crown
as needed.
• Push switch up for increased positive crown.
• Push switch down for negative crown (valley).
33
Component Location
LeeBoy 8608 Commercial Paver 3-9