Blade LightBlade Light
The blade light is mounted on
the operator platform oor and
clamped by the “grab handle” at
either side of the paver to illumi-
nate the work area when paving
at night. (Figure 4-94)
Two adjustable LED light wings
provide strong illumination in
any direction needed. The light
wings are mounted on a 15-foot
tripod that can also be adjusted
for height, then easily retracted
for storage. See your authorized
dealer for purchase.
Figure 4-94. Blade
Light Option
Tool RackTool Rack
Keep your rakes, shovels and
other handled tools in one
place at the job site with a tool
rack built specically for paving
toolsl storage. (Figure 4-92)
The tool rack is mounted on the
back of the paver for screed
operator convenience. See
your authorized dealer for
purchase.
Figure 4-92. Tool Rack
Berm Screed Extension Berm Screed Extension
Attachment Attachment
The Berm Screed Extension Attachment (HD Screed
only) allows you to adjust the last one foot of each
extension to pave up to a four-inch roll-up curb. (Figure
4-91) You can also raise the height to easily allow more
material alongside buildings or other objects on various
paving jobs. The berm attachment is adjustable while
paving and controlled via a toggle switch.
Figure 4-91. Paving with Berm Attachment
The berm attachment is adjustable while paving. To
operate:
• Place the Berm/Slope selector switch in the BERM
position.
• Press the Slope/Berm switch up and down to move
berm.
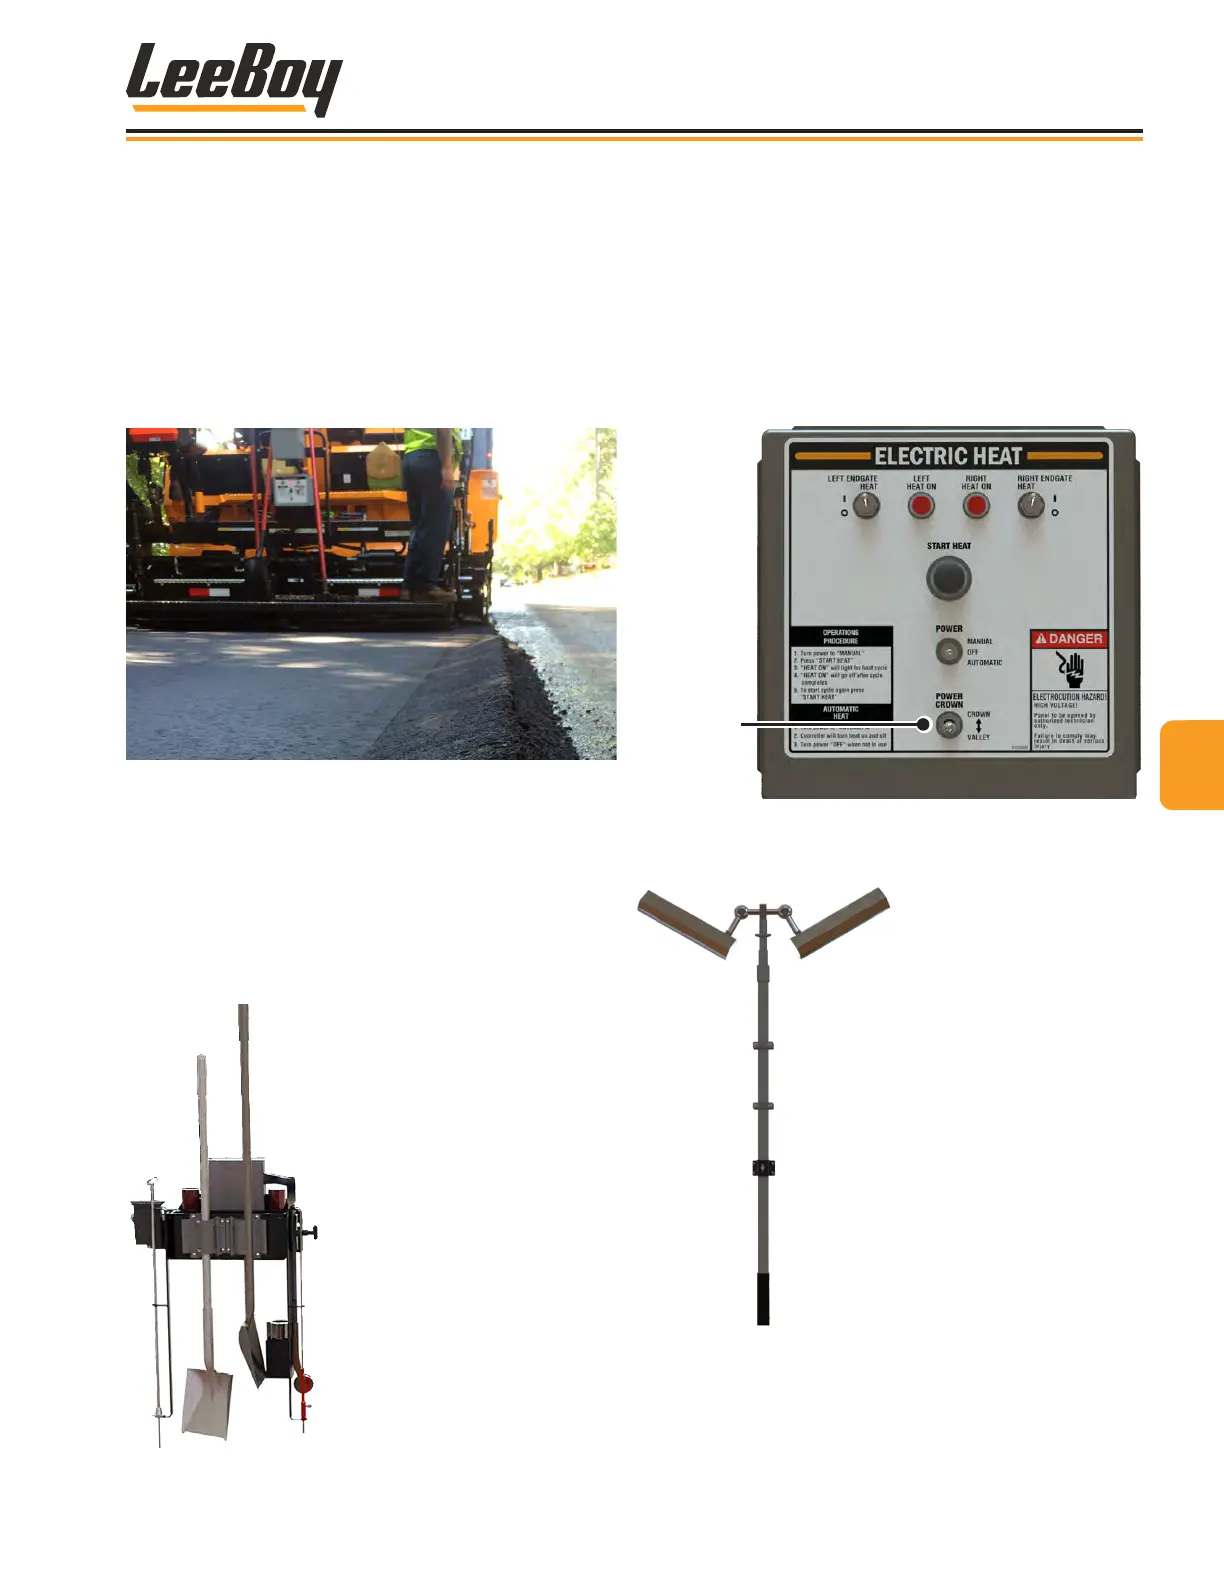
Power Crown OptionPower Crown Option
The Power Crown option automatically adjusts the posi-
tive or negative crown as needed. The power crown
switch is located on the heat control box. (Figure 4-93)
To use the power crown feature:
• Push switch UP for increased positive crown.
• Push switch DOWN for decreased negaive crown
(valley).
Power
Crown
Switch
Figure 4-93. Power Crown Switch
44
Operation
8608 Commercial Paver 4-45