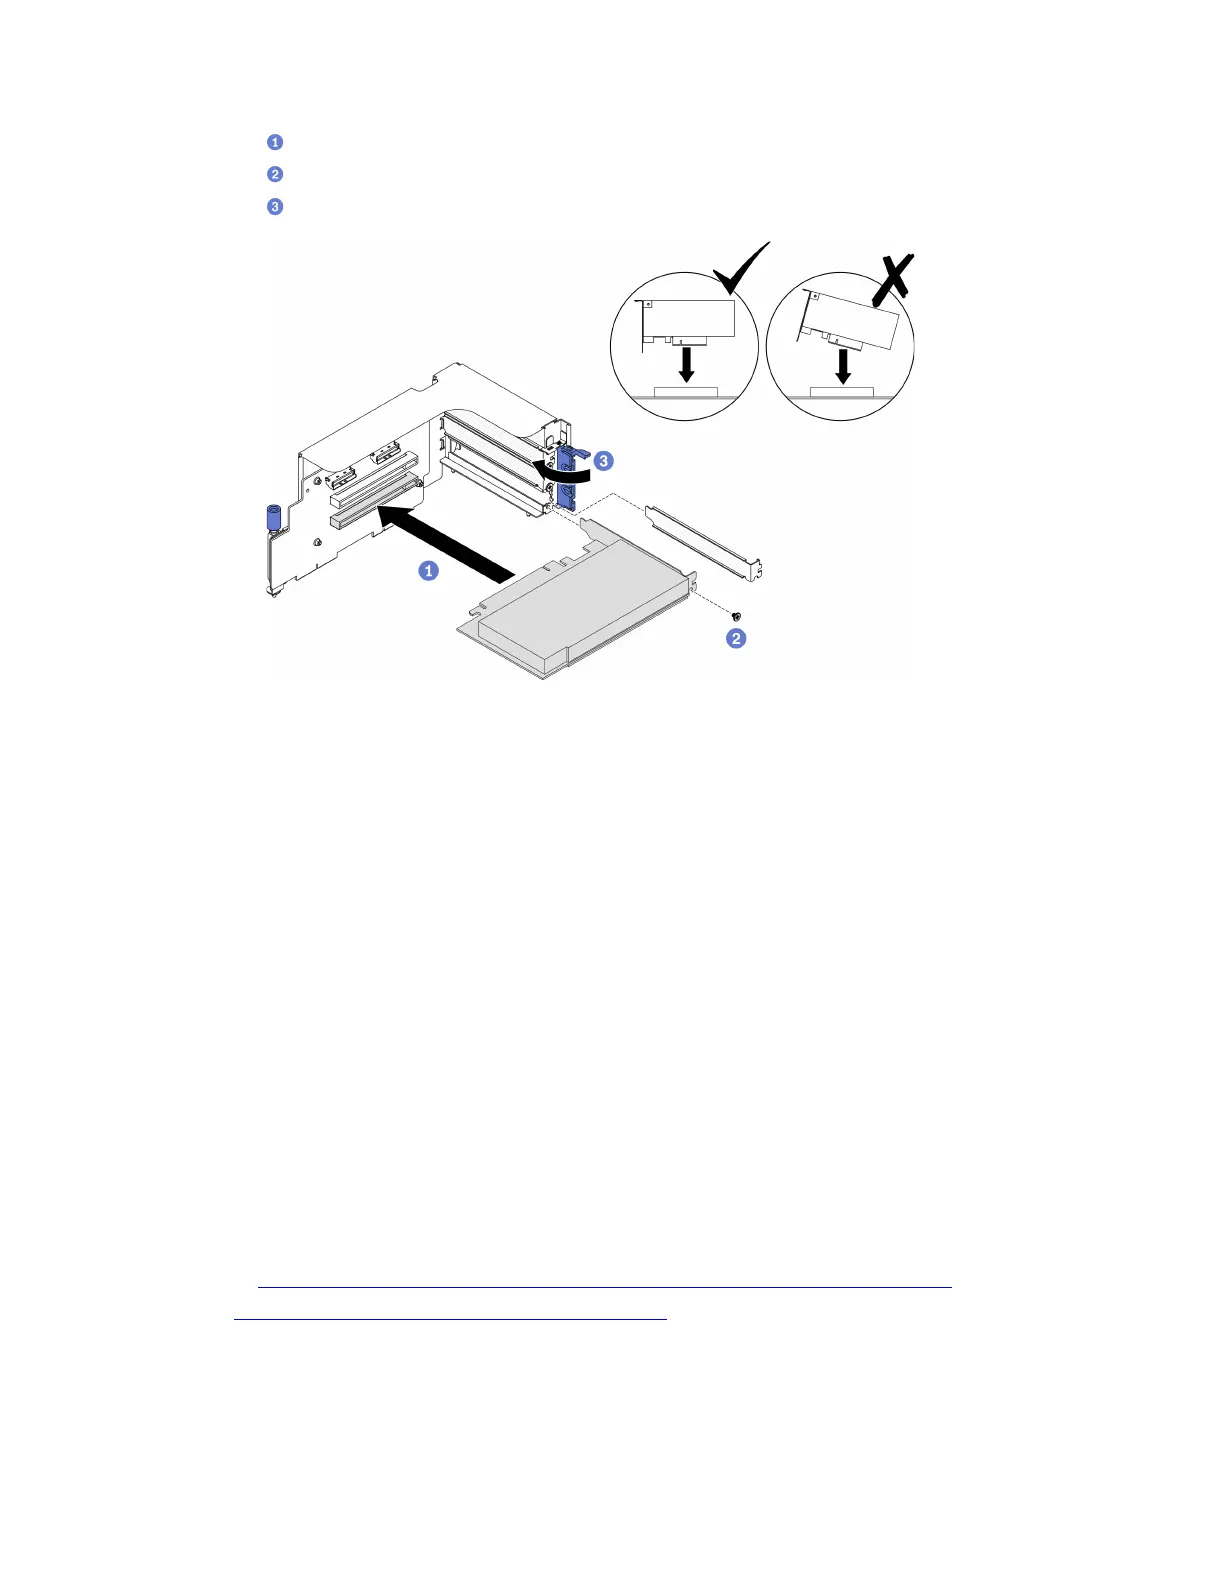
a. Insert the PCIe adapter into the PCIe riser.
b.
Fasten the screw to secure the PCIe adapter to the PCIe riser.
c.
Close the retention latch.
Figure 129. Installing a PCIe adapter
After you finish
1. Reinstall the PCIe riser. See “Install a PCIe riser” on page 189.
2. Complete the parts replacement. See “Complete the parts replacement” on page 328.
Install a PCIe riser
Follow instructions in this section to install a PCIe riser.
About this task
Attention:
• Read “Installation Guidelines” on page 121 and “Safety inspection checklist” on page 122 to ensure that
you work safely.
• Touch the static-protective package that contains the component to any unpainted metal surface on the
server; then, remove it from the package and place it on a static-protective surface.
Note: To maintain proper system cooling, do not operate the server without a PCIe riser or a rise filler
installed in the chassis.
Watch the procedure. A video of the installation and removal process is available:
• YouTube:
https://www.youtube.com/playlist?list=PLYV5R7hVcs-BXei6L6c05osQVLt4w5XYx
• Youku: https://list.youku.com/albumlist/show/id_59636529
Select the PCIe riser installation scenario
There are three PCIe riser installation scenarios differentiated by PCIe riser location and serial port
installation. See corresponding instructions below for proper installation procedure.
Chapter 4. Hardware replacement procedures 189

 Loading...


