Watch the procedure. A video of the installation and removal process is available:
• YouTube:
https://www.youtube.com/playlist?list=PLYV5R7hVcs-BXei6L6c05osQVLt4w5XYx
• Youku: https://list.youku.com/albumlist/show/id_59636529
Procedure
Step 1. Prepare your server.
a. Remove the top cover. See “Remove the top cover” on page 225.
b. Remove all 2.5-inch hot-swap drives from the chassis. See “Remove a 2.5-inch hot-swap
drive” on page 264. Place the drives on a static protective surface.
Step 2. Disconnect the power and signal cables from 2.5-inch drive backplane.
Step 3. Remove the 2.5-inch drive backplane module.
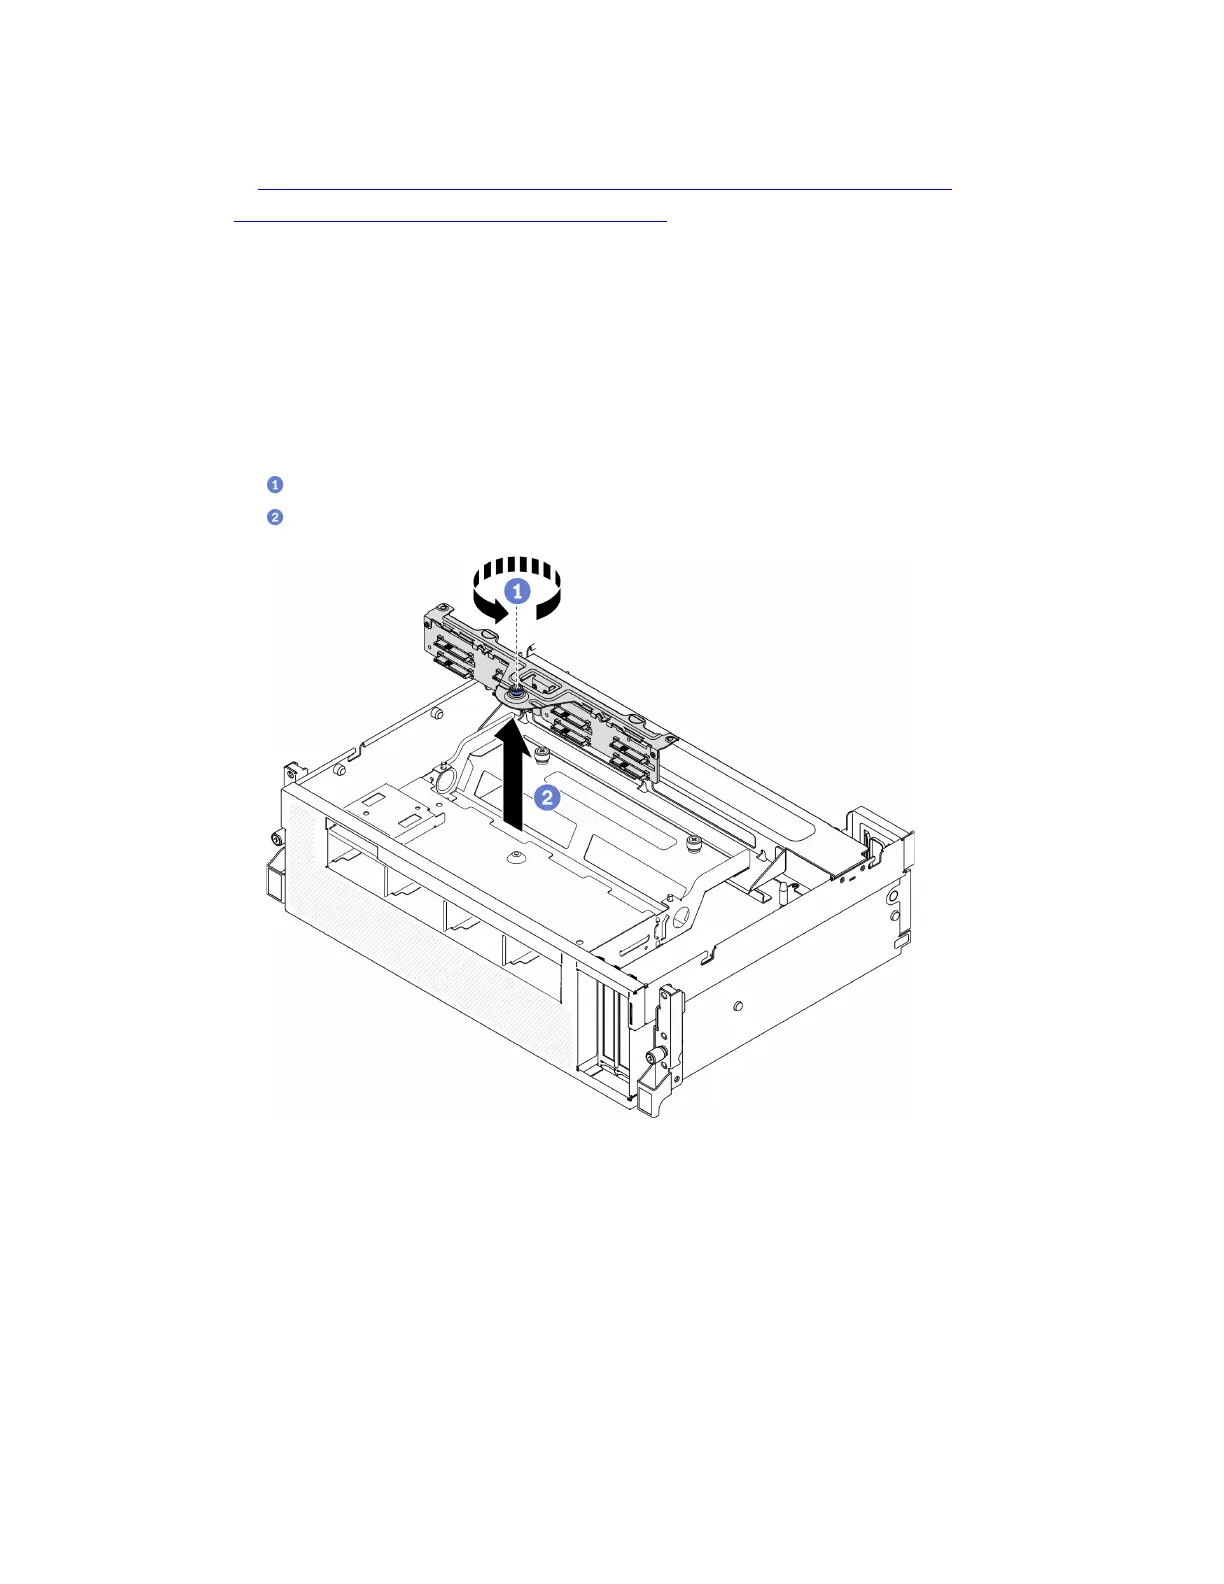
a.
Unfasten the thumbscrew on the drive backplane module.
b.
Lift the drive backplane module out of the chassis.
Figure 204. Removing the 2.5-inch drive backplane module
After you finish
• Install a replacement unit. See “Install the 2.5-inch drive backplane module” on page 271.
• If you are instructed to return the component or optional device, follow all packaging instructions, and use
any packaging materials for shipping that are supplied to you.
Install the 2.5-inch drive backplane module
Follow instructions in this section to install the 2.5-inch drive backplane module.
About this task
Chapter 4. Hardware replacement procedures 271

 Loading...


