1. Install a replacement unit or proceed to replace the SXM GPU board. See:
• “Install the Lenovo Neptune(TM) liquid-to-air (L2A) hybrid cooling module” on page 289
• “SXM GPU board replacement (trained technician only)” on page 302
2. If you are instructed to return the component or optional device, follow all packaging instructions, and
use any packaging materials for shipping that are supplied to you.
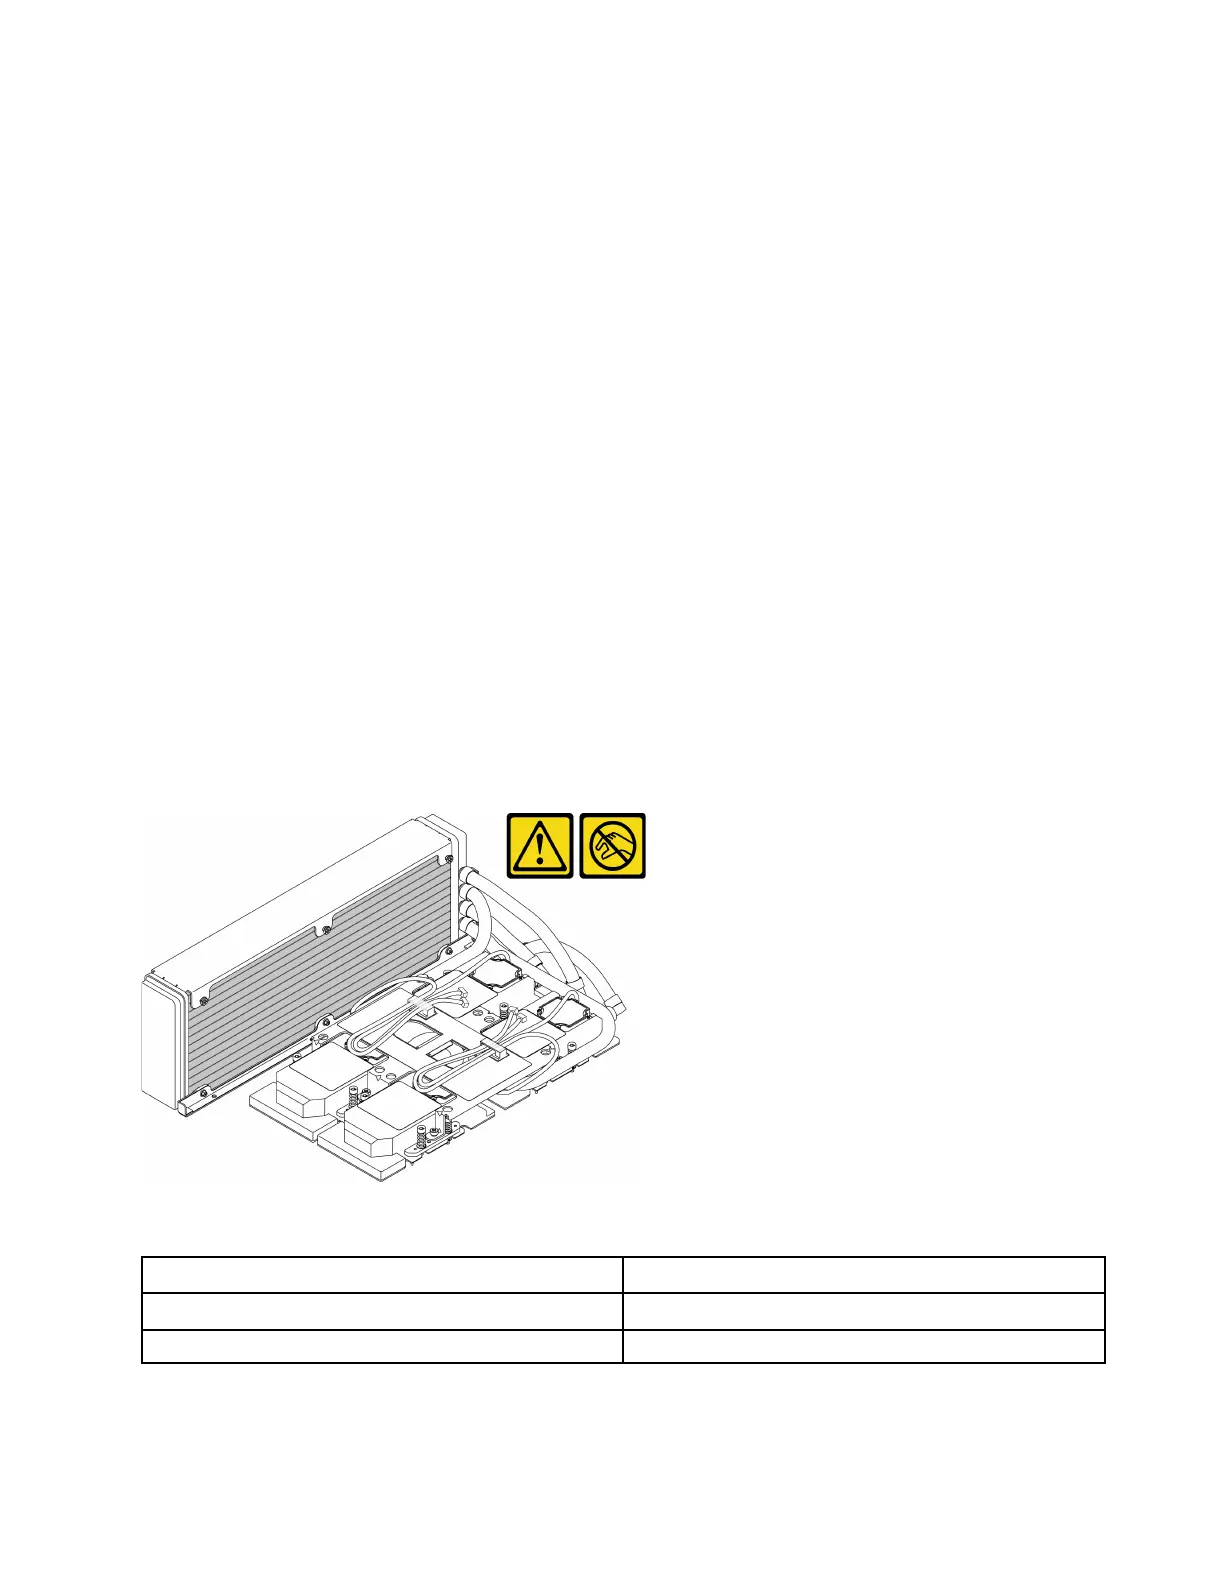
Install the Lenovo Neptune(TM) liquid-to-air (L2A) hybrid cooling module
Follow instructions in this section to install the Lenovo Neptune
TM
liquid-to-air (L2A) hybrid cooling module.
About this task
Important: Removing and installing this component requires trained technicians. Do not attempt to remove
or install it without proper training.
Attention:
• Read “Installation Guidelines” on page 121 and “Safety inspection checklist” on page 122 to ensure that
you work safely.
CAUTION:
When removing a new L2A from the shipping box, lift out the cold plate assembly with the plastic tray
attached to prevent thermal grease on the cold plate assembly from damages. Only remove the
masking tape from the plastic tray and cold plate assembly when you are about to install the L2A to
the SXM GPU board.
CAUTION:
Do not touch the radiator fins. Touching the radiator fins might damage the L2A.
Prepare the following screwdrivers to ensure you can install and remove the corresponding screws properly.
Torque screwdriver type list
Screw Type
Phillips #1 head screwdriver Phillips #1
Torx T10 head screwdriver Torx T10 screw
Note: Make sure you have an alcohol cleaning pad available.
Chapter 4. Hardware replacement procedures 289

 Loading...


