Section 5 – INSPECTION
Mini-Crawler Crane M A E D A
5-18 9/2020 MC285CB-3
Post-Start Inspection
Precautions
Perform the following inspections daily after
starting the machine. Review all procedures and
safety precautions in the following sections before
performing the following inspections:
• “Section 2 SAFETY”
• “STARTING” on page 4-26
• “STOPPING” on page 4-28
• “TRAVELLING CONTROLS AND OPERATION”
on page 4-29
• “CRANE OPERATION” on page 4-59
• “OUTRIGGER SETTING” on page 4-43
Perform the warm-up operation before performing
inspections that require the machine to be running.
See “WARM-UP” on page 4-27.
WARNING! Equipment Hazard. Failure to
perform these inspections may result in
machine damage and/or personal injury.
WARNING! Sudden Movement Hazard. Make
sure no person or object is within the boom
slewing radius area before starting the
machine.
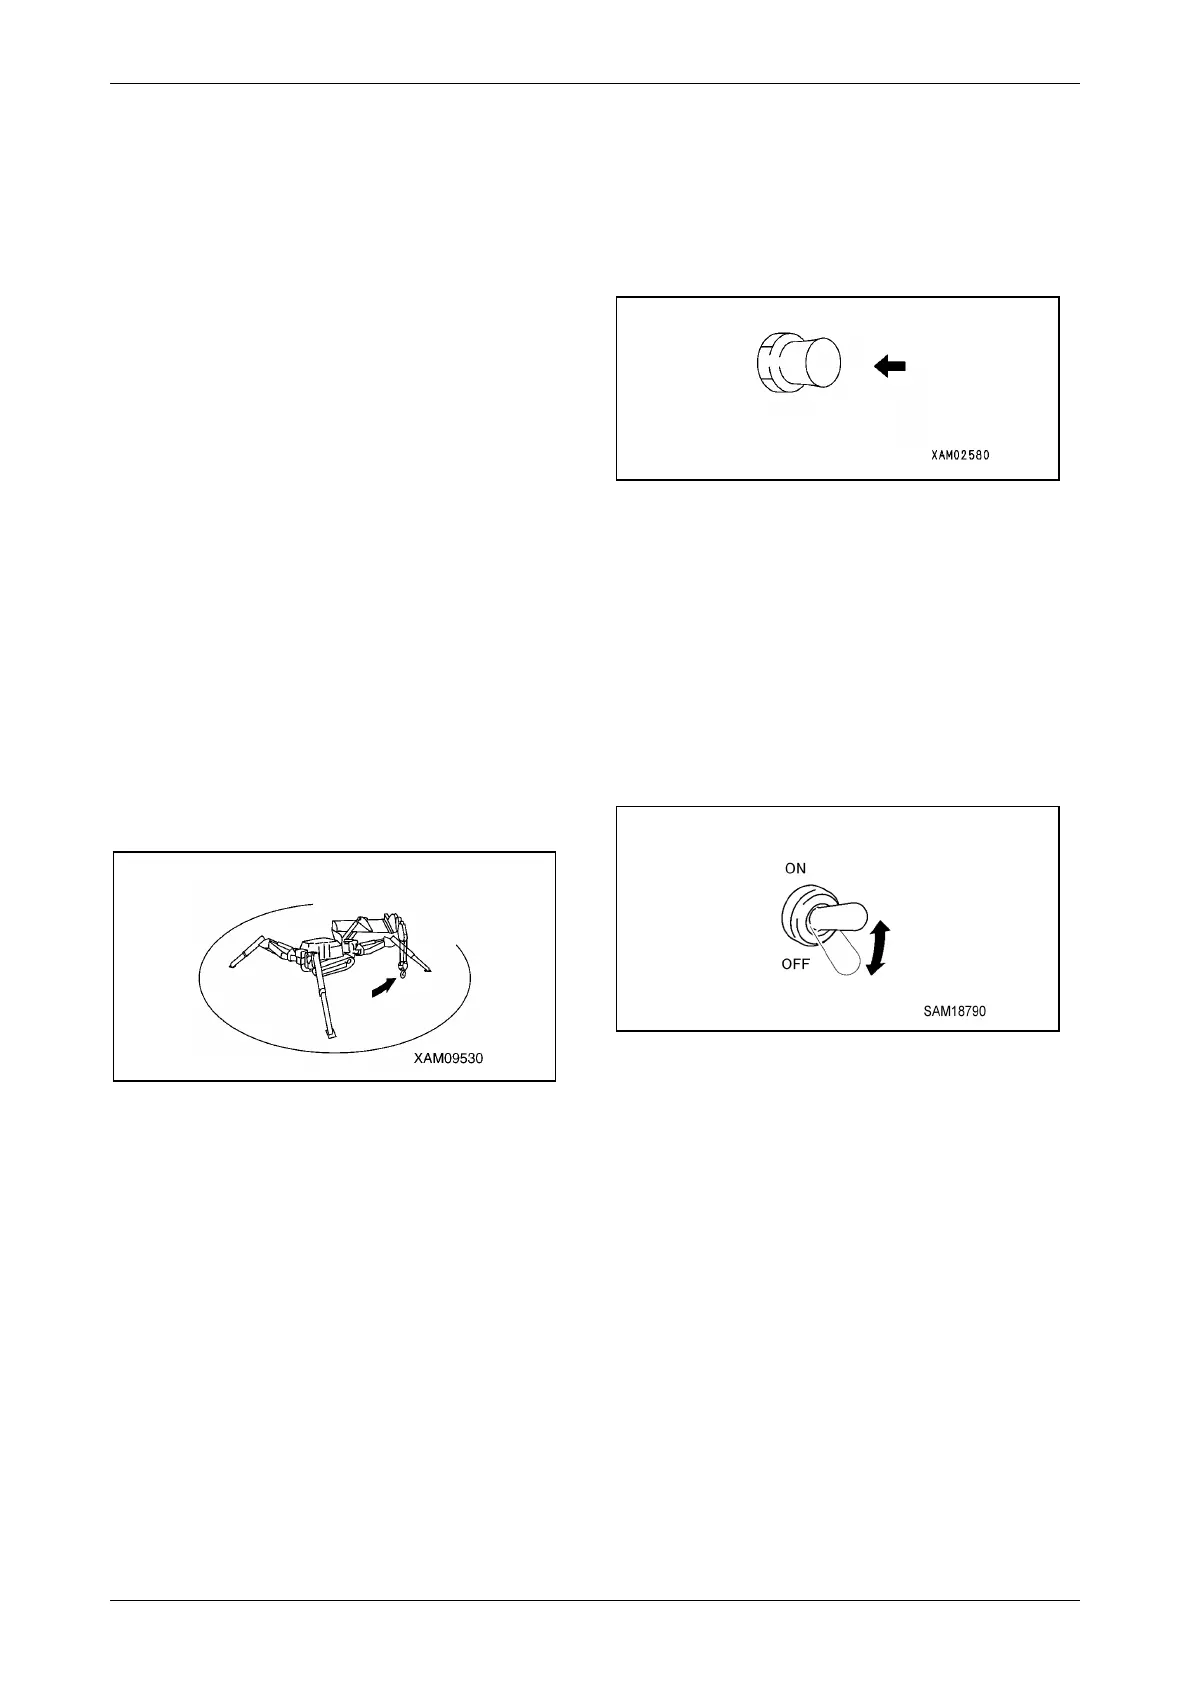
Fig. 5-14
WARNING! Sudden Movement Hazard. Sound
the horn before starting the machine.
WARNING! Equipment Hazard. Always repair
parts or systems before operating the
machine as needed.
Check Horn
1. Turn the Starter Switch to the ON position.
2. Press the Horn Switch to verify the horn
sounds. If the horn does not sound, the horn
may be faulty or the circuit may be open.
Repair or replace the horn.
Fig. 5-15
There are two horn switches: one next to the
travel levers and one next to the control levers.
Check Working Light Operation
1. Turn the Starter Switch to the ON position.
2. Turn on the Working Light Switch and verify
the working lights under the monitor turn on. If
the lights do not turn on, the working lights
may be faulty or the circuit may be open.
Repair or replace the working lights.
Fig. 5-16
The working lights do not operate when the
Starter Switch is in the OFF position.
Check / Adjust Rubber Track Tension
See “Checking Rubber Track Tension” on page
5-39.
Check Rubber Tracks for Damage and
Wear
See “Inspection of Rubber Tracks” on page 5-37.