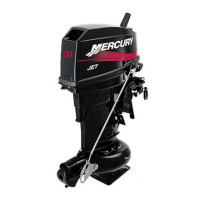
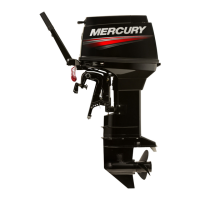
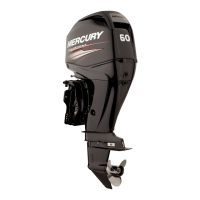
OUTBOARD INSTALLATION/ATTACHMENTS - 7A-790-817643R1 DECEMBER 1996
Cable Installation to Tilt Tube - Cable
Routed on Port Side of Boat
TILT TUBE REVERSAL
!
CAUTION
Outboard tilt tube MUST BE removed and re-installed
in the opposite direction. When re-assembled, longer
threaded end of tilt tube extends out port side of out-
board approximately 3/4 in. (19mm). Failure to reposi-
tion outboard tilt tube as described could interfere
with steering system operation.
Remove outboard tilt tube and re-install in the opposite di-
rection (turn end for end). When re-assembled, longer
threaded end (a) of tilt tube extends out port side of out-
board approximately 3/4 in. (19mm). Refer to Section 5A
“Midsection”.
50579
a
51130
Single Cable-Dual
Outboard
Single Cable-Single
Outboard
IMPORTANT: Before installing steering cable tilt tube,
lubricate entire cable end with Quicksilver 2-4-C w/Te-
flon Marine Lubricant.
NOTE: Ride-Guide Steering cable is lubricated at the fac-
tory and requires no additional lubrication at initial installa-
tion.
1. Lubricate inside of outboard tilt tube (a) and steering
cable end (b) with Quicksilver 2-4-C w/Teflon Marine
Lubricant.
2. Insert steering cable end thru outboard tilt tube and se-
cure with steering cable attaching nut (c). Torque to 35
lb. ft. (41 N·m).
50579
a
b
c
3. Make pencil mark (a) on tilt tube 1/4 in. (6.4mm) from
starboard end of tube. Slide spacer (b), O-ring (c) and
cap (d) over steering cable end.
50325
1/4 in.
(6.4mm)
a
b
c
d
4. Thread cap (d) onto tilt tube, up to mark (a).
50325
a
d
Installing Steering Link Rod
! WARNING
Steering link rod MUST BE secured between outboard
steering arm/bracket and steering cable end using a
special washer head bolt, spacer and nylon locknuts
as shown. Both special washer head bolt and locknuts
MUST BE tightened as specified.
 Loading...