OMNIScanner User Guide
2 - 2
Certification of Network Installations
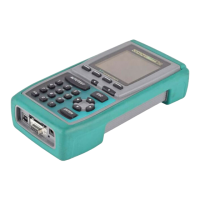
OMNI
Scanner
is designed to efficiently certify cabling installations through
its Autotest feature. Test results, test specifications, and cable types are
organized into Projects. The Project, its test specifications and cable types
are selectable from the OMNI
Scanner
Project screen.
OMNI
Scanner
contains a number of predefined projects, grouped by test
standards, to allow easy and fast operation.
The typical order of operations performed when certifying a cable installa-
tion is as follows:
Preparation
Prior to initial certification, perform the following:
1. Run a self-test by setting the reference for OMNI
Scanner
and OMNI-
Remote periodically, e.g. weekly.
2. Select the appropriate Project, Autotest specification, and Cable type.
Certification
Perform the following for each installed cable to be tested:
3. Attach OMNI
Scanner
to one end of the link, which is typically at the
patch panel in a wiring closet.
4. Attach OMNI
Remote
to the corresponding outlet at the other end of the
cable link.
5. Run Autotest.
6. Save test results.
Completion
At the end of the day or shift, the test results are uploaded using
Scanlink
Tools
software.
Scanlink Tools
support the following:
• Upload test results
• Storage of test results to files (Scanlink proprietary format)
• Print test reports
• Export results in CSV format
• Setup Projects
• View Graphs
• Edit Autotest information