OM-267357 Page 57
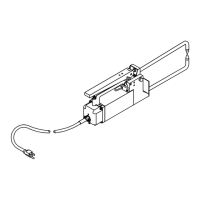
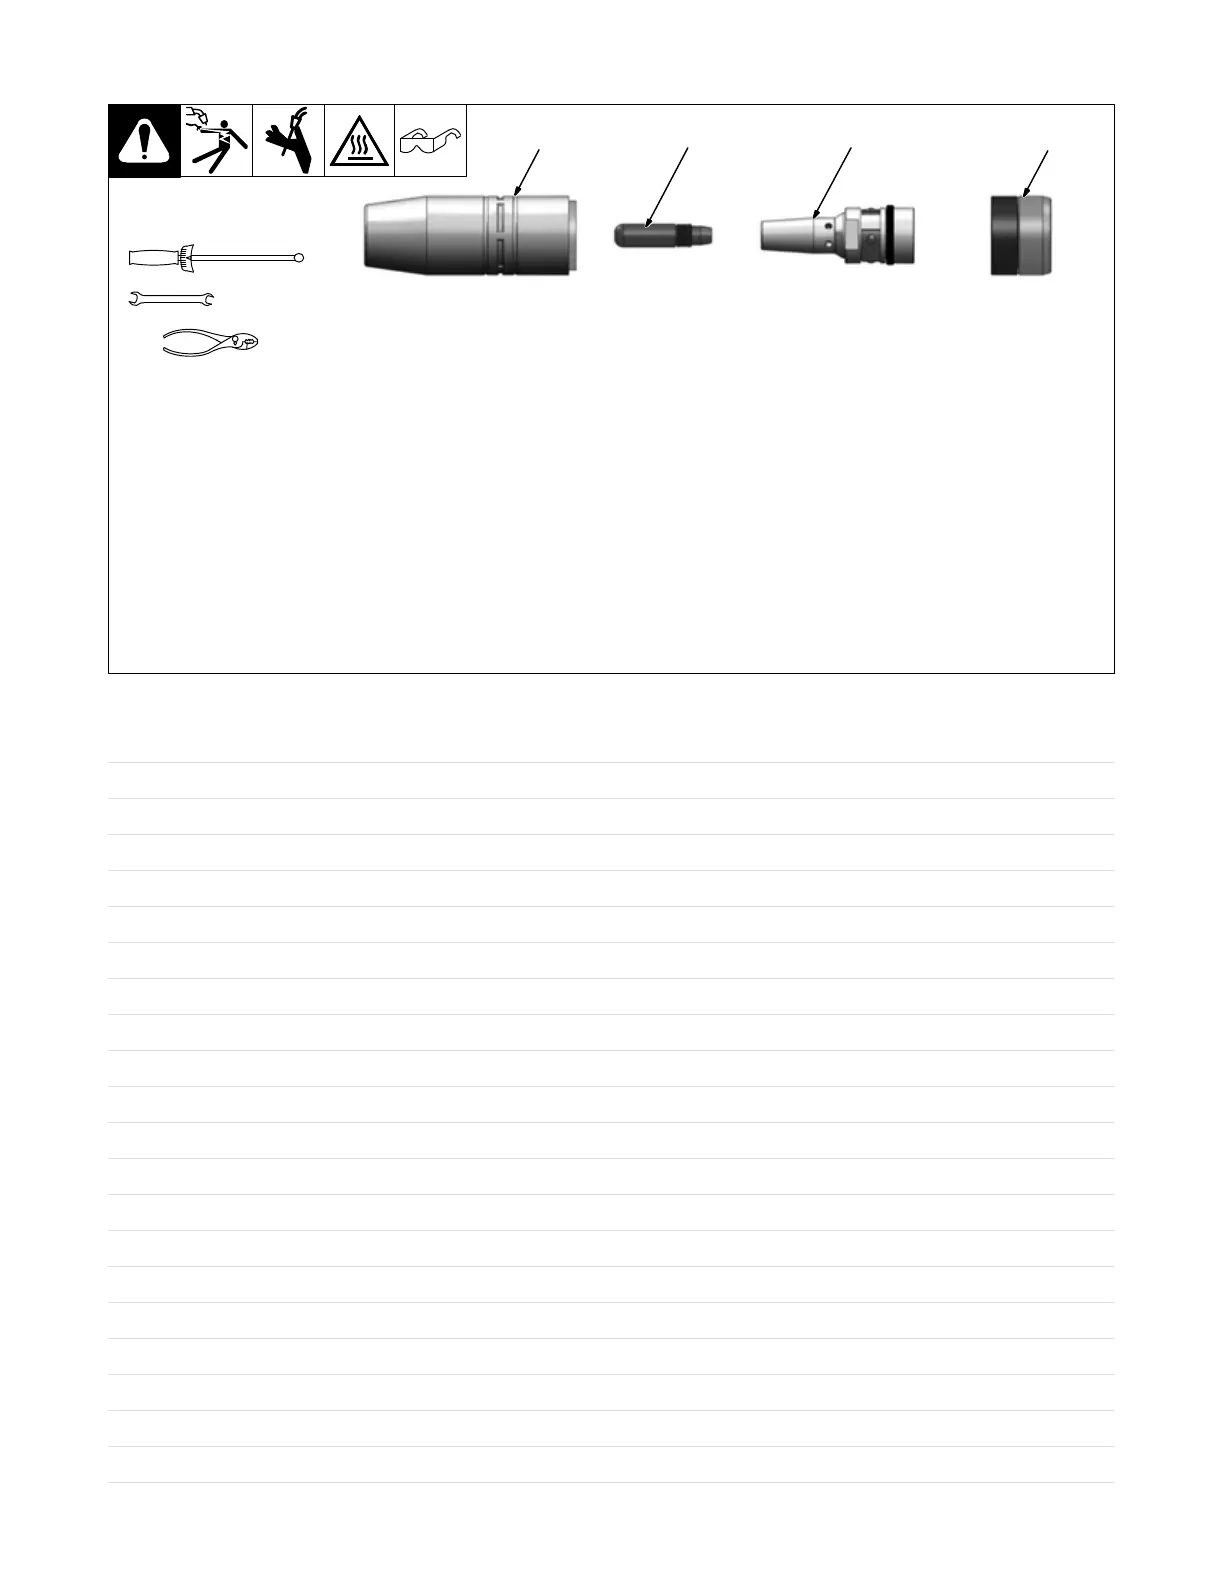
13-4. SmartGun Consumable Removal And Replacement
See Section 16 for lists of consumable
part numbers.
NOTICE − Check all parts to ensure that
connections are tight before welding.
1 Nozzle
Pull slip-on nozzles off with a twisting mo-
tion. Ensure nozzle is fully seated.
2 Contact Tip
Thread the contact tip into the retaining
head. Torque to 30 in-lb (3.5 N⋅m). Use the
Tregaskiss tip tool (part no. 450−18 for
heavy duty tips) or a pair of weld pliers for
contact tip installation.
3 Retaining Head
Thread the retaining head onto the neck
with a 5/8 in. (16 mm) wrench. Torque to 80
in-lb (9 N⋅m).
NOTICE − Do not use pliers to remove or
tighten the heavy duty retaining head or
scoring may result.
NOTICE − The heavy duty retaining head
must be tightened with a 5/8 in. (16 mm)
wrench to prevent the contact tip from
overheating.
4 Neck Insulator
Press the neck insulator onto the neck by
hand with the aluminum side toward the
neck and the black insulation toward the
nozzle.
NOTICE − Neck insulator must be in place
before welding to properly insulate the
neck armor.
1
2
3
4
Tools Needed:
5/8 in. (16 mm)
Ref. Bernard 156 203
Notes