OM-267357 Page 36
7-2F. Testing In Weld Mode
1. Verify work clamp is properly connected to table and positioning arm (if equipped). See Section 5-8.
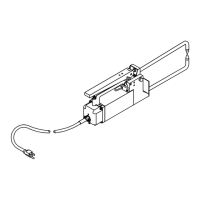
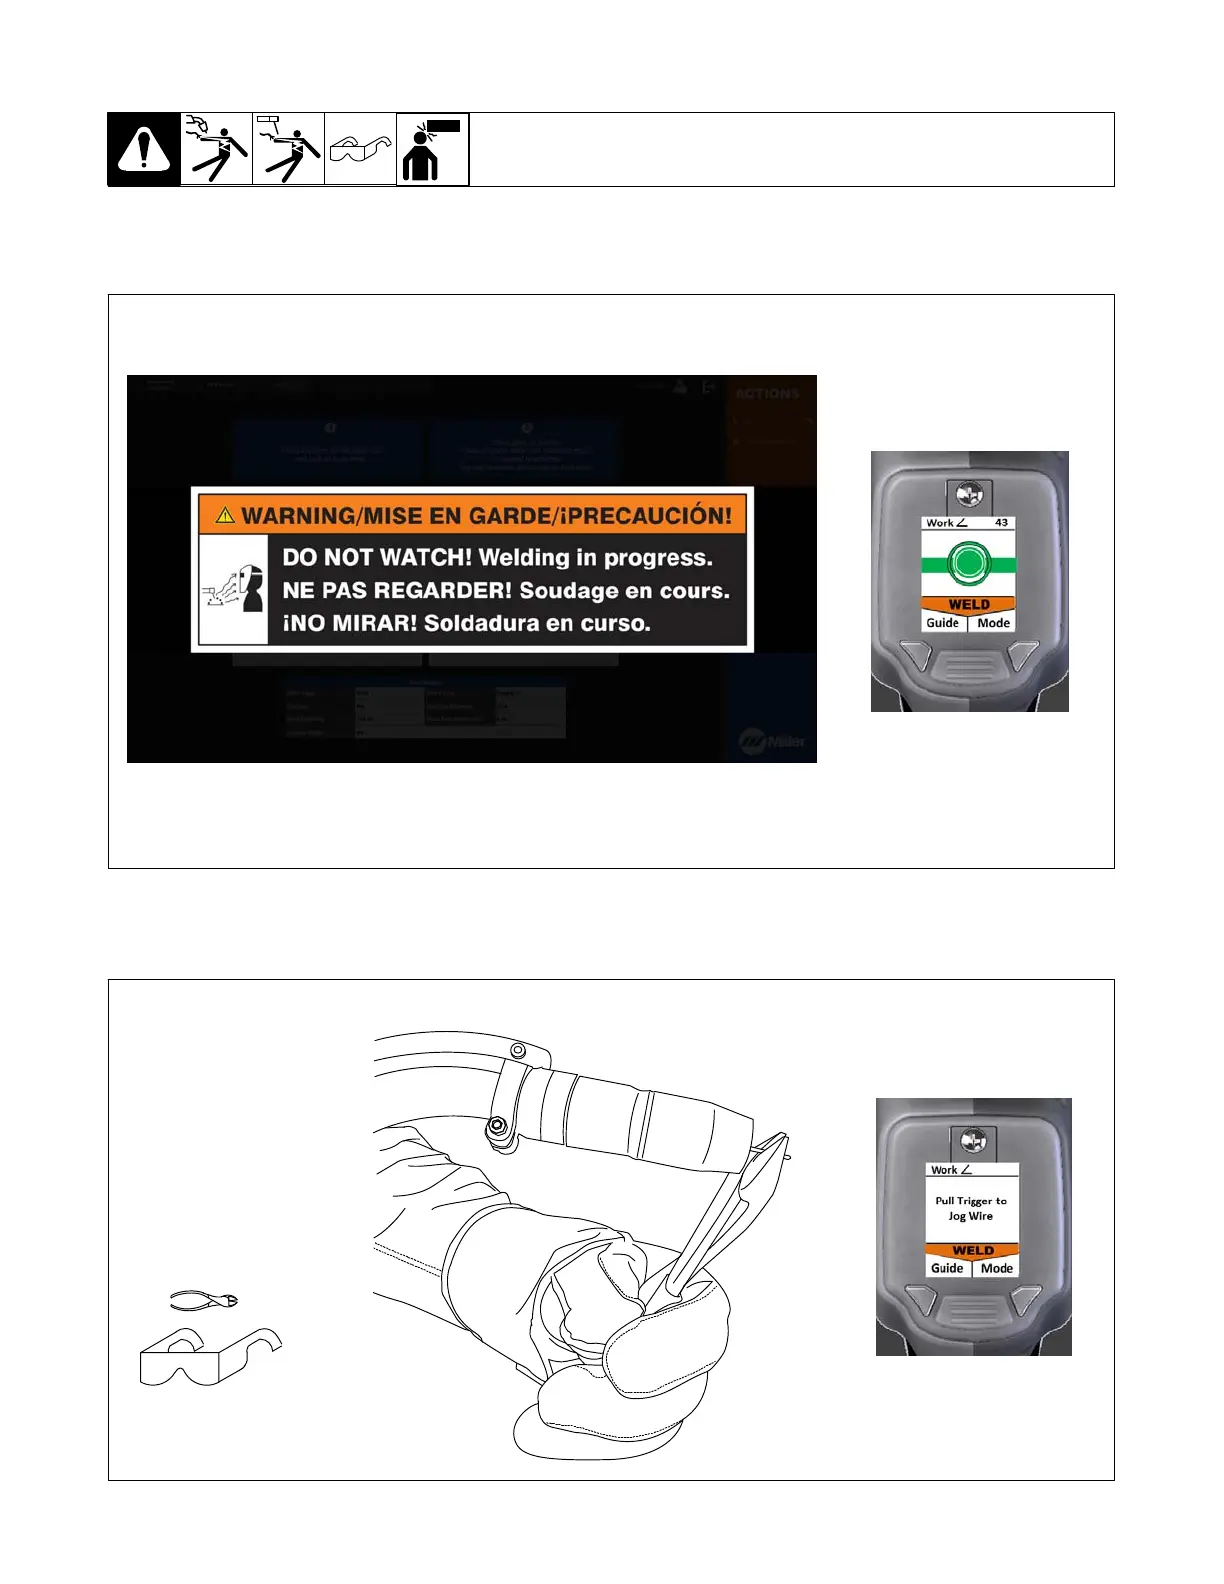
2. Press and hold Mode button on SmartGun until system enters weld mode (about two seconds). The warning message is displayed when the
SmartGun nears the weld joint (Figure 7-19).
The warning screen is displayed when SmartGun nears weld joint.
Corresponding
SmartGun Display
Figure 7-19. Selecting LiveArc Mode
3. With SmartGun more than 3 in. (76 mm) from weld joint and SmartGun LEDs in view of camera, pull trigger to jog wire. Cut wire to length appropriate
for the weld process (Figure 7-20).
Tools Needed:
161-050
Corresponding
SmartGun Display
Figure 7-20. Cutting Wire To Specified Length