OM-267357 Page 38
SECTION 8 − ADMINISTRATION TOOLS
Welding-related hazards are present when using the welding training system. Read the welding power source and wire feeder Owner’s
Manuals and labels carefully for more information on arc welding hazards. Also read American National Standard Z49.1, Safety in
Welding, Cutting, and Allied Processes, from American Welding Society (www.aws.org). Operators must be trained on the proper use
of this equipment before using the equipment to train others.
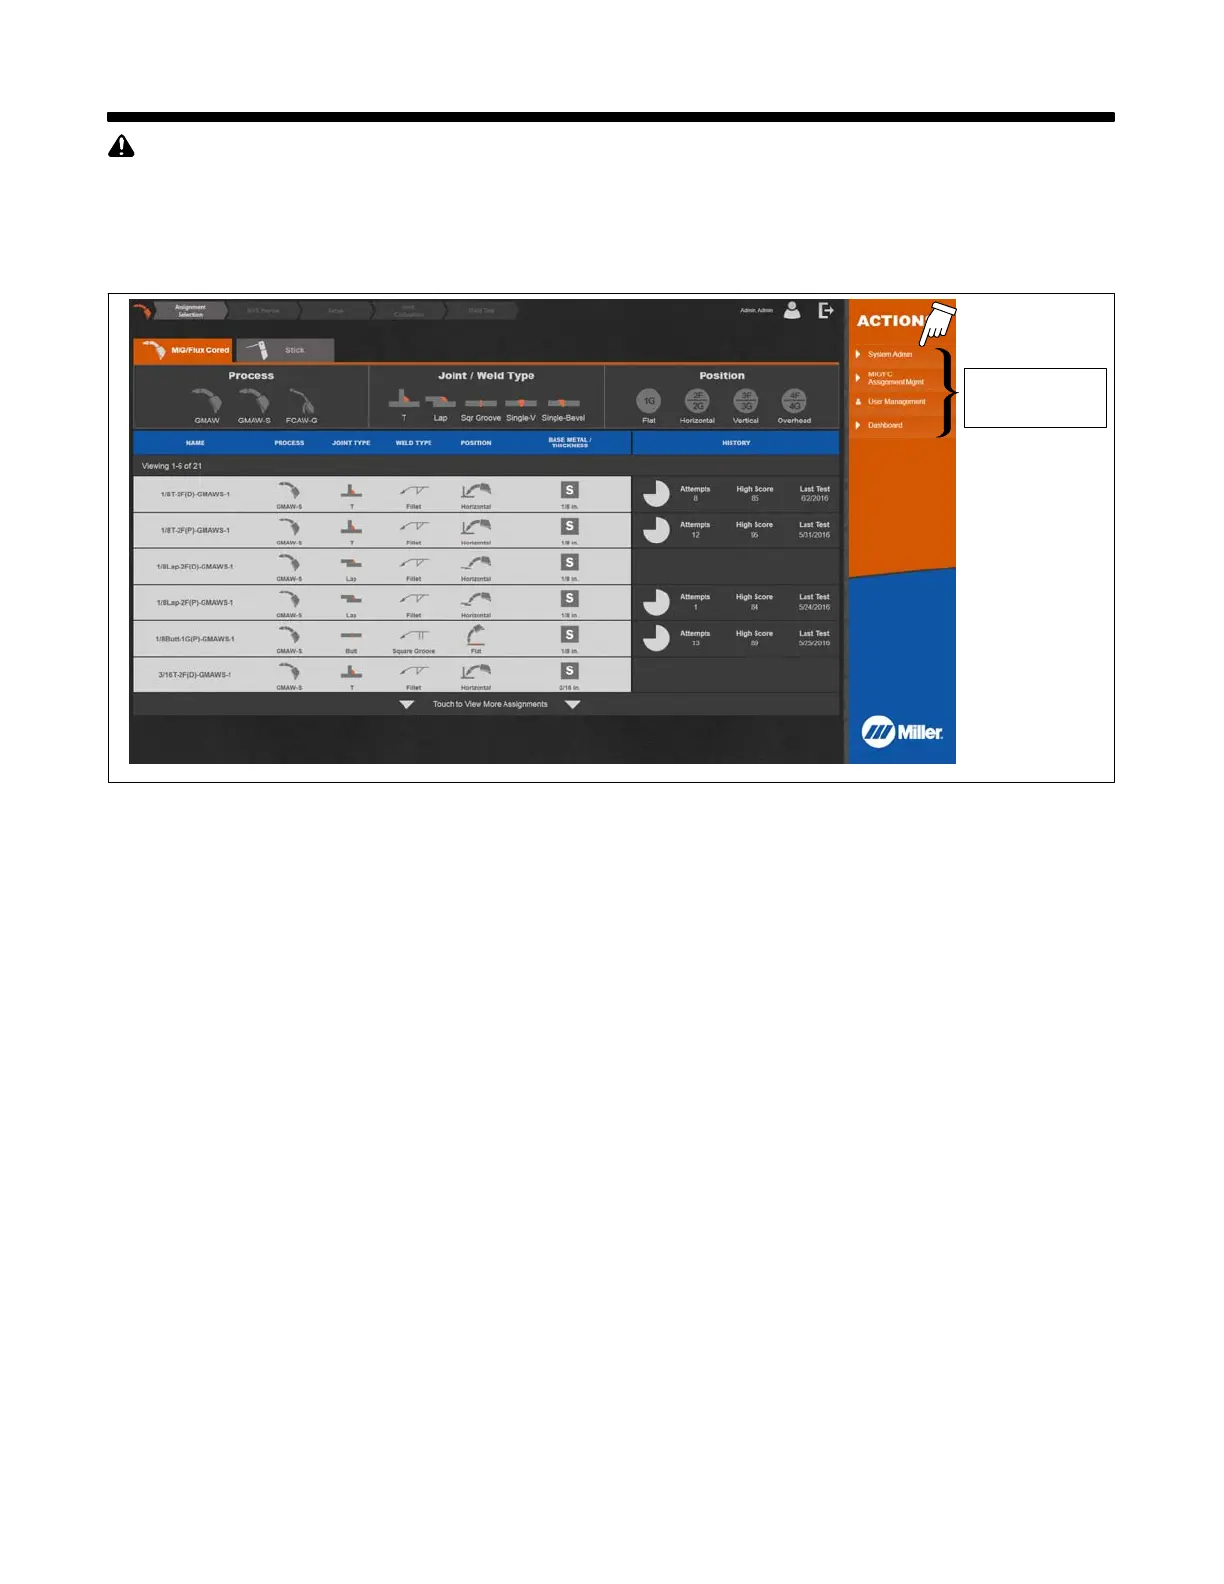
8-1. Administration Mode
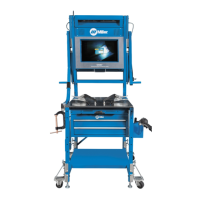
Touch System Admin to enter Administration mode (Figure 8-1). Administration mode is only available to users designated as instructors.
These options
are only available
to instructors.
Figure 8-1. Administration Mode Screen
8-2. Equipment Settings
Use Settings screen to change system preferences:
• System volume: Volume Up or Volume Down.
• Cursor visibility: Hidden or Visible.
• Audio feedback: On or Off (real−time test audio).
• Options for who can save to USB from test feedback screen: Instructor and students, or Instructors only.
• Options for who can turn off the system: Instructor and students, or Instructors only.
• Option for saving tests to USB or for printing. To print directly from the LiveArc system, the printer must be installed on the LiveArc PC through the
Windows 8 OS and configured as the default printer.
• Option to enable/disable sound effect for unsuccessful tests.
• Option to show or not show help messages to newly registered users.
• Option to show or not show available language selection options on user login screen.
8-3. Software Updates
Use the Software Updates screen to determine the LiveArc software version currently installed and to install software updates. Download software
updates from www.MillerWelds.com/LiveArcSoftware, unzip the contents of the download, and save to a USB flash drive or similar device. Install flash
drive in USB receptacle at bottom of monitor (see Section 5-10), select Install software updates from USB, then follow instructions displayed on monitor.
To conveniently manage assignments and users, and to review test history, the LiveArc software can be installed on any computer meeting the
minimum requirements. Certain features such as conducting assignment tests and system calibration are disabled for computers. The software must
be installed on a computer the first time by running the installation program included in the software download from
www.MillerW
elds.com/LiveArcSoftware.
All other software updates on the computer must be done from within the Software Updates section of the
software. To enable usage of the LiveArc software on a computer, the ownership authentication file must be downloaded from your LiveArc system to a
USB drive. Insert that USB drive into the computer and then start the LiveArc software by double-clicking on the LiveArc icon on the desktop. The
ownership authentication file will be detected and the LiveArc software on the computer will be permanently unlocked. Detailed instructions with screen
shots are also available at www.MillerW
elds.com/LiveArcSoftware.
8-4. Data Backup And Restoration
Use Data Backup And Restoration screen to backup or restore assignments, user data, and test histories through a USB device. See Section 4-1 for
location of the USB port. Data backup can also be saved to a selected network location. To enable, your IT representative will have to configure the
LiveArc system to communicate on your local network.