2-5
2
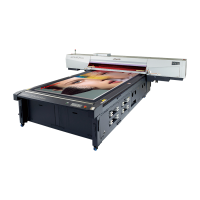
Basic Operations
Setting the media
Setting the media
1
Switch over the suction valve at the right side of
the table adjusting with the size of the media to be
set.
• The valve is opened when the knob is turned vertically and
closed when it is turned horizontally.
2
Pressing the key, put on the “VACUUM” lamp.
3
Pressing the key, absorb the media to the table.
• Turn ON/OFF the vacuum pressing the key.
• As for the details of the absorption area, please refer to P.2-6 .
• When you want to change the point of origin, please refer to P.3-2.
• To set the media, suction the media with the suction vacuum unit (option). Install the optional suction
vacuum unit, and then set the media.
• If, within the absorption area, there are suction holes not closed by the media, close such suction holes
placing thin sheet form material such as paper, film or tape.
• The peripheral parts of the media could roll up due to heat. Fix the media supplementarily using
adhesive tapes, etc.
• Guide holes are provided at the edges (3 edges) of the table to insert the screw, etc. available in the
market. Use them as the guides for setting the media straight. ( P.3-18 )
After setting the media, set the followings.
• Register the thickness of the set media. ( P.3-4)
• Register the head gap. ( P.3-6)
 Loading...


