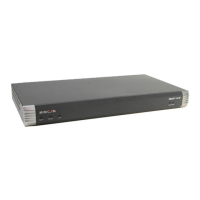
To rack mount the
1. Place the brackets
on the unit in either of the following ways:
T
owards the front of the unit so that the unit can be mounted
T
owards the rear of the unit so that the un
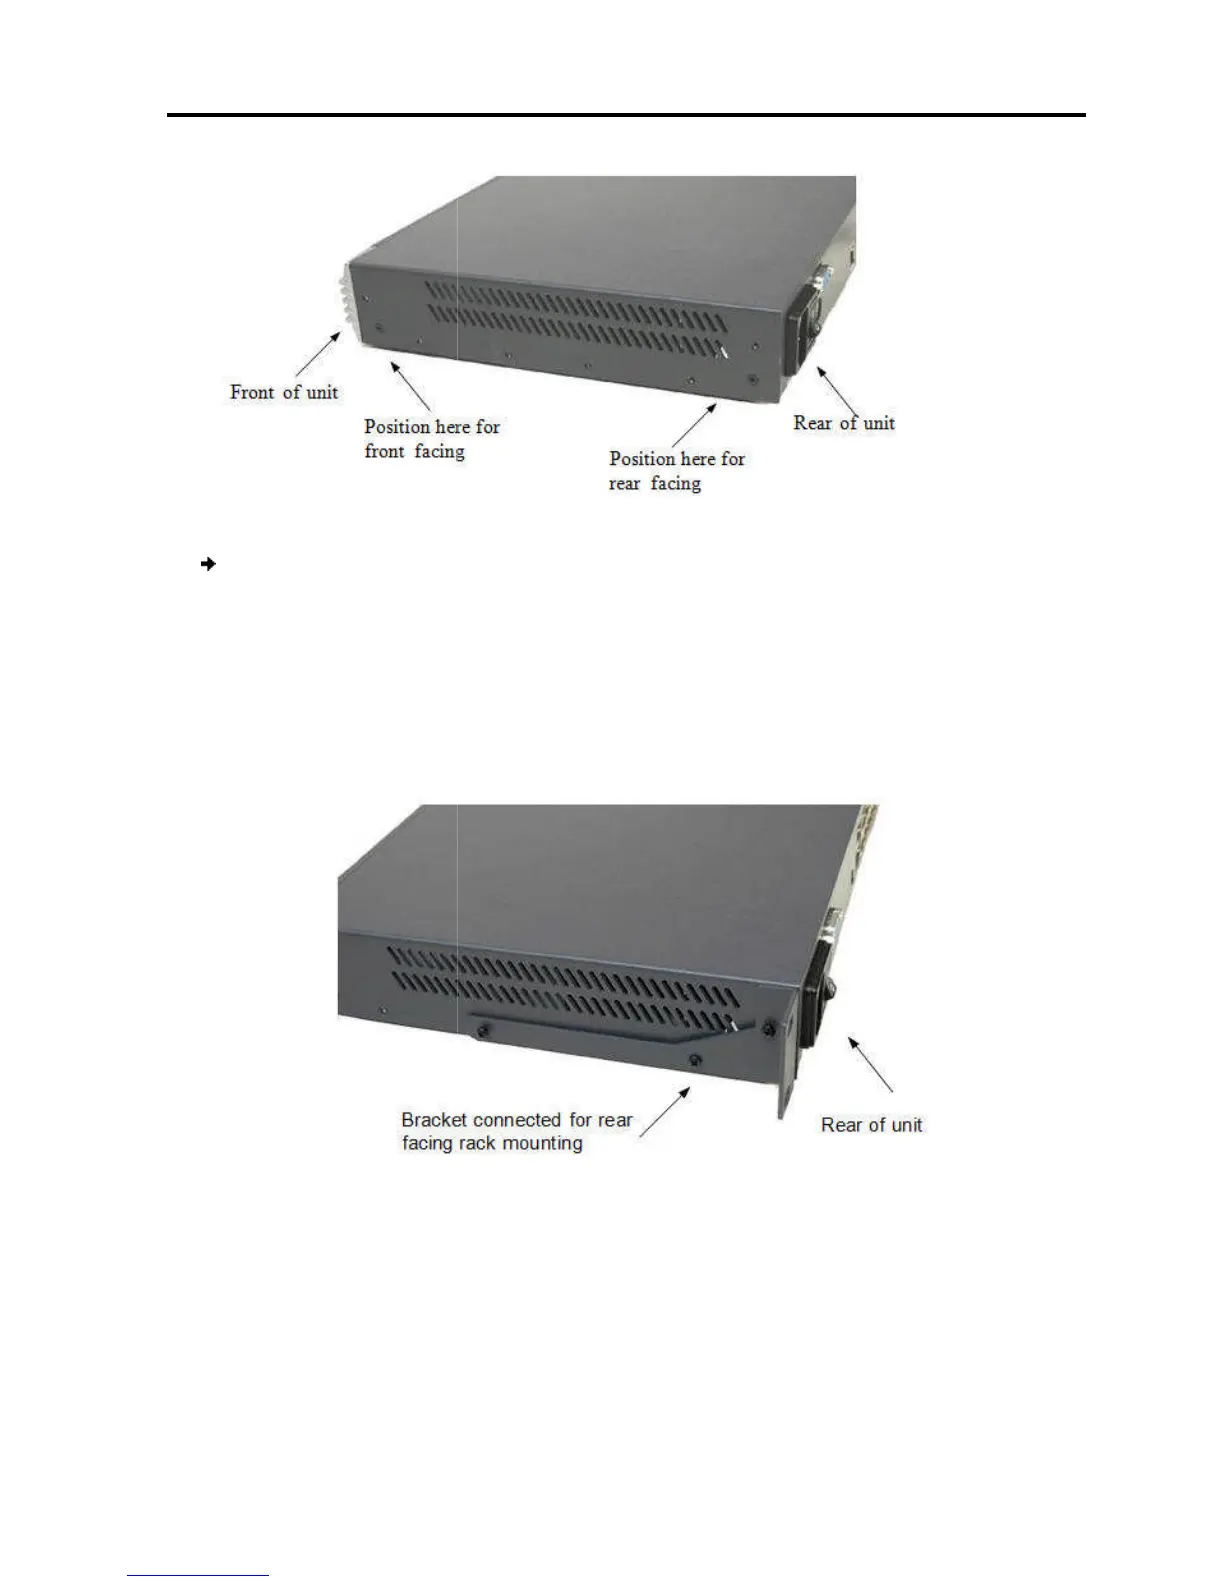
Figure 4
illustrates the bracket connected for rear facing.
2.
Screw the bracket to the Smart 108/116 IP
3. Install the
the rack with screws, according to the rack manufacturer’s instructions.
2.5
Figure 5 illustrates the
Smart 108/116 IP system overview
Figure 3 – Bracket Positions
unit:
on the unit in either of the following ways:
owards the front of the unit so that the unit can be mounted
owards the rear of the unit so that the un
it can be mounted rear facing
illustrates the bracket connected for rear facing.
Screw the bracket to the Smart 108/116 IP
unit
using the screws provided
4 – Bracket Connected for Rear Facing
nit into the server rack by connecting t
the rack with screws, according to the rack manufacturer’s instructions.
Smart 108/116 IP system overview
.
Installation
the System
User Guide | 17
it can be mounted rear facing
using the screws provided
.
nit into the server rack by connecting t
he bracket to
the rack with screws, according to the rack manufacturer’s instructions.
 Loading...