16 Teaching and Setting of Adjustment Variables (
“
1
”
Program)
16. Teaching and Setting of Adjustment Variables (“1” Program)
This chapter explains operations required to run “1” program.
* “1” program settings are required for both conveyer tracking and vision tracking.
“1” program instructs the robot to follow and grab workpieces recognized by a photoelectronic sensor or
vision sensor and transport the workpieces.
The teaching positions required by “1” program are explained below, along with how to set adjustment
variables prepared in the program.
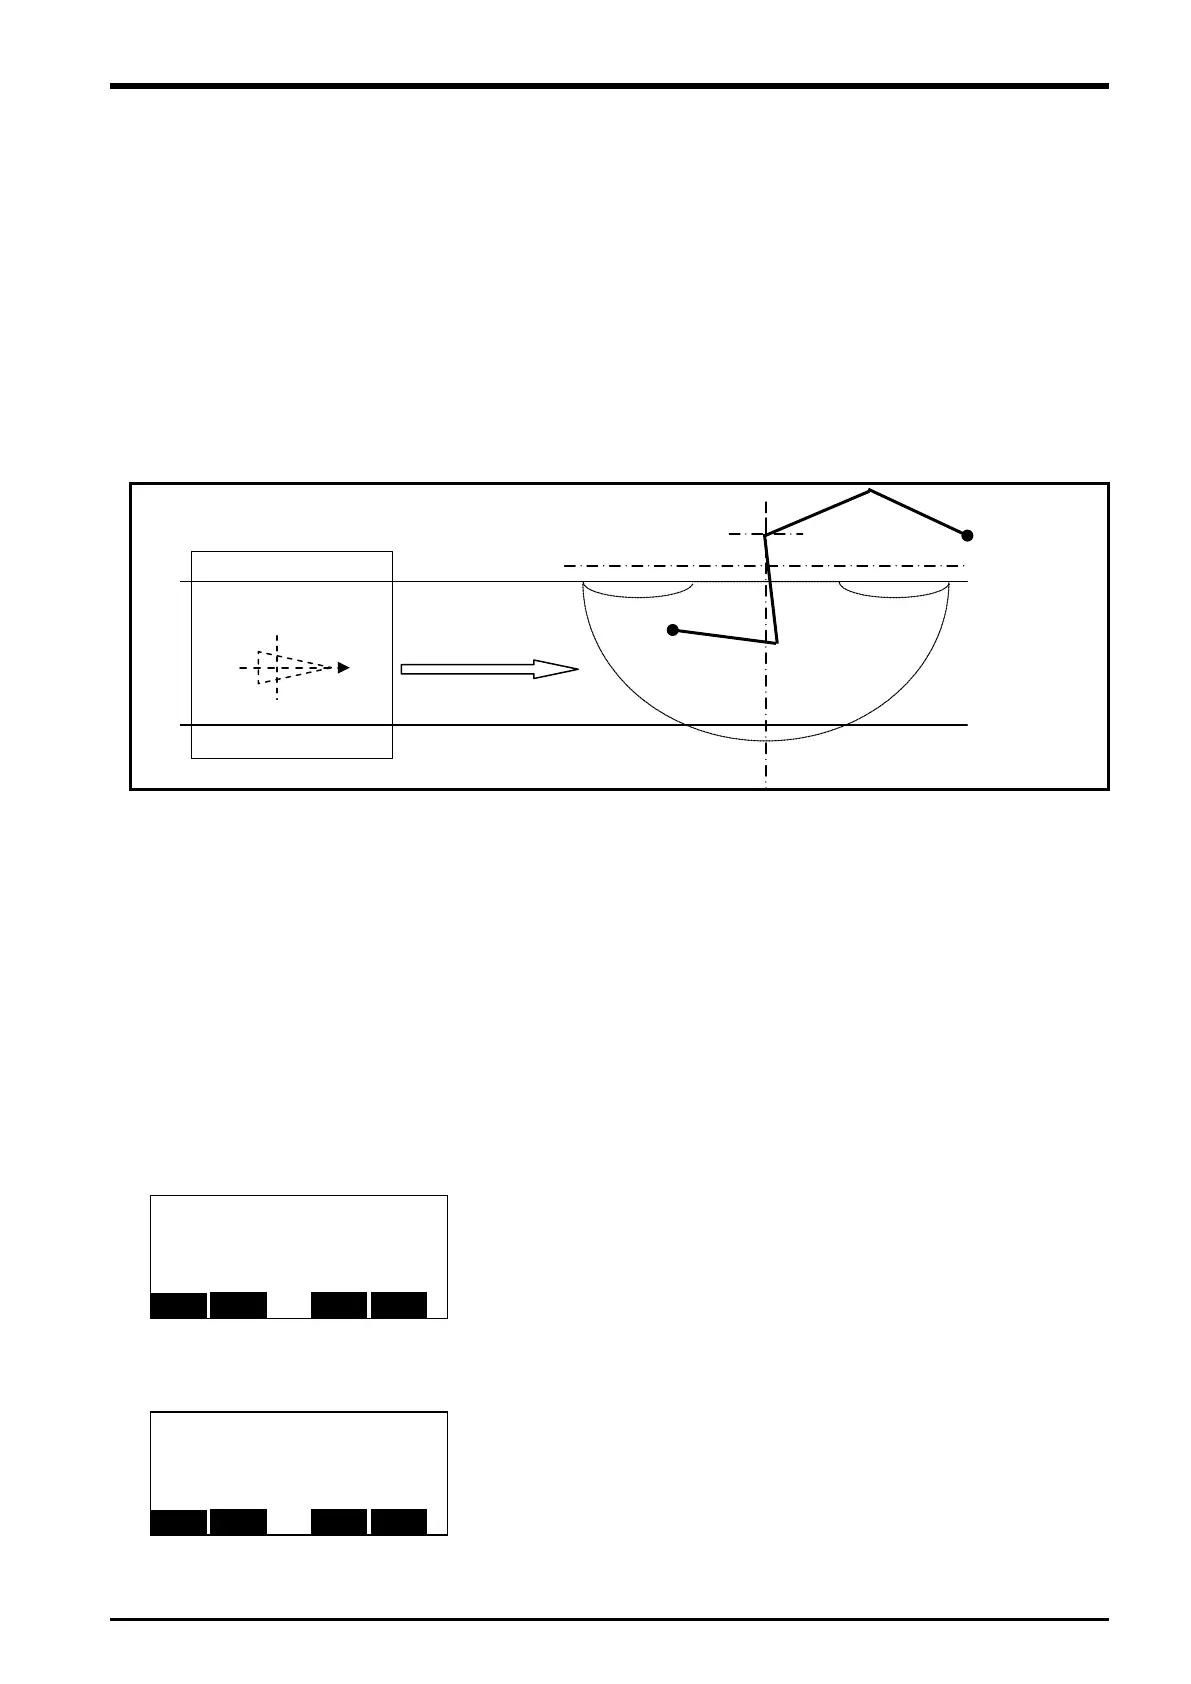
16.1. Teaching
The teaching of "Starting point position (position in which it is waited that workpiece arrives)" and
"Transportation destination (position in which the held workpiece is put)" is executed.
For instance, the teaching does the following positions.
Teach the origin position and transportation destination. The following explains how to perform these
operations.
1) Open “1” program using T/B.
2) Open the [Position data Edit] screen.
3) Display “P1” in order to set the robot origin position when the system is started.
4) Move the robot to the origin position and teach it the position.
5) Display “PPT” in order to set the transportation destination position (the location where workpieces are
placed).
6) Move the robot to the transportation destination and teach it the position.
Confirm whether workpiece can be transported at the position in which the teaching was done.
7) Display “P1" at the starting point position on the [Position data Edit] screen. Turn on the servo by
gripping the deadman switch.
8) Move the robot to the position of “P1" pushing F1 (MOVE).
9) Move the robot to an arbitrary position (position in which workpiece flows) by the jog operation.
10) Display “PPT" at the transportation point position on the [Position data Edit] screen. Turn on the servo
by gripping the deadman switch.
11) Move the robot to the position of “PPT" pushing F1 (MOVE).
FL1:00000007 FL2:00000000
FL1:00000007 FL2:00000000
Vision sensor
recognition area
Transportation
point
Teaching 16-77

 Loading...


